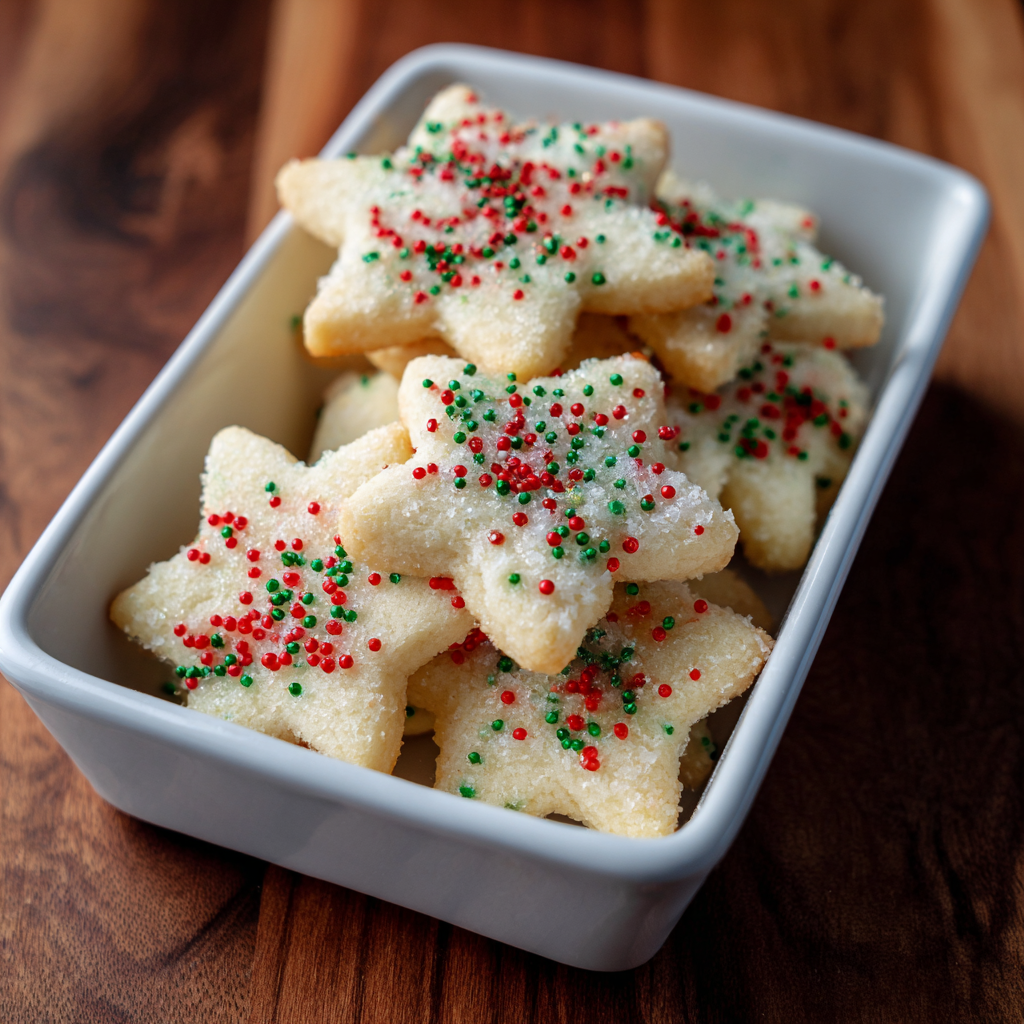
Christmas arrives with a magical pull toward traditions that warm our hearts as much as they warm our kitchens, and no holiday memory feels complete without the buttery aroma of homemade sugar cookies baking in the oven. This Best Christmas Sugar Cookie Recipe delivers exactly what memories are made of—tender, buttery cookies with perfectly crisp edges that hold their shape for beautiful decorating, yet melt on your tongue with each bite. These aren’t the tough, hard cookies that crack your teeth or require dunking in milk to become palatable; instead, they’re absolutely perfect in every way from the moment they emerge from the oven. First, this recipe produces cookies that remain soft and delicious for days when stored properly, making them ideal for advance baking during your busy holiday season. Next, the dough comes together quickly without chilling requirements that derail spontaneous baking projects when inspiration strikes on winter evenings. Additionally, these cookies decorate beautifully with royal icing that hardens to a smooth, professional-looking finish that transforms simple cookies into edible art worthy of displaying proudly on holiday platters. Most importantly, this recipe creates the kind of cookies that become tradition—the ones people request year after year, the ones that get packaged into festive gifts, and the ones that somehow disappear before you’ve finished decorating them all.
Ingredients
This recipe makes approximately 24 to 30 cookies depending on size.
For the Cookie Dough:
- 2 3/4 cups all-purpose flour
- 1/2 teaspoon baking soda
- 1/4 teaspoon sea salt
- 1 cup unsalted butter, softened to room temperature
- 1 1/2 cups granulated sugar
- 1 large egg, room temperature
- 1 teaspoon vanilla extract
- 1/2 teaspoon almond extract, optional but recommended
For the Royal Icing:
- 3 cups powdered sugar, sifted
- 2 to 3 tablespoons meringue powder, or 2 egg whites (pasteurized for safety)
- 3 to 4 tablespoons warm water, plus more as needed for consistency
- 1/2 teaspoon vanilla extract
- Pinch of sea salt
- Gel food coloring, optional
For Assembly and Decorating:
- Festive sprinkles, pearl dust, edible glitter
- Decorator bags and tips
- Parchment paper for cooling and decorating
- Baking sheets
Creating Perfect Cookie Dough
To begin, preheat your oven to 350 degrees Fahrenheit and position the racks to the middle setting. Meanwhile, in a medium bowl, whisk together the all-purpose flour, baking soda, and sea salt, combining them thoroughly and breaking up any lumps that might create dense cookies. Set this dry mixture aside for now while you focus on creating the creaming mixture that will form your cookie’s foundation.
In a large mixing bowl, combine the softened unsalted butter and granulated sugar, beating them together on medium speed using an electric mixer for approximately three to four minutes. First, the mixture should become pale, light, and noticeably fluffy—this creaming process incorporates air that creates tender cookies with delicate crumb structure. Next, scrape down the sides of the bowl with a rubber spatula, ensuring all butter is evenly incorporated and no streaks remain visible.
Add the room-temperature egg and vanilla extract to the creamed mixture, beating on medium speed for approximately one minute until everything combines smoothly. Next, add the optional almond extract, which adds subtle flavor complexity that makes people wonder about your secret ingredient without being able to identify it specifically. Beat for an additional 30 seconds until the mixture becomes pale and slightly fluffy again. First, room-temperature ingredients combine much more smoothly than cold ones, creating a homogeneous batter that produces consistent cookies. Next, this careful attention to mixing details separates good cookies from truly exceptional ones.
Gradually add the flour mixture to the wet ingredients, mixing on low speed and stopping frequently to scrape down the bowl. First, adding flour gradually prevents overmixing that would develop too much gluten and create tough, dense cookies instead of tender ones. Next, stop mixing as soon as the flour disappears—you don’t want to work the dough more than necessary after all flour has been incorporated. The finished dough should come together in a cohesive ball that’s soft and pliable without being sticky or greasy.
Rolling and Shaping Your Cookies
Divide your dough in half, wrapping each portion tightly in plastic wrap. First, working with half the dough at a time prevents the dough from warming and becoming too soft while you work. Next, this strategic division makes rolling and cutting much more manageable and produces more consistent results throughout your baking.
Remove one portion of dough from the refrigerator and allow it to sit at room temperature for approximately five minutes—this makes it pliable enough to roll without cracking. Place the dough between two sheets of parchment paper and roll to approximately one-quarter inch thickness, using even pressure throughout to ensure uniform cookie thickness. First, cookies of equal thickness bake evenly without some browning too quickly while others remain underdone. Next, one-quarter inch thickness produces the perfect balance between crispy edges and tender centers that defines exceptional sugar cookies.
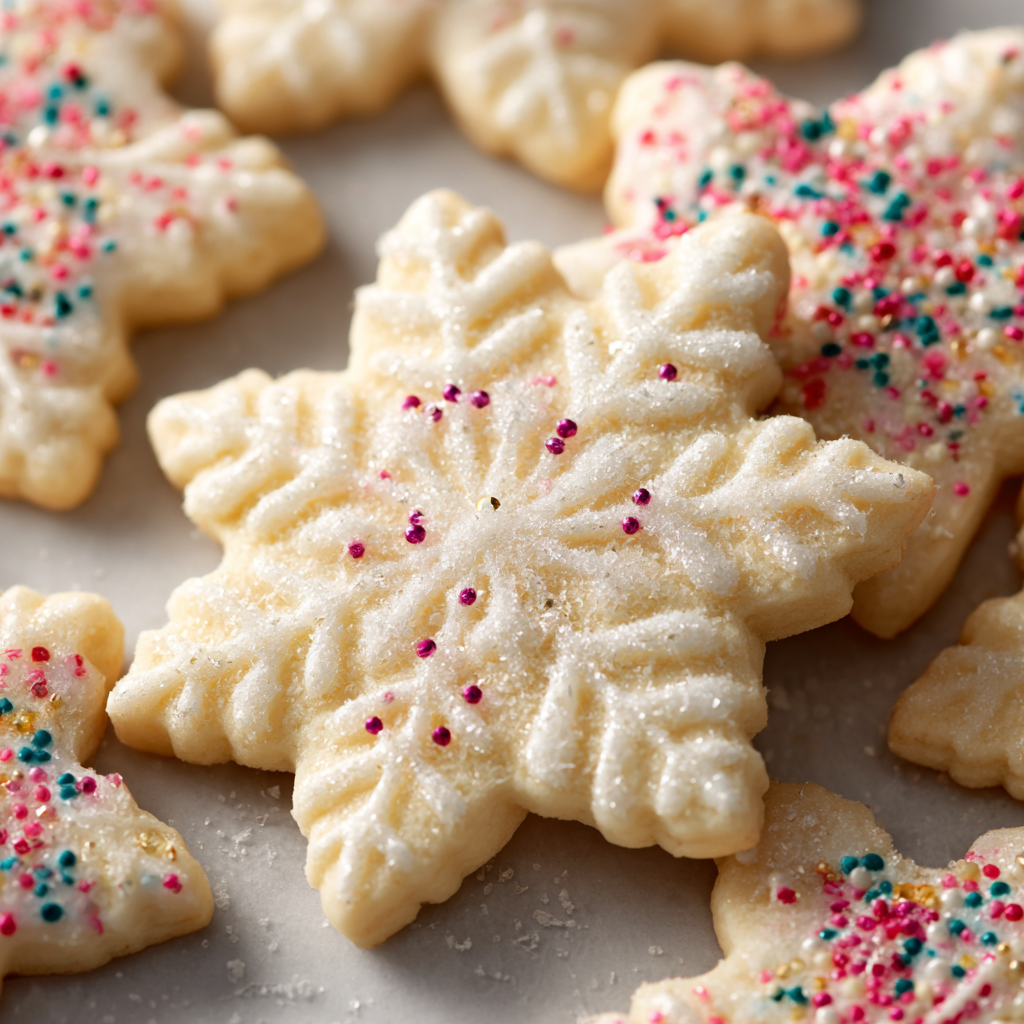
Cut your dough using festive cookie cutters—traditional shapes like stars, trees, gingerbread people, and snowflakes all work beautifully. Transfer the cut cookies to parchment-lined baking sheets, spacing them approximately one inch apart to allow for minimal spreading during baking. Gather all the dough scraps, press them together gently, roll again, and cut additional cookies—repeat this process until all dough is used. First, gently handling dough scraps prevents overdevelopment of gluten that would toughen subsequent batches. Next, these re-rolled cookies bake just as beautifully as those from the first rolling if you treat the dough with care and respect.
Baking to Perfect Doneness
Place your baking sheet in the preheated 350-degree oven and bake for approximately 10 to 12 minutes, watching carefully as your cookies near completion. First, the exact baking time depends on your oven’s individual hot and cold spots, so checking them at the 10-minute mark prevents overbaking. Next, perfectly baked sugar cookies should have set, firm edges with just a hint of golden color, while the centers remain pale with no browning visible.
Remove from the oven when the edges are just barely beginning to turn golden but the centers still look completely baked yet still soft—they’ll continue cooking slightly from residual heat. First, underbaking slightly produces cookies that become softer and chewier as they cool and age, which many people prefer to perfectly crisp cookies. Next, these slightly underbaked cookies taste buttery and tender rather than hard or stale-feeling, making them infinitely more enjoyable.
Allow the cookies to cool on the baking sheet for approximately three minutes, which firms them up just enough for safe handling without becoming brittle. Next, transfer them to a wire cooling rack using a thin spatula, being gentle to avoid cracking or breaking them. Allow them to cool completely before decorating—warm cookies won’t hold royal icing properly and the moisture from their residual heat will cause the icing to run and lose definition.
Preparing Royal Icing for Decorating
To create royal icing, sift your powdered sugar into a large mixing bowl—sifting is essential here as it removes lumps that would create grainy, unappealing icing. Add meringue powder or pasteurized egg whites along with warm water and vanilla extract, stirring gently with a wooden spoon or whisk. First, stir carefully at this stage to avoid incorporating too much air, which would create bubbles that mar your finished decorating. Next, add water gradually—start with three tablespoons and add more one teaspoon at a time until you reach your desired consistency.
For flooding—covering large cookie areas—your icing should flow smoothly off a spoon and level out on its own within 10 to 15 seconds. For outlining—creating borders and detailed designs—your icing should hold a peak when you lift your spoon and require deliberate piping pressure to flow. Taste your icing and adjust vanilla if needed, adding more for stronger vanilla flavor or salt to balance sweetness. First, royal icing can be made up to three days in advance if stored in an airtight container, making it convenient for holiday baking marathons. Next, if your icing thickens as it sits, thin it with water one teaspoon at a time rather than adding more ingredients that might throw off your ratios.
Decorating Your Christmas Cookies
To begin decorating, divide your royal icing among small bowls based on how many colors you want to use. Add gel food coloring one tiny drop at a time, stirring well before adding more—gel coloring is intensely pigmented, so start conservatively and add more gradually. First, gel coloring doesn’t water down your icing the way liquid food coloring does, maintaining perfect consistency. Next, test your icing colors on the edge of a cookie before fully committing, as colors deepen slightly as they dry.
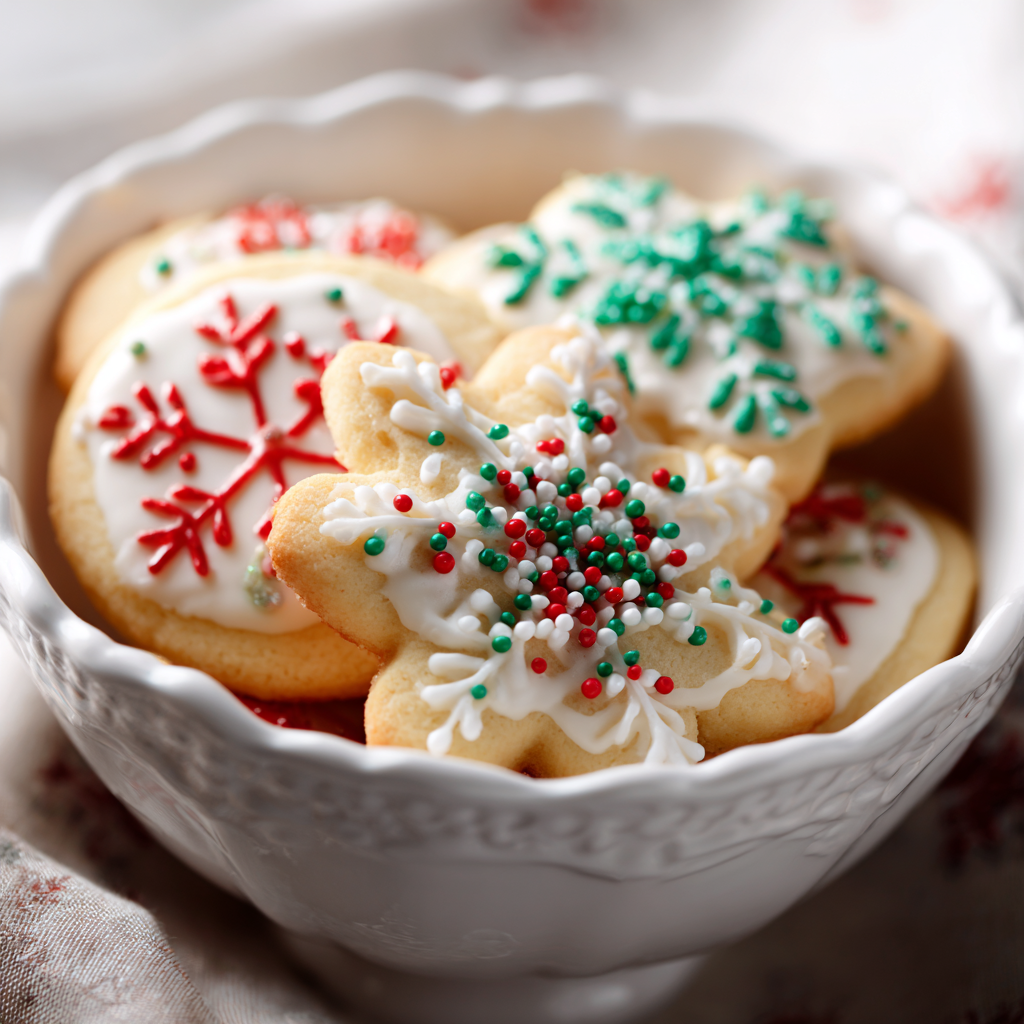
Transfer your icing to decorator bags fitted with fine-tipped piping tips, or use small spoons and squeeze bottles for simpler decorating. First, start by outlining your cookie shapes with a contrasting color if desired, using steady, confident piping pressure. Next, allow this outline to set for approximately one minute before flooding the interior with thinner icing that flows to fill the space evenly.
Add sprinkles, pearl dust, edible glitter, and other embellishments while the icing remains wet—these adhere beautifully to wet icing but won’t stick to icing that has already dried. Create patterns, add details, and let your creativity shine through without overthinking the process. First, some of the most beautiful decorated cookies come from confident, uninhibited decorating that prioritizes fun over perfection. Next, professional-looking cookies require only clean lines, coordinating colors, and confident execution—not artistic ability that feels intimidating.
Allow all decorated cookies to dry completely before storing—this typically requires two to four hours depending on humidity levels and icing thickness. First, store completely dry cookies in airtight containers with parchment between layers to prevent icing from sticking to other cookies. Next, properly stored decorated cookies remain delicious and beautiful for up to one week, making them perfect for advance holiday preparation.
Serving and Storing Tips
Serving Tips
Present your Christmas sugar cookies on beautiful platters decorated with fresh greenery, ribbons, or festive linens that enhance their visual appeal. Additionally, arrange them by color or design for a coordinated, gallery-like presentation that shows off your decorating effort. Serve alongside hot cocoa, coffee, eggnog, or mulled cider for the ultimate holiday experience that engages multiple senses.
Furthermore, package decorated cookies into festive tins, boxes, or gift bags tied with ribbon for giving to neighbors, friends, teachers, and colleagues. Consider creating assorted cookie platters that combine different shapes and colors, which feels more elegant and thoughtful than single varieties. For holiday parties, arrange cookies on tiered cake stands or decorative platters positioned prominently where guests naturally gravitate while mingling.
Storage Tips
First, store completely cooled, undecorated cookies in airtight containers at room temperature for up to one week, placing parchment between layers to prevent sticking. Next, these cookies also freeze beautifully for up to three months—layer them in freezer-safe containers with parchment between layers, allowing you to bake weeks in advance.
For decorated cookies, store them in airtight containers separated by parchment paper to prevent the royal icing from sticking to other cookies or being damaged during storage. Keep them in cool, dry conditions away from humidity, which can cause the icing to become sticky and soft. Additionally, decorated cookies keep for up to one week at room temperature, though they’re most beautiful consumed within the first three to four days when the icing appears freshest and most vibrant.
Helpful Notes and Ingredient Substitutions
The magic of this recipe lies in its simplicity and the quality of ingredients you use—premium butter, fresh eggs, and pure vanilla extract make a noticeable difference in flavor that sets these cookies apart. For butter, use unsalted butter to control the saltiness precisely, as salted butter varies between brands. First, room-temperature butter creams more evenly than cold butter, producing fluffier dough that bakes into more tender cookies. Next, if your kitchen is particularly warm, soften butter at room temperature rather than using a microwave that can create soft spots alternating with cold spots.
For eggs, room-temperature eggs incorporate more smoothly into creamed butter and sugar, creating a homogeneous mixture that produces consistent cookies. Next, you can bring cold eggs to room temperature by placing them in a bowl of warm water for five minutes. For vanilla extract, pure vanilla extract offers superior flavor compared to imitation, though good-quality imitation works acceptably if budget is a concern.
For decorating, royal icing provides the most professional results and dries hard, creating cookies that travel well and look gallery-quality. However, you can also use cream cheese frosting thinned with milk for a softer, tangier option that doesn’t require special ingredients. Next, simple glaze made from powdered sugar and milk creates effortless elegance with minimal decorating effort.
To save time, prepare your dough the day before and refrigerate it overnight—this actually improves flavor as ingredients meld together. Moreover, you can freeze baked, undecorated cookies for weeks and decorate them fresh whenever you have time. Next, prep all your decorating supplies and icing colors in advance, allowing you to decorate in an assembly-line fashion that’s efficient and meditative.
Avoid common mistakes by not opening your oven door during baking, as temperature fluctuations cause uneven baking and cookies to spread unpredictably. Additionally, don’t skip cooling cookies completely before decorating—warm cookies won’t hold royal icing properly and the result becomes messy and disappointing. Next, resist overbaking these cookies—they’re finished when the edges turn golden and the centers still look slightly underbaked.
Chef Tips
First, create more sophisticated flavors by using European-style butter with higher fat content, which produces richer, more tender cookies with deeper buttery flavor that tastes noticeably superior. Next, add a tiny pinch of cardamom or a whisper of orange zest to your dough, which adds subtle complexity that makes people guess at your secret ingredient without identifying it specifically.
Frequently Asked Questions
Can I decorate these cookies with store-bought frosting instead of making royal icing? Yes, canned frosting works in a pinch—soften it slightly with milk to create a spreadable consistency, though homemade royal icing offers superior results and professional appearance.
How far in advance can I bake these cookies for Christmas? Undecorated cookies freeze beautifully for up to three months, while decorated cookies keep fresh for one week at room temperature in airtight containers.
What if my royal icing is too thick or too thin? Adjust consistency by adding water one teaspoon at a time for thin icing, or powdered sugar one tablespoon at a time for thick icing, stirring well between additions.
Can I use store-bought sugar cookie dough instead of homemade? Yes, store-bought dough saves time—though homemade dough tastes noticeably superior with better texture and flavor that makes the extra effort worthwhile for special occasions.
Is it necessary to use meringue powder or can I use raw eggs for royal icing? Meringue powder is safer and easier than raw eggs—if using pasteurized eggs, ensure they’re specifically labeled as pasteurized for food safety.
Why These Christmas Sugar Cookies Deserve a Place in Your Holiday Tradition
These cookies represent the essence of Christmas baking—simple, nostalgic, yet produce results that feel genuinely special and worthy of celebration. First, they deliver buttery, tender perfection that rivals bakery-quality cookies while being entirely homemade and personalized. Next, the decorating possibilities are endless, allowing you to express creativity and make each cookie unique based on your artistic vision and available supplies.
The joy of sharing homemade cookies with people you care about creates memories and goodwill that extend far beyond the cookies themselves. Most importantly, these cookies prove that Christmas traditions don’t require complexity or expense—instead, quality ingredients, careful technique, and genuine care transform simple dough into edible art that brings happiness to everyone who receives them.
The process of baking and decorating becomes meditative, stress-relieving, and deeply satisfying in a way that commercial cookies never could achieve. Whether you’re baking alone as a moment of self-care, creating memories with children and grandchildren, or preparing gifts for your community, these cookies facilitate connection and joy. From the first buttery bite to the final moment of admiring your finished creations, these cookies embody everything beautiful about holiday baking and tradition-making.
These cookies will inevitably become your go-to recipe—the one you return to year after year, the one people request throughout the season, and the one that defines your personal Christmas baking legacy. Whether this is your first time making them or you’ve been perfecting this recipe for decades, each batch offers opportunity to create something beautiful and share joy with everyone around you.
Did you love this Best Christmas Sugar Cookie Recipe? If so, we’d absolutely adore it if you’d save this recipe for later, pin it to your favorite Pinterest board, or share it with friends and family who appreciate homemade holiday cookies that taste as beautiful as they look. Your support means everything to us and inspires us to keep creating delicious recipes that make holiday baking feel achievable and genuinely joyful. Thank you for baking with us this Christmas season!