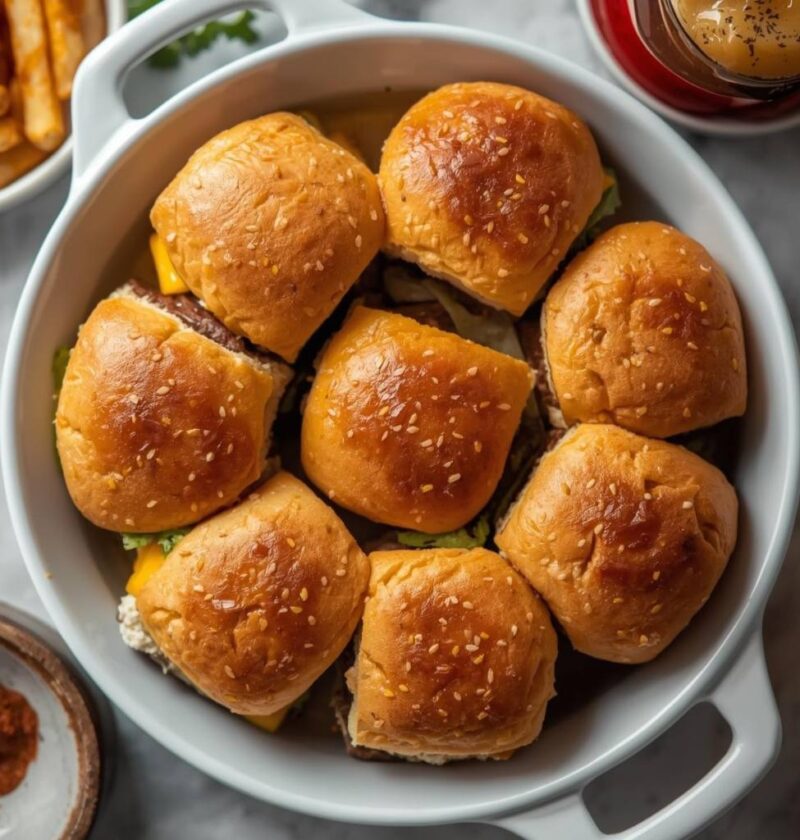
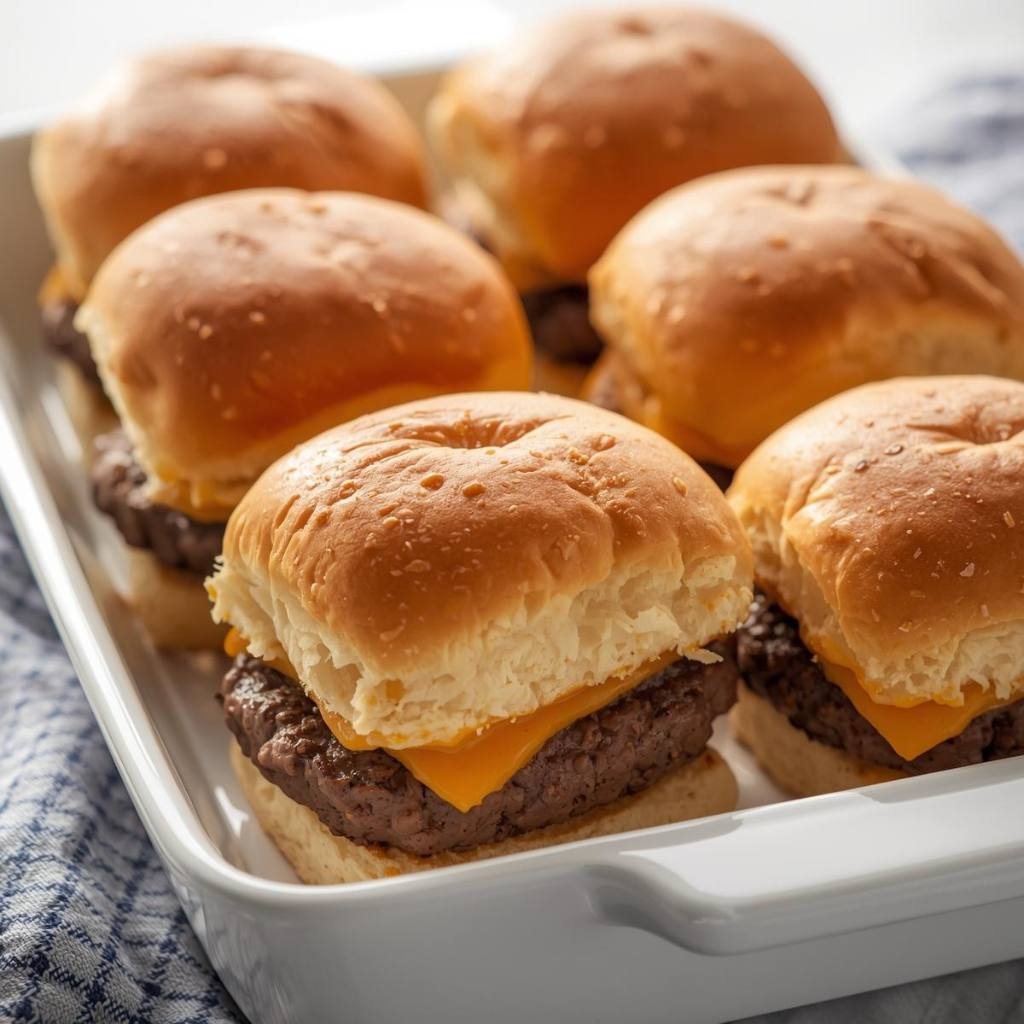
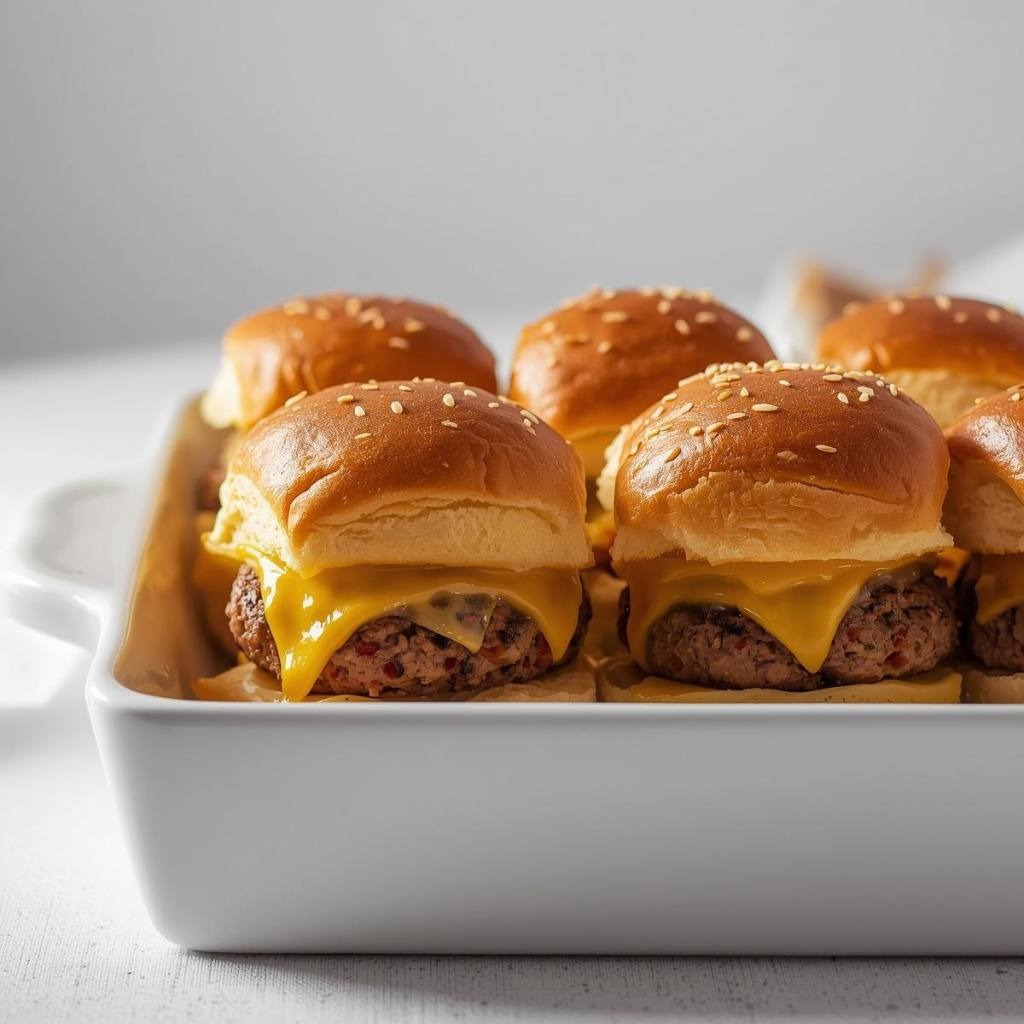
There’s something wonderfully nostalgic about sinking your teeth into a perfectly proportioned cheeseburger slider that tastes like your favorite classic diner burger, yet somehow feels more elegant and sophisticated in miniature form. Cheeseburger sliders represent the ultimate expression of casual entertaining at its finest, transforming simple ground beef and melted cheese into handheld delights that appeal to everyone from young children to the most discerning adults at your gathering. These beloved mini burgers have become the go-to appetizer for entertaining precisely because everyone loves them, they’re incredibly simple to prepare in large batches, and they consistently earn enthusiastic raves from every single guest who takes that first satisfying bite. What makes this recipe truly special is how it honors classic cheeseburger traditions while adapting them into a more manageable, shareable format that works beautifully for entertaining any size crowd. Whether you’re hosting a backyard barbecue, throwing a casual tailgate party, preparing appetizers for an elegant gathering, or simply wanting to serve something delicious and crowd-pleasing for dinner, these sliders deliver impressive results without requiring you to spend excessive time fussing in the kitchen. The beautiful thing about cheeseburger sliders is that you can customize the toppings completely based on your guests’ preferences, prepare the patties in advance, and assemble everything at the last moment for maximum freshness and appeal.
Ingredients
This recipe makes approximately 12 sliders, serving 6 to 8 people as an appetizer or 4 to 6 as a main course.
- 1.5 pounds ground beef, preferably 80/20 blend
- ½ medium yellow onion, finely diced
- 2 cloves fresh garlic, minced very finely
- ¼ cup breadcrumbs, panko or regular
- 1 large egg
- 1 tablespoon Worcestershire sauce
- 1 tablespoon soy sauce
- 1 teaspoon salt
- ½ teaspoon black pepper
- ½ teaspoon garlic powder
- ¼ teaspoon cayenne pepper, optional
- 12 slices cheddar cheese or American cheese
- 1 package soft dinner rolls or slider buns, approximately 12 rolls
- ½ cup mayonnaise
- 1 tablespoon yellow mustard
- 1 tablespoon ketchup
- 12 thin slices dill pickle
- 12 thin slices tomato
- 12 leaves butter lettuce or crisp lettuce
- 12 thin slices red onion
- 3 tablespoons butter, softened
- 1 teaspoon sesame seeds, optional
- 12 slices cooked bacon, optional but highly recommended
- Fresh parsley for garnish, optional
Creating Your Burger Patties
Begin by combining your ground beef in a large mixing bowl with the finely diced onion, minced fresh garlic, breadcrumbs, egg, Worcestershire sauce, soy sauce, salt, black pepper, garlic powder, and cayenne pepper if using. Gently mix these ingredients together using your hands or a wooden spoon, being careful not to overwork the mixture, which can result in tough, dense patties rather than tender, juicy burgers. The mixture should come together easily, and you should be able to see visible bits of onion and garlic distributed throughout the meat.
Divide this meat mixture into 12 equal portions, then gently shape each portion into a patty that’s roughly the same diameter as your slider rolls but slightly thinner to account for expansion during cooking. Pat these patties lightly to compress them just enough to hold their shape during the cooking process, but avoid pressing them down aggressively, which compacts the meat and creates an undesirable dense texture. Create a small indentation in the center of each patty using your thumb, which helps them cook evenly and prevents them from puffing up excessively. If you have time available, refrigerate these patties for 30 minutes to an hour before cooking, which helps them hold together better during the cooking process.
Cooking Your Sliders to Perfection
Heat a large skillet or griddle over medium-high heat and allow it to become quite hot before adding your burger patties. Working in batches if necessary to avoid crowding the pan, place your slider patties onto the hot cooking surface and allow them to cook undisturbed for about 2 to 3 minutes until they develop a beautiful, flavorful brown crust on the bottom. Flip each patty carefully and cook for another 1 to 2 minutes on the second side, until the meat is cooked through completely but still retains some moisture and juiciness inside.
During the last minute of cooking, top each patty with a slice of your chosen cheese and cover the skillet with a lid or tent of foil to allow the cheese to melt beautifully and completely. The residual heat will melt the cheese into a creamy, delicious layer that makes every bite absolutely irresistible and satisfying. Remove the cooked patties from the heat and set them aside on a clean plate, keeping them warm while you prepare the remaining components.
Toasting Your Slider Buns
While your patties cook, preheat your oven to 375°F and allow it to reach full temperature. Carefully slice each slider roll horizontally through the middle without completely separating the two halves, keeping them hinged together like a book. Next, gently open each roll pair and arrange them on a baking sheet with the inside surfaces facing upward, preparing them for buttering and toasting.
Combine your softened butter with sesame seeds if using, mixing thoroughly until evenly distributed throughout the butter. Brush the inside surfaces of each roll generously with this seasoned butter, ensuring that both the top and bottom halves receive an even coating. Place the rolls in your preheated oven and toast them for about 4 to 5 minutes until they’re lightly golden brown and fragrant. Watch them carefully during toasting to prevent the rolls from browning too much or becoming dry, as timing varies considerably based on individual ovens.
Building Your Classic Cheeseburger Sliders
Remove your toasted rolls from the oven and set them on a clean work surface, arranging them in rows for easy assembly. In a small bowl, combine your mayonnaise, yellow mustard, and ketchup, stirring thoroughly until you have a smooth, well-blended special sauce. Spread a small amount of this sauce on both the top and bottom halves of each roll, distributing it evenly across the cut surfaces.
On the bottom half of each roll, place one cooked cheeseburger patty, centering it carefully so it sits evenly on the bun. Layer a dill pickle slice over the burger, which adds brightness and tang that beautifully complements the savory beef and melted cheese. Add a fresh tomato slice, a crisp lettuce leaf, and a thin slice of red onion, which all combine to create layers of flavor and texture that make every bite interesting and satisfying.
If using bacon, place one or two crispy strips over the red onion, which adds extra richness and smoky flavor that elevates these sliders to something even more special and indulgent. Finally, close the top half of the roll gently over all the fillings, pressing slightly so everything holds together securely. You can secure each slider with a decorative toothpick through the center if you’d like to prevent them from separating during serving, or simply arrange them on a serving platter. Garnish with fresh parsley if desired for added color and fresh flavor, though this step is entirely optional.
Serving and Storage Tips
Serving Suggestions
Serve your cheeseburger sliders warm, preferably within an hour of assembly when the buns are still soft and the cheese is at its optimal melty texture. First, arrange them on an attractive serving platter, wooden board, or individual plates, creating a visually appealing presentation that immediately draws guests to the food. These sliders work wonderfully as appetizers at outdoor barbecues, the centerpiece for casual lunch gatherings, a fun option for tailgate parties and sports events, or an impressive offering for informal entertaining where guests appreciate something both delicious and satisfying.
Additionally, cheeseburger sliders make excellent options for feeding a crowd at backyard parties, family reunions, casual wedding receptions, or entertaining situations where you want food that’s easy to eat while socializing and mingling. They’re also perfect for children’s birthday parties since the smaller size appeals perfectly to younger appetites, and they can be customized with different toppings based on individual preferences and dietary considerations. Furthermore, these sliders work beautifully for meal prep if you’re looking to prepare several for the week ahead, offering grab-and-go lunch options that are far superior to typical fast food burgers and sandwich shop offerings.
Pair these sliders with classic burger sides like French fries, crispy onion rings, potato chips, coleslaw, or grilled vegetables. Cold beverages like sodas, lemonade, iced tea, or craft beers complement the rich, savory burger flavors beautifully. Serve extra pickles, ketchup, mustard, and mayonnaise on the side for guests who want to customize their sliders further.
Storage Instructions
Uncooked burger patties can be stored in an airtight container in your refrigerator for up to 2 days, or frozen for up to 3 months if you want to prepare them well ahead of time. The frozen patties are actually easier to cook because they hold their shape better during the cooking process. Fully assembled sliders are best consumed within about 2 hours of assembly, as the buns gradually absorb moisture from the fillings and become softer and soggier over extended time.
To reheat cooked burger patties before assembly, simply warm them in a skillet over medium heat for about 1 to 2 minutes per side, or warm them in a 350°F oven for about 5 to 7 minutes until heated through. You can also reheat the entire assembled slider by wrapping it loosely in foil and warming at 325°F for about 8 to 10 minutes until the burger is warm and the bun softens slightly without becoming mushy. Avoid using a microwave for reheating if possible, as this tends to make the buns tough and chewy rather than soft and tender.
Helpful Notes and Tips
One of the most important factors in creating exceptional cheeseburger sliders is not overworking your meat mixture, which develops gluten and results in tough, dense patties rather than tender, juicy sliders with excellent texture. Mix just until the ingredients are combined, leaving some visible texture in the mixture. Additionally, avoid pressing down on the patties while they cook, as this squeezes out flavorful juices and creates a dry, disappointing burger rather than a juicy one.
If you prefer spicier sliders, increase the cayenne pepper to ½ teaspoon or add a tablespoon of hot sauce to the meat mixture before shaping the patties. For a different flavor profile, you can substitute ground pork or a combination of ground beef and ground pork, which adds extra richness and depth to the sliders. Furthermore, you could experiment with different cheeses like pepper jack for extra heat, Swiss for mild richness, or even blue cheese for an adventurous take on this classic.
Another helpful variation involves making these sliders with ground turkey or ground chicken for a lighter option that still delivers incredible flavor and satisfaction to your guests. Some creative cooks enjoy adding crispy bacon pieces directly into the meat mixture before shaping the patties for integrated bacon flavor throughout. Additionally, you could experiment with different slider buns like pretzel buns for more substance or brioche buns for extra richness and sweetness.
A common mistake involves using rolls that are too small or delicate to support the burger patties and toppings properly, resulting in a messy eating experience where everything falls apart. Choose rolls that are sturdy enough to hold a reasonable amount of filling without collapsing or separating. Another frequent error involves cooking the patties at too high a temperature, which creates a well-done exterior before the inside finishes cooking evenly.
Chef Tips
Professional cooks often make their burger patties a full day ahead, refrigerating them overnight so the flavors meld and integrate throughout the mixture. Furthermore, using a combination of both ground beef and ground pork rather than straight beef creates a slider patty with more complexity, richness, and depth that tastes noticeably better than single-meat versions and more satisfying overall.
Frequently Asked Questions
Can I make these burger patties ahead of time and freeze them? Yes, shape and freeze the patties on a baking sheet, then transfer to a freezer bag for up to 3 months, cooking from frozen by adding an extra minute per side.
What’s a good substitute for American cheese in this recipe? Cheddar, Swiss, pepper jack, or even provolone all work beautifully as alternatives with slightly different flavor profiles.
Can I use ground turkey instead of ground beef? Yes, ground turkey works well though it’s slightly leaner, so add an extra tablespoon of mayonnaise or use an 85/15 blend if available for juiciness.
How can I prevent my burger patties from shrinking too much during cooking? Make the indentation in the center of each patty and avoid pressing down while cooking, both of which help them maintain their size and shape.
Are these sliders freezer-friendly after cooking? Cooked burger patties freeze well for up to 3 months, though fully assembled sliders don’t freeze well due to the soft buns becoming mushy when thawed.
Why This Recipe Works
Cheeseburger sliders succeed because they combine flavorful, juicy burger patties with complementary toppings and soft buns that hold everything together perfectly without overwhelming or competing with the filling. The combination of beef, cheese, pickles, tomato, lettuce, and onion creates a balanced flavor profile that feels both familiar and exciting with each bite. The mayonnaise-based sauce adds richness and binding that holds all the elements together while adding subtle flavor complexity.
The beauty of this recipe lies in its simplicity and the way it honors classic cheeseburger traditions while adapting them into a more convenient, entertaining-friendly format. First-time cooks often worry that making sliders that don’t fall apart or have dry patties is challenging, but this straightforward approach proves that restaurant-quality sliders are absolutely achievable with proper technique and quality ingredients.
Next, the fact that you can prepare the patties days in advance and assemble them just before serving makes this recipe incredibly practical for busy home cooks who want to serve something impressive without spending excessive time in the kitchen. Furthermore, sliders work wonderfully for feeding a crowd since multiple people can grab one or two, making them economical for entertaining while also being easy to serve and eat without requiring utensils or extensive cleanup.
The versatility of this recipe allows you to adapt it to your guests’ preferences and whatever ingredients you have available while still consistently delivering delicious, satisfying results that people will enthusiastically request again and again.
If you loved making these cheeseburger sliders, I’d absolutely love to hear about your experience! Did your guests devour them immediately and beg for more? Were people amazed by the tender, juicy burgers and perfect flavor combinations that make them irresistible? Please take a moment to save this recipe for future reference, pin it to your favorite Pinterest board, or share it with friends and family who appreciate impressive appetizers and sliders that are surprisingly simple to make. Your feedback and enthusiasm truly inspire us to keep creating more exciting recipes that make your gatherings memorable, delicious, and special. Thank you so much for cooking with us today!