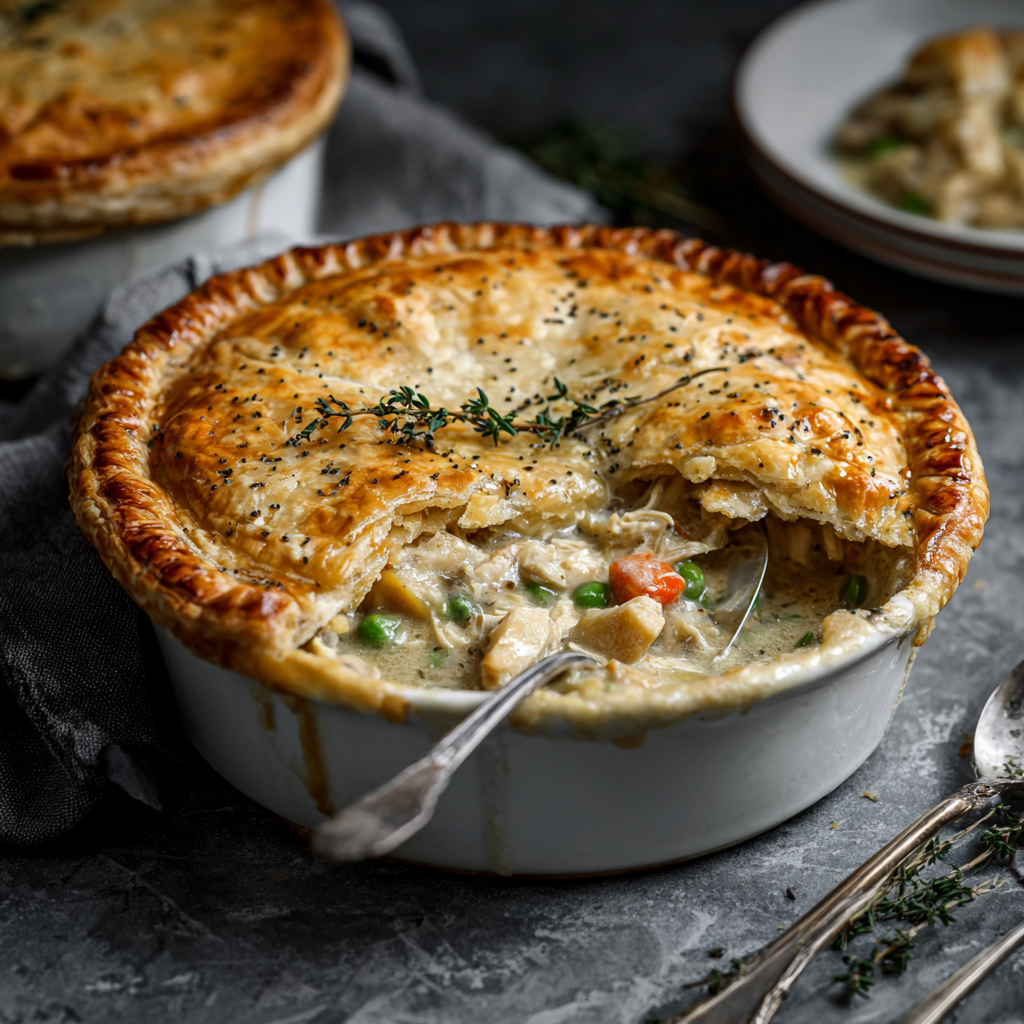
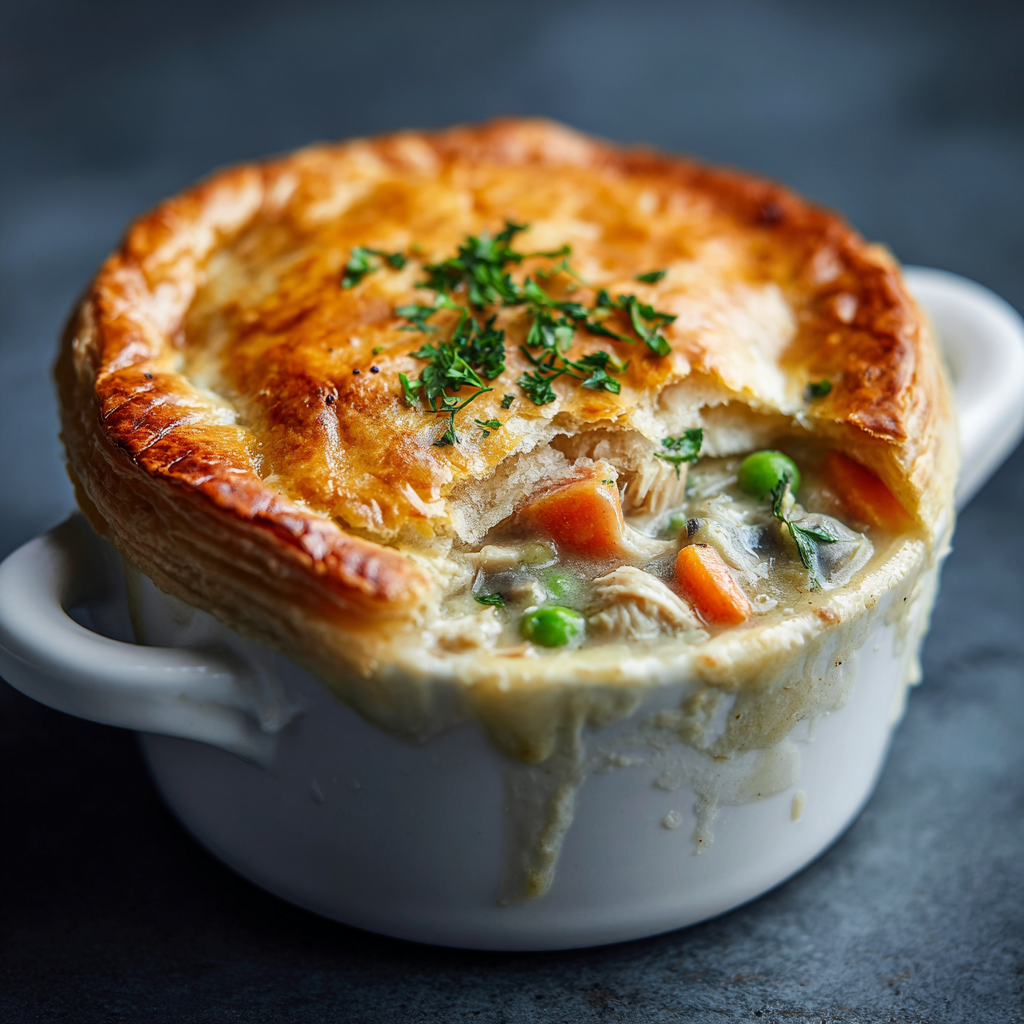
When cold winter evenings call for something warm and comforting, nothing satisfies quite like a golden, flaky chicken pot pie bubbling with tender chicken and vegetables in creamy sauce. This classic dish combines everything you love about comfort food—rich flavors, satisfying textures, and that cozy feeling that comes from a home-cooked meal made with care. What makes this recipe truly exceptional is how it balances traditional indulgence with approachable techniques that anyone can master, creating restaurant-quality results in your own kitchen. The combination of perfectly seasoned chicken, colorful vegetables, velvety sauce, and buttery pastry creates layers of flavor and texture that make every bite absolutely irresistible. Whether you’re feeding your family on a snowy Sunday or impressing dinner guests with your culinary skills, this pot pie delivers the kind of soul-warming satisfaction that defines winter cooking. Best of all, you can prepare components ahead of time, customize the filling to your preferences, and even make individual portions that look impressive while simplifying serving and storage.
Ingredients
This recipe makes 6 servings.
For the Filling:
- 3 tablespoons unsalted butter
- 1 large yellow onion, diced
- 3 medium carrots, peeled and diced
- 3 celery stalks, diced
- 8 ounces mushrooms, sliced
- 3 cloves garlic, minced
- 1/3 cup all-purpose flour
- 2 cups chicken broth
- 1 cup whole milk or half-and-half
- 3 cups cooked chicken, shredded or diced
- 1 cup frozen peas
- 1 cup frozen corn
- 2 teaspoons fresh thyme leaves (or 1 teaspoon dried)
- 1 teaspoon fresh rosemary, chopped (or 1/2 teaspoon dried)
- 1 bay leaf
- 1 teaspoon salt
- 1/2 teaspoon black pepper
- 1/4 teaspoon nutmeg
- 2 tablespoons fresh parsley, chopped
For the Crust:
- 2 sheets refrigerated pie crust (or homemade pastry)
- 1 egg, beaten
- 1 tablespoon water
- Flaky sea salt for sprinkling
Instructions
- Preheat your oven to 400°F and position the rack in the lower third.
- Melt the butter in a large, deep skillet or Dutch oven over medium heat.
- Add the diced onion, carrots, and celery, sautéing for 8 to 10 minutes until softened.
- Stir in the sliced mushrooms and cook for 5 to 6 minutes until they release their moisture.
- Add the minced garlic and cook for 1 minute, stirring constantly until fragrant.
- Sprinkle the flour over the vegetables, stirring to coat everything evenly.
- Cook the flour for 2 minutes, stirring constantly, to eliminate the raw flour taste.
- Gradually pour in the chicken broth while whisking constantly to prevent lumps.
- Add the milk or half-and-half, continuing to whisk until the mixture is smooth.
- Stir in the thyme, rosemary, bay leaf, salt, pepper, and nutmeg.
- Bring the mixture to a simmer, stirring frequently, until it thickens to gravy consistency.
- Add the cooked chicken, frozen peas, and frozen corn, stirring to combine.
- Simmer for 3 to 4 minutes until the peas and corn are heated through.
- Remove from heat, discard the bay leaf, and stir in the fresh parsley.
- Taste and adjust seasonings, adding more salt or pepper as needed.
- Transfer the filling to a 9-inch deep-dish pie pan or 2-quart baking dish.
- Let the filling cool for 10 to 15 minutes while you prepare the crust.
- Unroll one pie crust and place it over the filling, trimming excess and crimping edges.
- Cut 4 to 5 slits in the top crust to allow steam to escape during baking.
- Whisk together the beaten egg and water to create an egg wash.
- Brush the egg wash over the entire surface of the crust.
- Sprinkle with flaky sea salt for extra flavor and visual appeal.
- Place the pie dish on a baking sheet to catch any drips.
- Bake for 35 to 40 minutes until the crust is deep golden brown and the filling bubbles.
- Remove from the oven and let rest for 10 to 15 minutes before serving.
- Slice into wedges and serve hot with any remaining filling spooned over the top.
Building a Rich, Flavorful Filling
Creating the perfect pot pie filling requires building layers of flavor through proper technique and quality ingredients. The aromatic base of sautéed onions, carrots, and celery provides the savory foundation that makes this filling taste complex and satisfying. Taking time to properly cook these vegetables until softened and slightly caramelized releases their natural sugars and creates depth that simple simmering cannot achieve. Additionally, the mushrooms contribute umami richness and meaty texture that makes the filling more substantial and interesting.
The roux—made by cooking flour in butter—serves as the thickening agent that transforms thin broth into luxurious, gravy-like sauce. This classic French technique creates smooth, creamy consistency without any graininess or separation. Cooking the flour for a full two minutes before adding liquids eliminates the raw flour taste that would otherwise make your sauce taste pasty or starchy. Furthermore, adding liquids gradually while whisking constantly prevents lumps and creates silky-smooth results that coat every piece of chicken and vegetable beautifully.
Fresh herbs elevate this filling from ordinary to exceptional through bright, aromatic notes that balance the richness. Thyme and rosemary provide classic poultry seasoning that tastes familiar and comforting, while the subtle addition of nutmeg adds warmth and complexity that most people can’t identify but definitely notice. Fresh parsley stirred in at the end contributes color and freshness that prevents the filling from tasting heavy or one-dimensional. These thoughtful seasoning choices transform simple ingredients into something truly special.
Choosing and Preparing the Perfect Crust
The crust makes or breaks chicken pot pie, providing essential textural contrast to the soft, creamy filling. Refrigerated pie crusts offer convenience and consistent results, making this recipe accessible even for those intimidated by pastry. However, homemade crust delivers superior flavor and flakiness that’s worth the extra effort if you have time and confidence. Whether store-bought or homemade, ensure your pastry is cold when it goes into the oven, which creates steam pockets that produce those desirable flaky layers.
The egg wash serves multiple important purposes beyond just making the crust look beautiful. Brushing this mixture of beaten egg and water over the pastry creates a protective barrier that helps prevent sogginess from the steam released by the hot filling. Additionally, the egg wash promotes even, deep golden browning that makes your pot pie look professionally baked. The proteins in the egg also create shine that makes the finished crust look glossy and appetizing, while the flaky sea salt adds textural interest and enhances overall flavor.
Cutting vents in the top crust isn’t just decorative—it’s essential for preventing soggy pastry and allowing steam to escape. Without these openings, pressure builds inside the pie and moisture condenses on the underside of the crust, creating an unpleasant, doughy texture. The vents also provide a window into the filling, allowing you to see when it’s bubbling, which indicates the pie is properly heated through. Some bakers get creative with decorative vent patterns or cutouts that make each pot pie look unique and special.
Creating the Ideal Filling Consistency
Achieving perfect filling consistency requires balancing the ratio of liquid to thickener and understanding how the mixture will behave during baking. The filling should be thick enough to coat a spoon but still pourable when you transfer it to the baking dish. Remember that it will thicken further as it cools and during baking, so what seems slightly thin at the stovetop will become perfectly creamy by serving time. Conversely, filling that’s too thick before baking will become pasty and gluey rather than creamy and luscious.
The combination of chicken broth and milk or half-and-half creates the ideal flavor and richness profile. Broth alone would taste thin and watery, while cream alone would be excessively rich and heavy. This blend provides body and richness without overwhelming the delicate chicken and vegetable flavors. For even lighter results, use all milk instead of half-and-half, though the filling will be slightly less indulgent. Conversely, using heavy cream creates restaurant-level richness that’s perfect for special occasions.
Cooling the filling slightly before adding the top crust prevents the pastry from melting and becoming greasy before it has a chance to set in the oven. This brief cooling period—just 10 to 15 minutes—allows the filling to thicken slightly and reduces the temperature differential between filling and crust. Additionally, starting with filling that’s not piping hot helps prevent the bottom crust from becoming soggy, though baking on the lower oven rack also helps ensure a crisp bottom by exposing it to more direct heat.
Serving and Storing Tips
Serving Tips
Serve this chicken pot pie hot from the oven after allowing it to rest for 10 to 15 minutes, which helps the filling set and makes slicing cleaner. The resting period allows steam to escape and the sauce to thicken slightly, preventing runny slices that fall apart on the plate. Present the whole pie at the table for dramatic effect before cutting, or portion it in the kitchen for more controlled serving sizes and neater presentation.
This hearty pot pie needs little accompaniment beyond perhaps a simple side salad to add freshness and cut through the richness. A crisp green salad with tangy vinaigrette, roasted Brussels sprouts, or steamed green beans all provide contrasting textures and flavors that balance the meal beautifully. Additionally, crusty bread for soaking up any extra sauce makes the meal even more satisfying, though the pot pie is genuinely filling on its own.
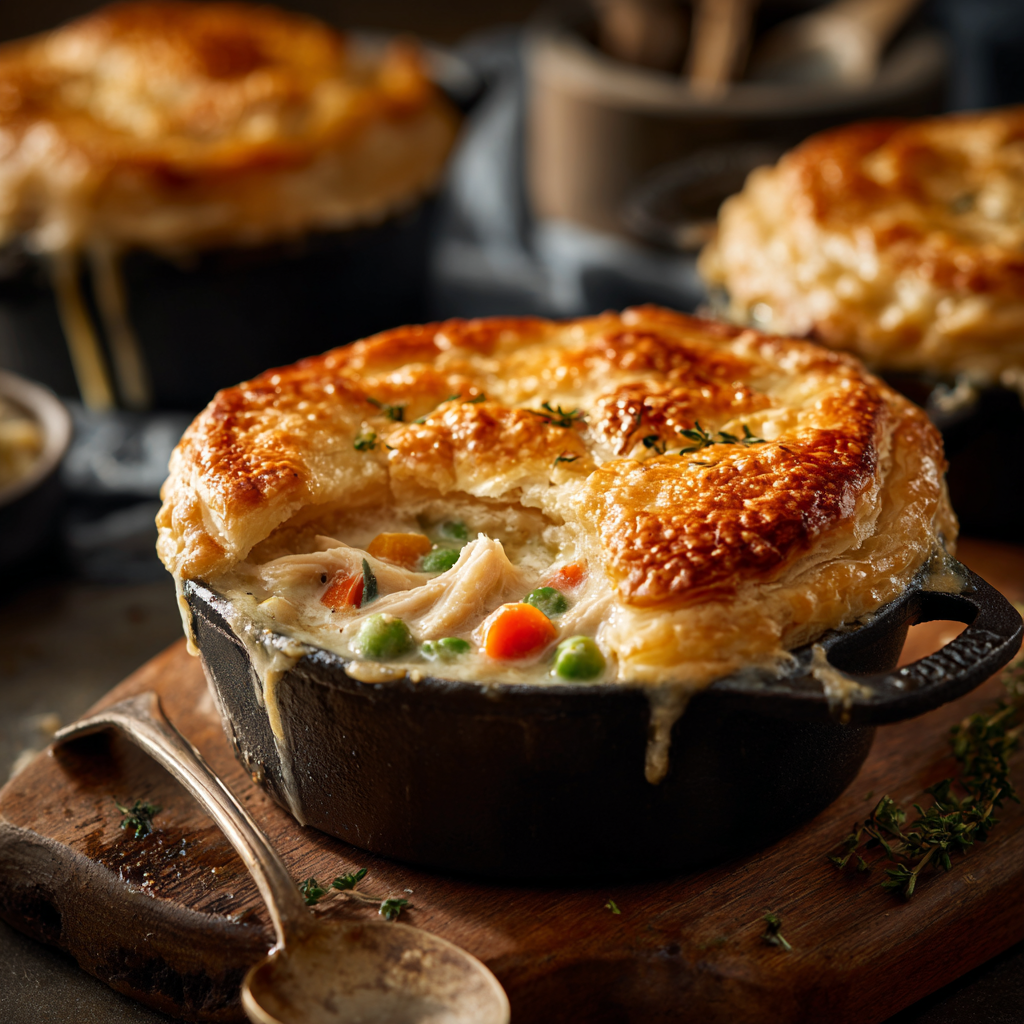
For elegant individual servings, divide the filling among ramekins or small baking dishes and top each with a circle of pastry cut slightly larger than the dish diameter. These personal pot pies look impressive, simplify serving at dinner parties, and allow guests to enjoy their own perfectly portioned meal. Furthermore, individual portions bake slightly faster—about 25 to 30 minutes—and create more crispy crust per serving since there’s more surface area relative to filling.
Storage Tips
Store leftover pot pie covered with foil or plastic wrap in the refrigerator for up to 3 days, though the crust will soften considerably during storage. The moisture from the filling inevitably migrates into the pastry, transforming crispy crust into softer texture that some people actually prefer. When reheating, place portions in a 350°F oven for 15 to 20 minutes to warm through and restore some crispness, covering loosely with foil if the crust browns too quickly.
For make-ahead convenience, prepare the filling up to 2 days in advance and store it separately from the unbaked crust. When you’re ready to bake, transfer the cold filling to your pie dish, top with fresh pastry, and bake, adding 5 to 10 extra minutes to account for the cold filling. This approach provides homemade pot pie convenience with minimal day-of effort, perfect for weeknight dinners or when expecting guests and wanting to minimize last-minute cooking stress.
Freezing unbaked pot pie works wonderfully for longer storage up to 3 months. Assemble the pie completely but don’t brush with egg wash or cut vents yet. Wrap tightly in plastic wrap and then foil, or use a freezer-safe container. When ready to bake, apply egg wash and cut vents while the pie is still frozen, then bake directly from frozen at 375°F for 60 to 70 minutes. This technique provides ultimate convenience—homemade comfort food ready whenever you need it with no thawing required.
Helpful Notes
Using rotisserie chicken provides an excellent shortcut that dramatically reduces active cooking time without sacrificing flavor. One whole rotisserie chicken yields approximately 3 to 4 cups of shredded meat, which is perfect for this recipe. Simply remove the skin, shred the meat, and add it to your filling. The pre-cooked chicken is already seasoned, which adds extra flavor to your pot pie. This approach transforms pot pie from a weekend project into a weeknight possibility.
For those who prefer a lighter version without sacrificing too much richness, several modifications maintain great flavor with reduced calories. Use low-fat milk instead of half-and-half, reduce butter to 2 tablespoons, and increase vegetables while reducing chicken slightly. Additionally, using just a top crust rather than both top and bottom eliminates significant calories while still providing that essential pastry element. These adjustments create a lighter pot pie that still satisfies comfort food cravings.
Customizing the filling based on preferences or what you have available makes this recipe remarkably flexible. Sweet potatoes can replace or supplement white potatoes, different herbs like sage or tarragon create new flavor profiles, and additional vegetables like green beans or bell peppers add variety. However, maintain the overall vegetable-to-liquid ratio to ensure proper consistency. Too many vegetables absorbs too much sauce, while too few creates a soupy filling that doesn’t hold together when sliced.
Common mistakes that ruin pot pie include under-seasoning the filling, using filling that’s too thin, or not fully baking until the crust is deeply golden and the filling bubbles. Always taste and adjust seasonings before assembling—the filling should taste slightly over-seasoned since pastry is bland and will dilute flavors. Ensure your filling is thick enough to coat a spoon, and resist pulling the pie from the oven too early even if the crust looks done. That bubbling filling visible through the vents indicates everything is properly heated through.
Chef Tips
Professional bakers know that placing pot pie on a baking sheet before putting it in the oven saves cleanup and prevents disasters. As the filling heats and expands, it often bubbles over the edges, especially if you’ve filled the dish generously. The baking sheet catches these drips and makes cleanup infinitely easier than scrubbing baked-on filling from the bottom of your oven. Additionally, the baking sheet provides extra insurance against soggy bottoms by conducting heat more evenly.
Another expert technique involves blind-baking the bottom crust for 10 minutes before adding filling, which creates insurance against sogginess. Line the raw bottom crust with parchment and pie weights or dried beans, bake until just set, then add your filling and top crust. This extra step isn’t essential but creates guaranteed crispy bottom crust that holds up beautifully even after storage. For those serious about perfect pot pie, this technique makes a noticeable difference in final quality.
Frequently Asked Questions
Can I make pot pie without a bottom crust? Absolutely, many people prefer just a top crust to reduce carbs and calories; the filling still tastes delicious with just golden pastry on top.
How do I prevent soggy bottom crust? Bake on the lower oven rack for more bottom heat, blind-bake the crust first, or skip the bottom crust entirely and just use a top crust.
Can I use puff pastry instead of pie crust? Yes, puff pastry creates beautifully flaky, dramatic results; just ensure it’s fully thawed and handle it minimally to maintain layers.
What’s the best way to reheat leftover pot pie? Bake uncovered at 350°F for 15 to 20 minutes until heated through and the crust crisps up slightly; microwave makes crust soggy.
Can I make individual pot pies in muffin tins? Yes, press pastry into muffin cups, fill with pot pie mixture, top with pastry circles, and bake for 20 to 25 minutes for adorable personal servings.
Creating Winter Comfort Traditions
Few dishes capture the essence of winter comfort quite like chicken pot pie emerging golden and fragrant from your oven. This classic recipe represents more than just dinner—it’s the kind of meal that creates memories, brings families together around the table, and provides genuine warmth during the coldest months. When you serve this bubbling, flaky pot pie, you’re offering more than food; you’re creating an experience of coziness and care that makes people feel loved and nourished.
The practical advantages of pot pie extend beyond comfort to include remarkable versatility and make-ahead convenience. This dish works equally well for casual family dinners, elegant entertaining, or even holiday meals when you want something special but approachable. Furthermore, pot pie uses leftover chicken beautifully, transforms humble vegetables into something special, and feeds a crowd without requiring expensive ingredients or advanced skills.
Did this Cozy Winter Chicken Pot Pie become your new favorite cold-weather comfort food? If you loved how the flaky crust and creamy filling came together perfectly, how it warmed you from the inside out, and how it made your house smell absolutely incredible, we’d be thrilled if you could save this recipe for your winter rotation, pin it to your comfort food Pinterest board, or share it with friends who appreciate classic home cooking. Your support and enthusiasm inspire us to continue creating and sharing recipes that bring warmth and deliciousness to your table. Tell us in the comments what you served alongside your pot pie and whether it’s become a family favorite—we love hearing about the comfort food traditions you’re creating!