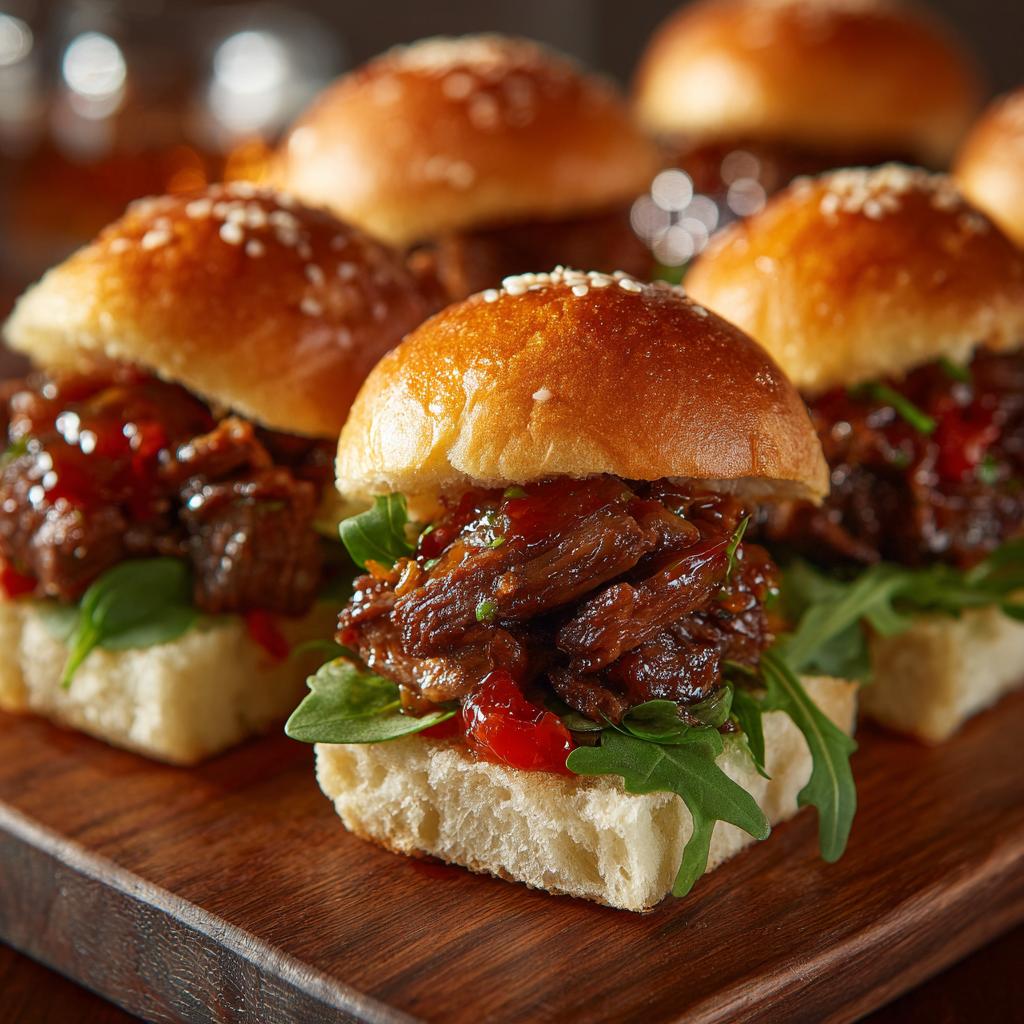
When the crowd gathers and excitement fills the air, nothing satisfies quite like juicy beef sliders piled high with melted cheese and savory toppings. These miniature burgers pack all the flavor of full-sized burgers into perfectly portioned bites that disappear almost as quickly as you can make them. What elevates these sliders from simple to spectacular is the combination of seasoned ground beef, gooey cheese, and a secret buttery topping that transforms ordinary dinner rolls into irresistible golden-crusted sandwiches. You don’t need to stand over a grill flipping individual patties—this recipe bakes everything together in one pan, making it incredibly easy even for beginners. The beauty of this method lies in how it delivers consistent results without requiring constant attention, freeing you up to actually enjoy the game with your guests. Once you discover how simple these are to prepare, they’ll become your automatic choice for every gathering.
Ingredients
This recipe makes 12 sliders.
- 1 package (12 count) Hawaiian sweet rolls
- 2 pounds ground beef (80/20 blend)
- 1 medium yellow onion, finely diced
- 3 cloves garlic, minced
- 2 teaspoons Worcestershire sauce
- 1 teaspoon salt
- 1/2 teaspoon black pepper
- 1/2 teaspoon garlic powder
- 1/2 teaspoon onion powder
- 12 slices American cheese
- 6 slices cheddar cheese
- 1/2 cup unsalted butter, melted
- 1 tablespoon Dijon mustard
- 1 tablespoon poppy seeds
- 1 teaspoon dried minced onion
- 1/2 teaspoon garlic powder (for topping)
- Lettuce leaves, for serving
- Sliced tomatoes, for serving
- Pickles, for serving
- Ketchup and mustard, for serving
Instructions
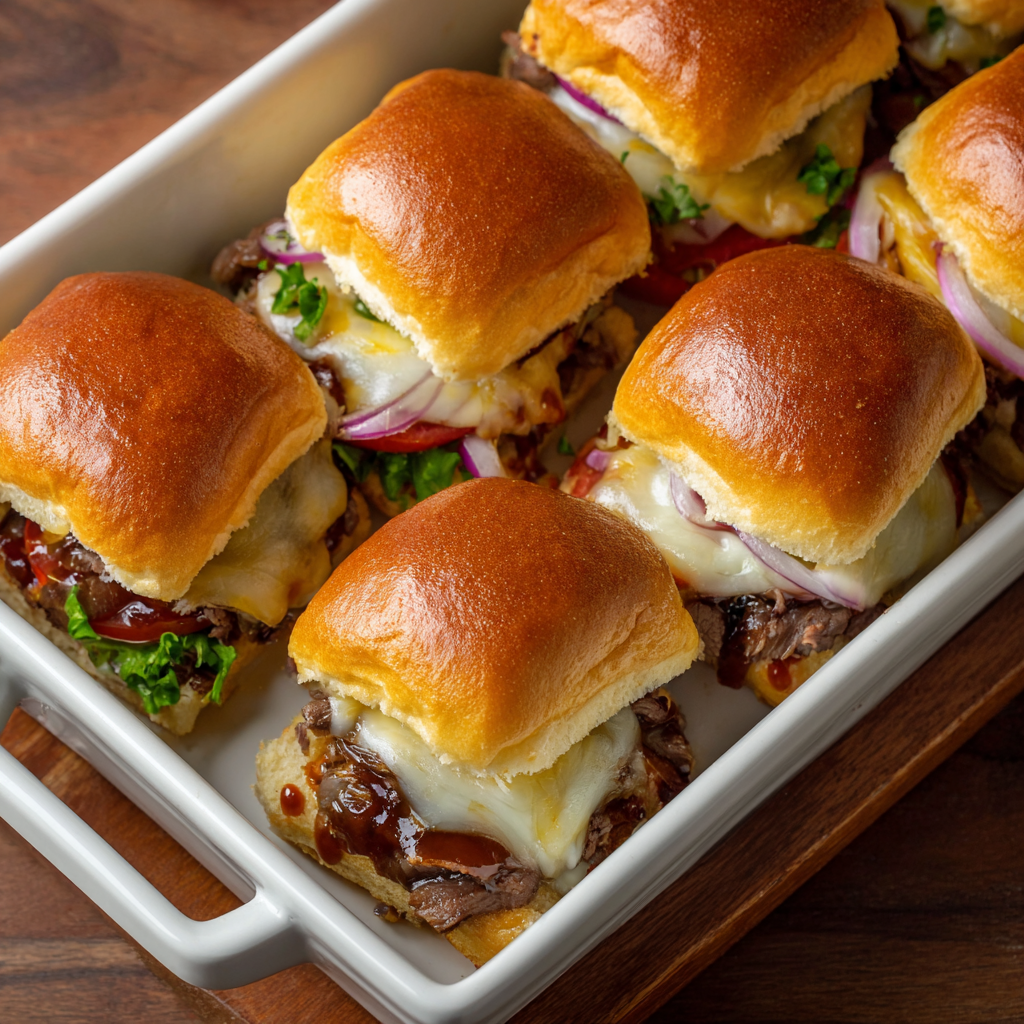
- Preheat your oven to 350°F and spray a 9×13-inch baking dish with non-stick cooking spray.
- Heat a large skillet over medium-high heat and add the ground beef, breaking it into small crumbles.
- Add the diced onion to the beef and cook together, stirring occasionally, for 8 to 10 minutes.
- Stir in the minced garlic and cook for an additional minute until fragrant.
- Season the beef mixture with Worcestershire sauce, salt, black pepper, garlic powder, and onion powder.
- Continue cooking until the beef is completely browned and no pink remains, then drain excess fat.
- Remove the skillet from heat and let the beef mixture cool slightly while you prepare the rolls.
- Slice the entire package of Hawaiian rolls in half horizontally, keeping both halves intact as complete sheets.
- Place the bottom half of the rolls in the prepared baking dish, maintaining the connected formation.
- Layer the American cheese slices across the bottom rolls, overlapping slightly to cover the entire surface.
- Spread the cooked beef mixture evenly over the cheese layer, pressing down gently to compact.
- Arrange the cheddar cheese slices over the beef, ensuring complete coverage across all sliders.
- Place the top half of the rolls over the cheese layer, pressing down firmly to create compact sliders.
- Combine the melted butter and Dijon mustard in a small bowl, whisking until smooth and well blended.
- Brush the butter mixture generously over the tops of the rolls, coating the entire surface thoroughly.
- Sprinkle poppy seeds, dried minced onion, and garlic powder evenly across the buttered tops.
- Cover the baking dish tightly with aluminum foil and bake for 20 minutes.
- Remove the foil and continue baking for 5 to 8 minutes until the tops are golden brown and cheese is melted.
- Remove from the oven and let the sliders rest for 3 to 5 minutes before slicing.
- Cut along the natural divisions in the rolls to separate into individual sliders.
- Serve hot with lettuce, tomatoes, pickles, ketchup, and mustard on the side.
Choosing the Right Ground Beef
Selecting the proper ground beef makes an enormous difference in the juiciness and flavor of your sliders. The 80/20 blend, which contains 80% lean meat and 20% fat, provides the ideal balance for these sandwiches. This ratio delivers enough fat to keep the beef moist and flavorful without creating excessive grease that would soak into the rolls. Leaner beef like 90/10 or 93/7 tends to produce dry, crumbly results that lack the rich taste everyone expects from a great burger.
The fat content serves multiple important purposes beyond just adding flavor. As the beef cooks, the fat melts and bastes the meat from within, creating natural moisture that prevents dryness. Furthermore, fat carries flavor compounds that make beef taste beefy, so leaner options simply can’t deliver the same depth and satisfaction. When you drain the excess fat after cooking, you remove only the surplus while retaining enough to keep your sliders perfectly juicy.
For those who prefer alternatives to traditional beef, ground turkey or ground chicken can work in this recipe with some adjustments. However, these leaner proteins require adding a tablespoon of olive oil during cooking to compensate for their lower fat content. Additionally, they benefit from extra seasoning since poultry naturally has a milder flavor than beef. Ground lamb or a beef-pork blend offer other delicious variations that bring unique tastes to your sliders while maintaining excellent texture and moisture.
Building Layers for Maximum Flavor
The secret to exceptional sliders lies in thoughtful layering that distributes flavors evenly throughout each bite. Starting with cheese directly on the bottom rolls creates a barrier that prevents the beef juices from soaking into the bread and making it soggy. This technique, borrowed from professional burger restaurants, ensures your rolls stay tender but not mushy. Moreover, having cheese on both the bottom and top of the beef creates pockets of gooey goodness that make every bite irresistible.
American cheese melts more smoothly than any other variety due to its unique processing and emulsifiers. While cheese purists might turn up their noses, American cheese provides unmatched meltability that creates that classic cheeseburger experience. The combination with sharp cheddar adds depth and complexity that American cheese alone can’t achieve. Together, these two cheeses deliver both superior melting properties and robust flavor that satisfies even the most discerning palates.
Compressing the assembled sliders before baking helps all the components meld together into cohesive sandwiches rather than separate layers. Pressing down firmly with your hand or a flat spatula before adding the butter topping ensures everything stays together when you cut and serve the sliders. This compression also helps the rolls absorb flavors from the filling, creating more integrated taste throughout each sandwich rather than distinct separate elements.
The Magic of the Butter Topping
That gorgeous golden crust and incredible aroma that makes everyone’s mouth water comes entirely from the seasoned butter brushed across the tops. Melted butter not only promotes beautiful browning but also adds richness and helps the toppings adhere to the rolls. The Dijon mustard whisked into the butter contributes tangy depth that cuts through the richness of the beef and cheese, creating better balance in every bite.
Poppy seeds provide more than just visual appeal—their slightly nutty flavor and pleasant crunch add textural interest to the soft rolls. Combined with dried minced onion and garlic powder, they create a seasoning blend reminiscent of everything bagels that elevates these sliders from simple to spectacular. This topping has become so popular that many people make extra just to have on hand for other bread-based recipes throughout the week.
Brushing the butter mixture while it’s still warm allows it to soak slightly into the tops of the rolls rather than just sitting on the surface. This penetration creates deeper flavor throughout the bread and produces crispier results than cold butter would achieve. Additionally, being generous with the butter ensures every slider gets adequate coverage, which matters significantly for both taste and appearance.
Serving and Storing Tips
Serving Tips
Serve these beef sliders immediately while they’re hot and the cheese is still melty for the ultimate comfort food experience. Setting up a slider station with various toppings and condiments allows guests to customize their sandwiches according to personal preferences. Offer crisp lettuce leaves, juicy tomato slices, crunchy pickles, sliced red onions, jalapeños for heat lovers, and multiple condiments including ketchup, mustard, mayo, and special sauce.
These sliders pair beautifully with classic game day sides that complement without overwhelming the main attraction. Consider serving them alongside crispy french fries, onion rings, potato chips, coleslaw, macaroni salad, baked beans, or a fresh green salad for lighter balance. For beverages, ice-cold beer, root beer floats, lemonade, or soft drinks complete the casual dining experience that makes game day gatherings so enjoyable.
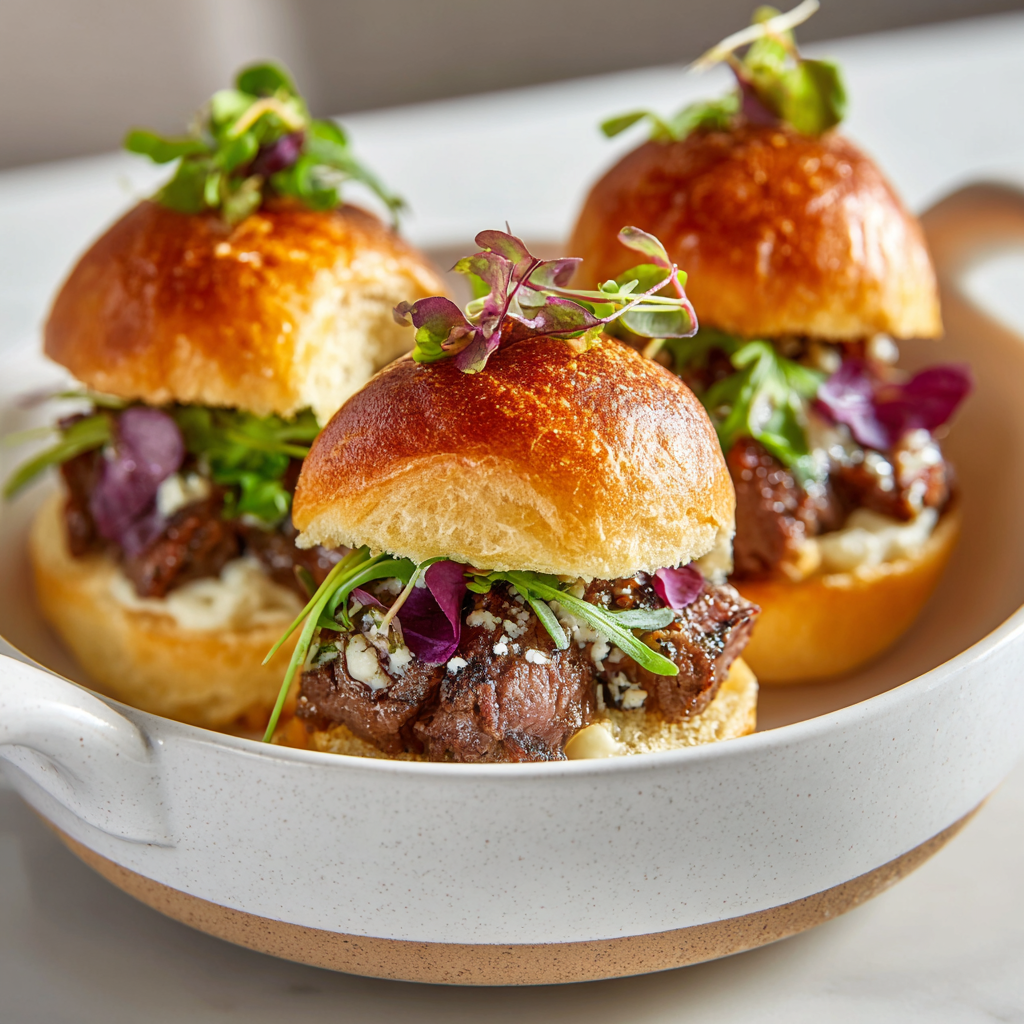
The beauty of slider-style serving extends beyond convenience to include how it encourages social interaction and sharing. Arrange the sliders on a large platter garnished with fresh parsley or arrange them on a rustic wooden board for Instagram-worthy presentation. This format allows guests to grab one or two sliders while standing and socializing, making these perfect for parties where people mingle throughout the event rather than sitting down for formal meals.
Storage Tips
Store leftover sliders in an airtight container in the refrigerator for up to 3 days, though they taste best within the first two days after baking. The beef filling and cheese maintain their quality well, but the rolls will firm up somewhat in cold storage. Wrapping individual sliders in aluminum foil before refrigerating helps retain moisture and prevents them from drying out during storage.
When reheating refrigerated sliders, wrap them in foil and warm them in a 325°F oven for 12 to 15 minutes until heated through completely. Alternatively, microwave individual sliders for 45 to 60 seconds, though this method won’t restore the crispy tops that oven reheating provides. Adding fresh toppings like lettuce and tomato after reheating rather than before storing ensures better texture and prevents wilting or sogginess.
Freezing assembled sliders works exceptionally well for make-ahead meal planning and unexpected guests. Prepare the sliders completely through assembly, wrap the entire pan tightly in plastic wrap followed by heavy-duty aluminum foil, and freeze for up to 3 months. Thaw overnight in the refrigerator before baking, or bake directly from frozen by adding 10 to 15 extra minutes to the covered baking time.
Helpful Notes
Advance preparation transforms these already-easy sliders into an absolute breeze for busy hosts. Assemble the entire dish up to 24 hours ahead, cover it tightly with plastic wrap, and refrigerate until you’re ready to bake. When guests begin arriving, simply remove the plastic, add the butter topping and seasonings, and bake according to the original instructions. This strategy means you can have hot, fresh sliders ready with minimal last-minute effort.
Draining the cooked beef properly prevents greasy sliders that leave your hands and the rolls unnecessarily oily. After browning the meat completely, transfer it to a colander set over a bowl and let it sit for a minute to drain thoroughly. Pat the beef gently with paper towels if it still seems excessively greasy. This extra step takes only seconds but significantly improves the final texture and eating experience.
For those managing different dietary needs, several modifications make these sliders accessible to more guests. Use gluten-free slider buns for gluten-sensitive individuals, substitute plant-based ground beef for vegetarian guests, or choose dairy-free cheese alternatives for those avoiding dairy. Ground turkey seasoned generously provides a lighter option that still delivers satisfying results when cooked properly.
Preventing the bottom rolls from becoming soggy requires ensuring your beef mixture isn’t too wet before layering. After draining the cooked beef, let it cool for a few minutes so excess moisture evaporates rather than steaming the bread. Additionally, that initial layer of cheese creates an effective moisture barrier that protects the rolls while adding delicious flavor.
Chef Tips
Professional caterers understand that even baking temperature throughout produces consistently perfect sliders without burnt edges or cold centers. Position your baking dish in the center of the oven where heat circulation is most uniform, avoiding the top or bottom racks that can cause uneven cooking. Furthermore, if your oven has hot spots that you’ve noticed in previous baking projects, rotate the pan halfway through the covered baking period for more even results.
Another expert technique involves slightly toasting the cut sides of the rolls before assembly for extra insurance against sogginess. Place the split rolls cut-side up under the broiler for 30 to 60 seconds until just lightly golden, then proceed with layering as usual. This creates a slightly crispy barrier that holds up even better under the moist beef filling, though it’s completely optional for those short on time.
Frequently Asked Questions
Can I use regular hamburger buns instead of Hawaiian rolls?
Yes, though you’ll need to assemble individual sliders rather than baking them as a connected sheet, and adjust quantities based on bun size.
How do I prevent the rolls from getting too crispy on top?
Check them after removing the foil and tent loosely with foil again if they’re browning too quickly, then continue baking until the cheese melts.
What’s the best way to reheat these for a crowd?
Wrap them in foil and warm in a 325°F oven for 12 to 15 minutes, or use a slow cooker on low for 1 to 2 hours.
Can I add bacon to these sliders?
Absolutely, layer 6 slices of cooked bacon cut in half over the beef before adding the top layer of cheese for extra flavor.
How can I make these sliders spicier?
Add diced jalapeños to the beef while cooking, use pepper jack cheese, or mix hot sauce into the butter topping for adjustable heat.
Creating Unforgettable Game Day Memories
Great food possesses this remarkable ability to turn ordinary gatherings into cherished memories that people talk about for years to come. These beef sliders represent more than just delicious party food—they create moments of connection, celebration, and pure enjoyment that define what game day gatherings should feel like. When you serve a platter of these golden, cheese-filled sliders, you’re offering more than sustenance; you’re creating an experience that brings people together.
Did these Game Day Beef Sliders become the star of your party? If you loved how simple they were to prepare, how quickly they disappeared, and how many people asked for the recipe, we’d be incredibly grateful if you could save this recipe for your next gathering, pin it to your game day Pinterest board, or share it with friends who love easy entertaining. Your enthusiasm and support motivate us to keep creating and sharing recipes that make hosting stress-free and enjoyable for home cooks everywhere. Drop a comment below telling us what toppings your crowd loved best and whether these sliders earned permanent status on your party menu—we love celebrating your cooking successes with you!