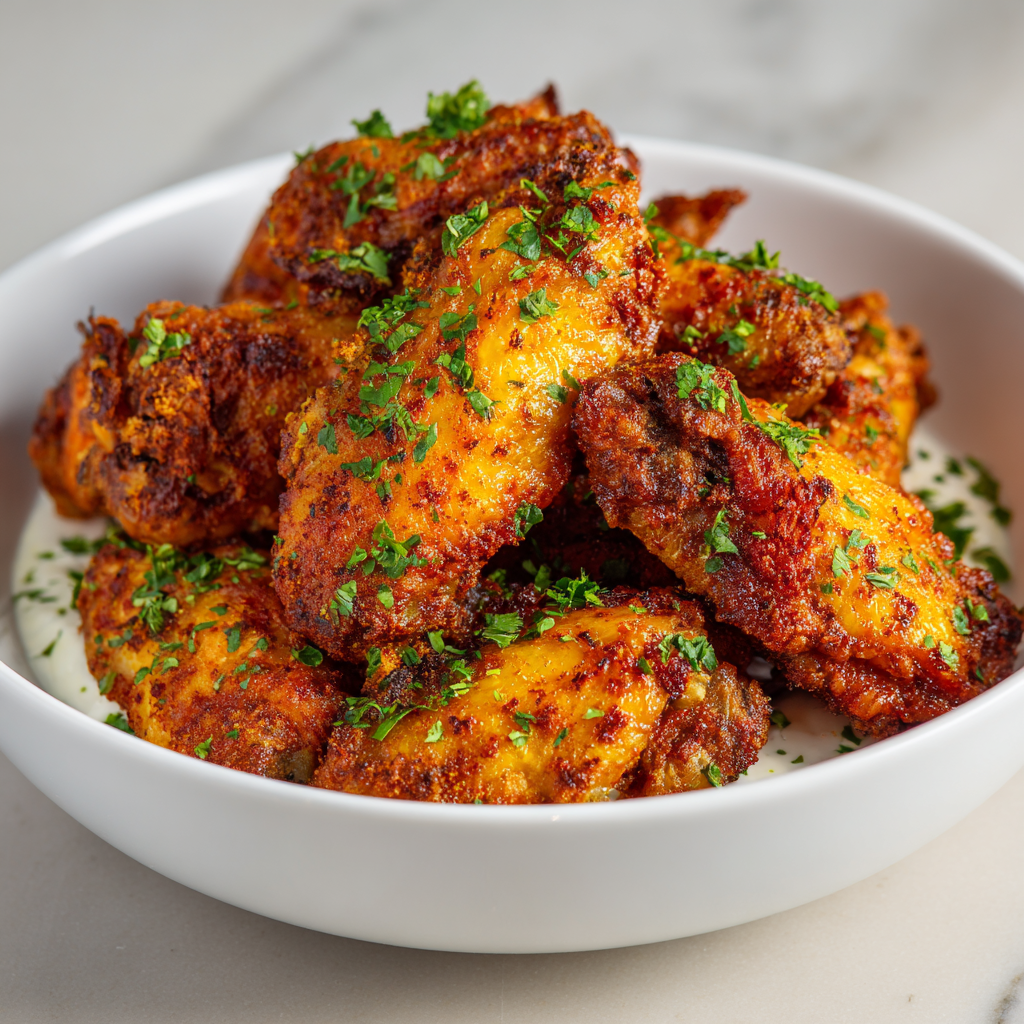
Nothing beats the excitement of game day when you’ve got a platter of perfectly crispy chicken wings ready to devour. These golden beauties deliver that satisfying crunch with every bite, transforming any gathering into an unforgettable celebration of flavor and fun. What makes this recipe truly exceptional is how simple it is to prepare, requiring no specialized equipment or advanced cooking skills. Using just a handful of pantry staples and one clever baking technique, you’ll create wings that rival your favorite sports bar—all from the comfort of your own kitchen. The secret lies in a foolproof method that guarantees crispy skin and juicy meat every single time. Whether you’re a seasoned cook or just starting your culinary journey, these wings will quickly become your go-to recipe for entertaining friends, feeding hungry family members, or treating yourself to something special.
Ingredients
This recipe makes 6 servings.
- 3 pounds chicken wings, separated into drumettes and flats
- 2 tablespoons baking powder (aluminum-free)
- 1 teaspoon kosher salt
- 1/2 teaspoon black pepper
- 1 teaspoon garlic powder
- 1 teaspoon onion powder
- 1/2 teaspoon smoked paprika
- 1/4 teaspoon cayenne pepper
- Cooking spray or oil for racks
- Your favorite wing sauce (Buffalo, BBQ, teriyaki, or honey garlic)
- Fresh parsley, chopped (for garnish)
Instructions
- Preheat your oven to 250°F and position two oven racks in the upper and lower thirds of the oven.
- Line two large baking sheets with aluminum foil for easy cleanup, then place wire cooling racks on top of each sheet.
- Spray the wire racks lightly with cooking spray to prevent the wings from sticking during cooking.
- Pat the chicken wings completely dry using several layers of paper towels, ensuring every piece is moisture-free.
- Place the dried wings in a large mixing bowl and set them aside while you prepare the seasoning blend.
- Combine the baking powder, kosher salt, black pepper, garlic powder, onion powder, smoked paprika, and cayenne pepper in a small bowl.
- Sprinkle the seasoning mixture evenly over the wings in the large bowl, tossing thoroughly to coat each piece.
- Arrange the seasoned wings in a single layer on the prepared racks, leaving space between each wing for air circulation.
- Bake the wings at 250°F for 30 minutes to allow the fat to render slowly and the skin to begin crisping.
- Increase the oven temperature to 425°F without removing the wings from the oven.
- Continue baking for 45 to 50 minutes, rotating the pans halfway through for even browning.
- Check that the wings are deeply golden and crispy, with an internal temperature of at least 165°F.
- Remove the wings from the oven and let them rest for 2 to 3 minutes on the racks.
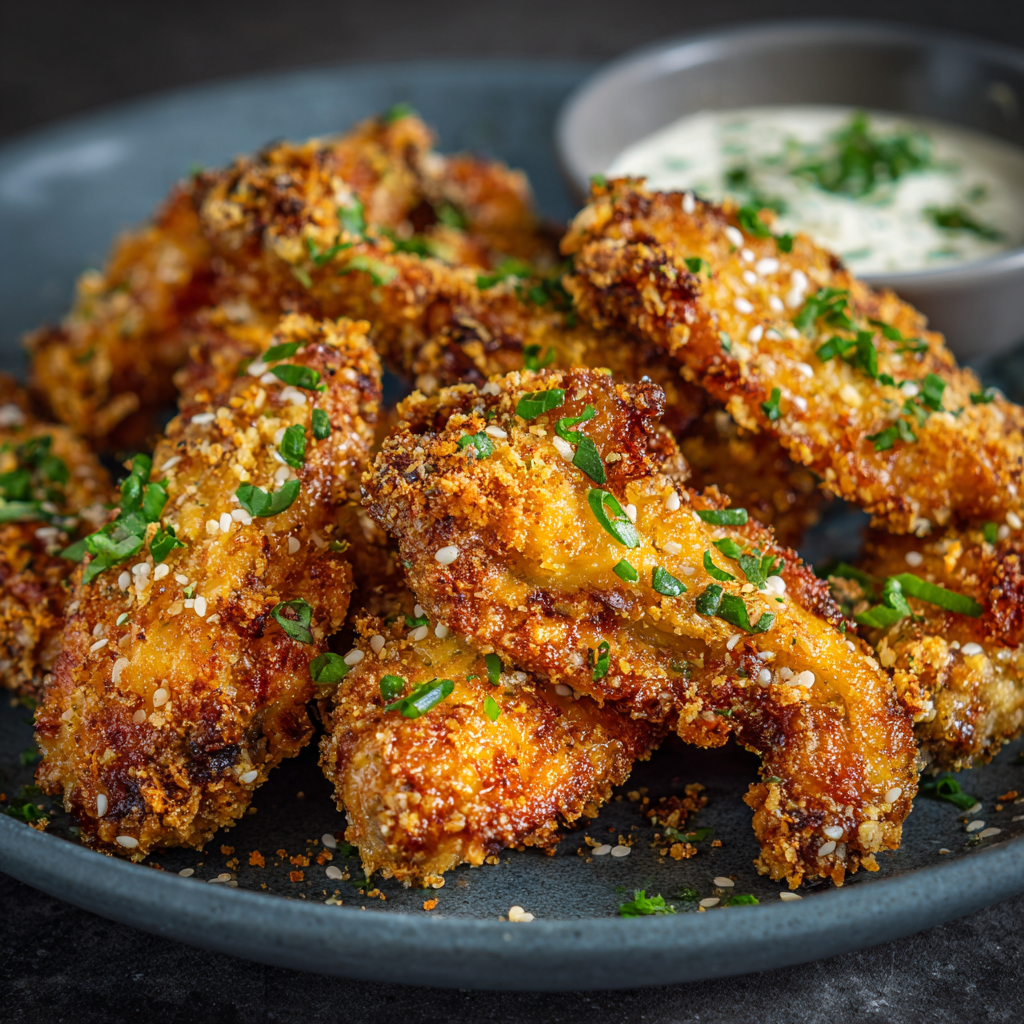
- Transfer the crispy wings to a clean large bowl and toss with your chosen sauce, or serve them plain with sauce on the side.
- Garnish with freshly chopped parsley and serve immediately while hot and crispy.
The Science Behind Extra-Crispy Wings
Understanding why this method works so well helps you appreciate the genius behind perfectly crispy chicken wings. Baking powder, which is alkaline, raises the pH level of the chicken skin and breaks down proteins more effectively. As a result, the skin becomes incredibly crispy without any need for deep frying or excessive oil. This technique has revolutionized home cooking, allowing anyone to achieve restaurant-quality results with minimal effort.
The two-temperature baking process serves a specific and important purpose in creating the ideal wing texture. Starting at a lower temperature gives the fat beneath the skin time to render out slowly, preventing greasiness and soggy results. Subsequently, increasing the heat to 425°F triggers rapid browning and creates that signature crispy exterior that makes wings so irresistible.

Furthermore, using wire racks instead of placing wings directly on baking sheets allows hot air to circulate completely around each wing, ensuring even cooking and maximum crispiness on all surfaces.
Moisture is the enemy of crispy chicken skin, which is why thoroughly drying the wings is absolutely essential. Even a small amount of surface moisture will steam the chicken rather than crisp it, resulting in disappointingly limp skin. Therefore, taking the extra time to pat each wing completely dry pays enormous dividends in the final texture. Some dedicated cooks even let their seasoned wings sit uncovered in the refrigerator overnight, which further dries out the skin for even better crispiness.
Versatile Sauce Options
One of the best aspects of this recipe is its incredible versatility when it comes to flavoring options. While classic Buffalo sauce remains a perennial favorite, these crispy wings serve as the perfect canvas for virtually any sauce you can imagine. Traditional Buffalo sauce combines hot sauce and melted butter for that tangy, spicy kick that defines game day eating. However, you might prefer sweet and smoky BBQ sauce, sticky honey garlic glaze, or savory teriyaki for something different.
Creating a sauce bar allows guests to customize their wings according to their personal preferences and heat tolerance. Set out several different sauces in small bowls, ranging from mild to wild, and let everyone create their perfect wing experience. Additionally, offering both sauced and dry-rubbed options ensures that every guest finds something they love. Some people prefer their wings naked, enjoying the pure crispy chicken flavor with just a dipping sauce on the side.
For those who enjoy experimenting with flavors, consider trying Asian-inspired sauces like sweet chili, gochujang glaze, or sesame ginger. Mediterranean-style wings with lemon, garlic, and herbs offer a refreshing alternative to traditional flavors. Moreover, dry rubs can be just as exciting as wet sauces, with options like Cajun seasoning, ranch seasoning, or even Everything Bagel seasoning creating unique and delicious variations.
Serving and Storing Tips
Serving Tips
Serve these golden crispy wings immediately after cooking for the ultimate taste and texture experience. The perfect accompaniments include classic celery and carrot sticks, which provide a refreshing crunch and help cool down spicy sauces. Ranch dressing and blue cheese dressing remain the traditional dipping choices, though you can also offer honey mustard, garlic aioli, or tzatziki for variety. For a complete game day spread, pair the wings with other crowd-pleasers like loaded potato skins, buffalo chicken dip, seven-layer dip, or a fresh vegetable platter.
These wings work beautifully for numerous occasions beyond traditional sports viewing parties, including birthday celebrations, casual family dinners, outdoor barbecues, and holiday gatherings. If you’re serving a large crowd, keep finished wings warm in a 200°F oven while you prepare additional batches. Alternatively, arrange the hot wings on a large serving platter with garnishes like fresh herbs, lemon wedges, and colorful dipping sauces for an impressive presentation that guests will love.
Consider creating a complete wing bar experience by offering multiple sauce options, various dipping sauces, and plenty of napkins. Wet wipes or warm towels are always appreciated since eating wings is delightfully messy. Furthermore, having cold beverages readily available helps balance the richness of the wings and keeps guests comfortable throughout your event.
Storage Tips
Store any leftover wings in an airtight container in the refrigerator for up to 4 days, keeping them separate from any excess sauce. When you’re ready to enjoy them again, reheat the wings in a 375°F oven for 10 to 12 minutes to restore their crispy texture. Avoid using the microwave for reheating, as it creates steam that makes the skin soft and rubbery rather than maintaining that desirable crunch.
For longer storage, freeze cooked wings in a single layer on a baking sheet until solid, then transfer them to freezer-safe bags or containers for up to 3 months. Thaw frozen wings overnight in the refrigerator before reheating them in a hot oven. Interestingly, you can also freeze unsauced wings and add fresh sauce after reheating for the brightest, most vibrant flavors.
Leftover wings make excellent additions to salads, wraps, or grain bowls for quick and easy meals throughout the week. Simply chop the meat off the bones and use it as a protein topping for various dishes. This approach helps minimize food waste while creating convenient meal options for busy weekdays.
Helpful Notes
Selecting quality chicken wings makes a noticeable difference in your final results, so look for fresh wings that are similar in size for even cooking. If you purchase whole wings, you’ll need to separate them into drumettes and flats using a sharp knife to cut through the joints. The wing tips can be saved for making chicken stock or discarded, as they don’t have enough meat to be worth cooking.
Baking powder must be aluminum-free to avoid any metallic aftertaste that can ruin your wings. Make absolutely certain you’re using baking powder rather than baking soda, as these ingredients have completely different properties and are not interchangeable. The baking powder is the secret ingredient that creates impossibly crispy skin, so never skip it or substitute it with something else.
If your wings seem to be browning too quickly during the high-heat phase, you can reduce the temperature slightly or move the pans to lower oven racks. Conversely, if they’re not browning enough after the suggested cooking time, continue baking in 5-minute increments until they reach the desired golden color. Every oven behaves differently, so pay attention to visual cues rather than relying solely on timing.
For those following specific dietary requirements, these wings fit naturally into low-carb, keto, and paleo eating plans. The wings themselves contain zero carbohydrates, and most sauces can be adapted to fit various dietary needs. Just be mindful of hidden sugars in commercial sauces and consider making your own if you need to control ingredients carefully.
Doubling or tripling this recipe works perfectly well for larger gatherings, though you’ll need additional baking sheets and wire racks. Make sure not to overcrowd the wings on the racks, as proper air circulation is essential for achieving crispy results. If necessary, bake the wings in batches rather than cramming too many onto each rack.
Chef Tips
Professional chefs know that patience is the most important ingredient when making perfectly crispy wings at home. Resist the urge to increase the initial baking temperature or shorten the cooking time, as rushing the process results in wings that are crispy on the outside but not fully cooked inside. The low-and-slow method followed by high heat creates wings with tender, juicy meat and exceptionally crispy skin that no shortcut can replicate.
Another insider technique involves letting the wings rest briefly after removing them from the oven before tossing with sauce. This short resting period allows the skin to set and become even crispier, while also letting excess moisture evaporate. Additionally, when tossing wings with sauce, use a gentle folding motion rather than aggressive stirring to preserve the crispy coating underneath the sauce layer.
Frequently Asked Questions
Can I make these wings ahead of time for a party?
Yes, bake the wings fully, then reheat them in a 375°F oven for 10 minutes just before serving and toss with fresh sauce for the best results.
What if I don’t have wire racks for baking?
You can place the wings directly on foil-lined baking sheets, but flip them every 15 minutes to ensure even crisping on all sides.
How can I make these wings spicier or milder?
Adjust the cayenne pepper in the dry rub, or choose sauces that match your preferred heat level from mild BBQ to extra-hot Buffalo.
Why aren’t my wings getting crispy?
The most common issues are not drying the wings thoroughly, skipping the baking powder, or overcrowding them on the baking sheets.
Can I use this method for other chicken parts?
Absolutely, this technique works wonderfully for drumsticks, thighs, and even bone-in chicken breasts, though cooking times will vary based on size.
Creating Memorable Game Day Moments
Great food has an incredible power to bring people together and create lasting memories that extend far beyond the final score. These crispy chicken wings represent more than just a delicious snack—they’re the centerpiece of celebrations, the reason friends gather, and the catalyst for unforgettable moments of connection and joy. When you serve these wings at your next gathering, you’re not just feeding hungry guests; you’re creating an experience that people will remember and request again and again.
The beauty of mastering this recipe lies in how it empowers you to host with confidence and ease. No longer do you need to stress about complicated techniques or worry whether your food will turn out well. Instead, you can focus on what really matters: enjoying time with the people you care about while serving food that everyone genuinely loves. The straightforward method and reliable results make you look like a culinary genius without requiring professional skills or expensive equipment.
Did these Game Day Crispy Chicken Wings become your new favorite recipe? If you loved the crispy texture, easy preparation, and crowd-pleasing results, we’d be incredibly grateful if you could save this recipe for future game days, pin it to your Pinterest boards, or share it with friends and family who appreciate fantastic food. Your enthusiasm and support inspire us to continue creating and sharing accessible, delicious recipes that make home cooking enjoyable and rewarding. Leave a comment below telling us how your wings turned out, what sauce combinations you tried, and any creative variations you discovered—we can’t wait to hear about your wing adventures!