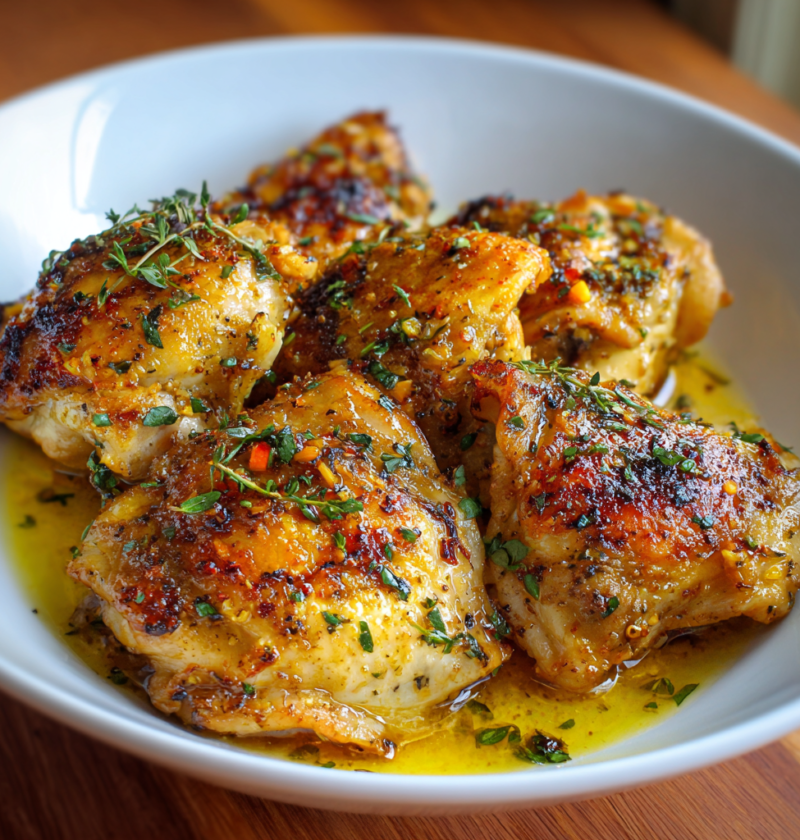
There’s something genuinely magical about the combination of golden, crispy chicken thighs and a luxurious garlic butter sauce that coats every bite with pure comfort. First time I made this dish, I was struck by how simple the ingredients were, yet how incredibly impressive the results turned out to be. My family gathered around the table, and everyone agreed it tasted like something from a fancy restaurant, even though I’d spent less than thirty minutes preparing it. Next, you’ll discover that chicken thighs are forgiving, flavorful, and practically impossible to dry out compared to their breast counterparts. Additionally, the garlic butter creates this amazing pan sauce that transforms ordinary weeknight cooking into something truly special. Whether you’re cooking for yourself, impressing a date, or feeding hungry family members, this recipe delivers restaurant-quality results with minimal effort and maximum flavor.
Ingredients
This recipe makes 4 servings.
• 8 bone-in, skin-on chicken thighs (about 2.5 pounds total) • 6 tablespoons unsalted butter, divided • 8 cloves fresh garlic, minced • 1 teaspoon kosher salt • 1/2 teaspoon black pepper • 1/2 teaspoon garlic powder • 1/2 teaspoon paprika • 1/4 teaspoon red pepper flakes (optional) • 1 cup chicken broth • 1/2 cup dry white wine or additional chicken broth • 2 tablespoons fresh lemon juice • 1 teaspoon fresh thyme leaves (or 1/2 teaspoon dried) • 1 teaspoon fresh rosemary leaves (or 1/2 teaspoon dried) • 2 tablespoons fresh parsley, finely chopped • 1 tablespoon cornstarch mixed with 2 tablespoons water (optional, for thicker sauce)
Step-by-Step Instructions
Preparing Your Ingredients
- Preheat your oven to 375°F (190°C) and allow at least 15 minutes for it to reach temperature.
- Pat the chicken thighs dry using paper towels, ensuring the skin is completely moisture-free—this is essential for crispy skin that will make everyone asking for your secrets.
- Mix together the kosher salt, black pepper, garlic powder, paprika, and red pepper flakes in a small bowl.
- Season both sides of each chicken thigh generously with the spice mixture, making sure to coat every surface evenly.
Searing and Building Flavor
- Heat 3 tablespoons of butter in a large oven-safe skillet over medium-high heat until it’s foaming and golden.
- Carefully place the seasoned chicken thighs skin-side down into the hot skillet, arranging them so they lie flat without overlapping.
- Sear the chicken for 5-6 minutes without moving them around—resist the urge to flip or fuss with them, as this allows the skin to become golden and crispy.
- Once the skin is deeply browned, flip each thigh using tongs and sear the other side for 3-4 minutes until light golden.
- Transfer the seared chicken thighs to a plate momentarily, but don’t worry about them being fully cooked yet—we’re just building that delicious crust.
Creating the Garlic Butter Sauce
- Pour off most of the excess fat from the skillet, leaving about 1 tablespoon behind for flavor.
- Add the remaining 3 tablespoons of butter to the skillet and allow it to melt over medium heat.
- Stir in the minced garlic and cook for about 1 minute, stirring frequently until it becomes fragrant and light golden—be careful not to burn it, as burnt garlic tastes bitter.
- Pour in the white wine and use a wooden spoon to gently scrape up any browned bits stuck to the bottom of the pan—these flavorful bits are liquid gold for your sauce.
- Add the chicken broth and fresh lemon juice, stirring everything together to create a cohesive sauce.
- Season the sauce with the fresh thyme and rosemary, tasting and adjusting seasonings as needed.
Finishing in the Oven
- Return the seared chicken thighs to the skillet, arranging them skin-side up so they stay crispy while cooking.
- Bring the sauce to a gentle simmer on the stovetop for about 2 minutes.
- Transfer the entire skillet to the preheated oven—if your skillet isn’t oven-safe, transfer the chicken and sauce to a baking dish before placing it in the oven.
- Bake for 18-22 minutes until the chicken is cooked through and an instant-read thermometer inserted into the thickest part of a thigh reads 165°F (74°C).
- Remove from the oven and let the chicken rest in the sauce for 3-4 minutes before serving.
Final Touches
- If you prefer a thicker sauce, mix the cornstarch slurry and stir it into the hot sauce on the stovetop over medium heat for 1-2 minutes until it reaches your desired consistency.
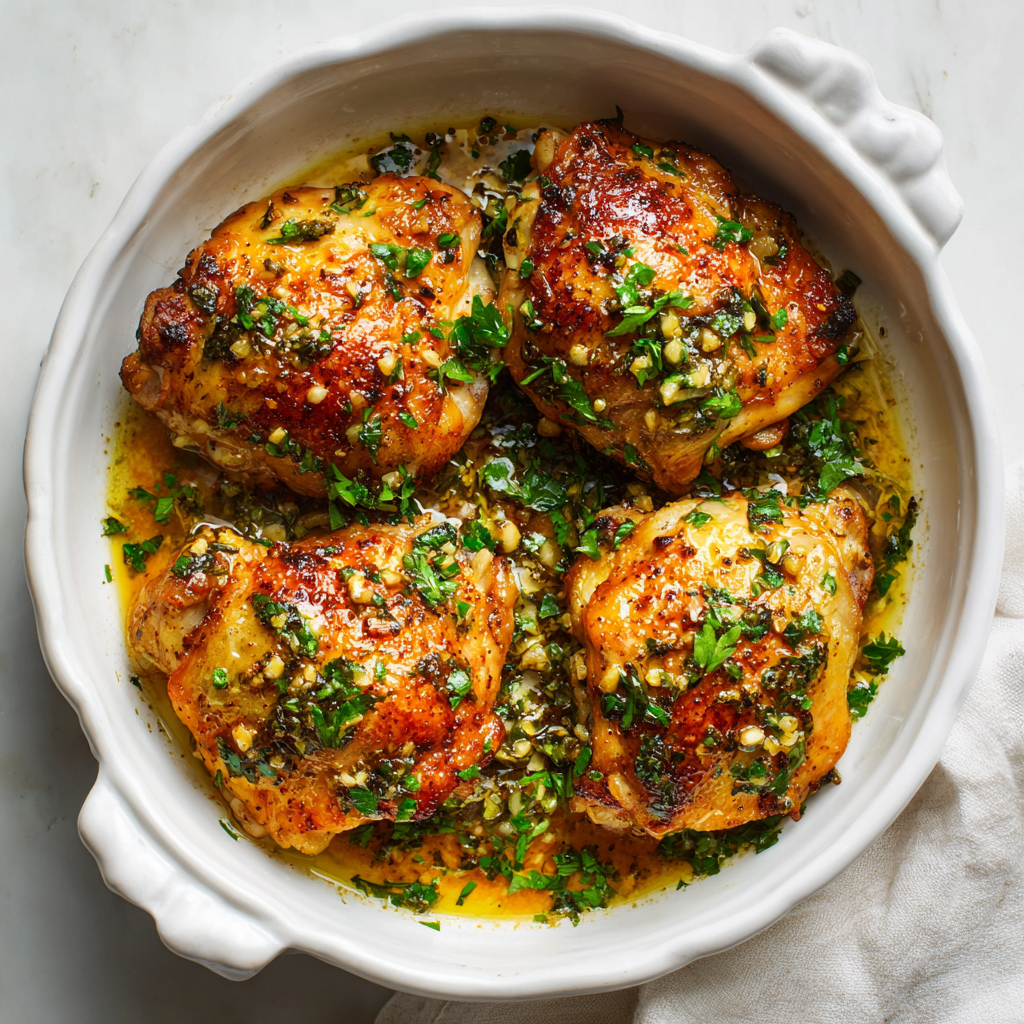
- Sprinkle the fresh parsley over the chicken and sauce just before serving for a pop of fresh color and herbaceous flavor.
Serving and Storing Tips
How to Serve This Dish
First, consider what sides complement this rich, buttery dish beautifully. Creamy mashed potatoes are an obvious choice—they soak up the garlic butter sauce like nothing else and create pure comfort on a plate. Next, roasted vegetables like Brussels sprouts, green beans, or asparagus provide a lighter contrast to the richness of the chicken. Additionally, you could serve this over rice, egg noodles, or even crusty bread to capture every drop of that incredible sauce. For special occasions, pair this with a simple arugula salad dressed in lemon vinaigrette to add freshness and brightness. The dish also works wonderfully alongside roasted potatoes, sautéed mushrooms, or even creamed spinach for a restaurant-style presentation.

Storing Your Leftovers
Store any leftover chicken and sauce in an airtight container in the refrigerator for up to 3 days. To reheat, place the chicken and sauce in a skillet over medium-low heat, stirring occasionally until heated through—this method keeps the chicken tender and the sauce silky. Alternatively, you can microwave individual portions in a microwave-safe container for 2-3 minutes, stirring halfway through. For freezing, let the chicken cool completely before transferring it to a freezer-safe container or zip-top bag for up to 2 months. Thaw frozen chicken overnight in the refrigerator before reheating using the stovetop method for best results.
Helpful Tips and Tricks
Ingredient Substitutions and Variations
If you don’t have fresh herbs, dried herbs work perfectly—just use half the amount since they’re more concentrated in flavor. For those avoiding alcohol, simply replace the white wine with additional chicken broth; the sauce will be equally delicious without any noticeable difference. Swap butter for ghee if you prefer, which adds a wonderful nutty flavor and handles heat beautifully. If bone-in thighs aren’t available, boneless skinless thighs work too, though you’ll lose some of that crispy-skin magic—cook them for 12-15 minutes instead. Additional garlic lovers can increase the amount to 10-12 cloves without hesitation, as the slow cooking mellows and sweetens the garlic considerably.
Common Mistakes to Avoid
Many home cooks skip patting the chicken dry, which prevents that golden, crispy skin everyone craves. Don’t lower the heat too much when searing—you need a good sizzle to develop that delicious crust. Another mistake is moving the chicken around constantly; let it sit undisturbed for those first several minutes to build color and flavor. Overcrowding the pan is also problematic, as it steams the chicken rather than searing it, so work in batches if necessary. Finally, some people rush the resting period; those final few minutes allow the chicken to finish cooking gently and stay incredibly juicy.
Time-Saving Strategies
Prepare your minced garlic and fresh herbs the night before, storing them in the refrigerator so you’re ready to cook whenever. Use pre-made chicken broth instead of making your own—quality store-bought broth works wonderfully and cuts prep time significantly. If you’re truly short on time, use frozen chicken thighs, though allow an extra 5-8 minutes in the oven for them to cook through. Another trick is marinating the chicken in the spice mixture for 30 minutes while preparing your other components, which adds deeper flavor without adding cooking time.
Chef Tips for Perfect Results
Invest in a good instant-read thermometer, as it’s the most reliable way to know when chicken is perfectly cooked without being dry. Let the skin crisping be your north star—golden, crispy skin indicates proper technique and transforms the entire eating experience from ordinary to extraordinary.
Frequently Asked Questions
Can I use chicken breasts instead of thighs? Yes, but you’ll need to reduce the cooking time to 12-15 minutes, and the meat won’t be as tender or flavorful since breasts are leaner and dry out more easily than thighs.
How can I make this recipe lighter? Use half the butter (3 tablespoons total), skip the searing step and bake directly, or remove the skin from the chicken before cooking to significantly reduce the fat content.
Can I prepare this dish in advance? Absolutely—prepare the sauce the day before and store it in the refrigerator, then sear and bake the chicken when you’re ready to serve for maximum skin crispiness.
What’s the best way to reheat leftovers? Reheat gently on the stovetop over medium-low heat with a splash of chicken broth to restore the sauce’s silkiness, which is superior to microwaving.
Can I double this recipe for a larger group? Yes, simply double all ingredients and use two oven-safe skillets, or transfer everything to a large baking dish after searing to ensure even cooking throughout.
Conclusion
This garlic butter chicken thighs recipe represents everything wonderful about home cooking—minimal ingredients, straightforward technique, and results that taste far more complicated than they actually are. Moreover, the beautiful thing about this dish is its flexibility; you can adapt it to your tastes, your pantry, and your schedule without compromising the magic. Whether you’re cooking on a busy Tuesday night or preparing something special for guests, this recipe delivers consistent, impressive results that will have people coming back for more. The combination of crispy skin, tender meat, and silky garlic butter sauce creates a complete meal that satisfies both the palate and the soul. I genuinely believe this will become a regular rotation in your kitchen, joining the list of recipes you make again and again because they’re simply too good not to.
Did you love this recipe? Please save it, pin it, and share it with your cooking friends! Your support means everything to us and encourages us to keep creating more delicious recipes for you to enjoy. Let us know in the comments how yours turned out—we’d absolutely love to hear about your experience with this garlic butter chicken thighs dish!