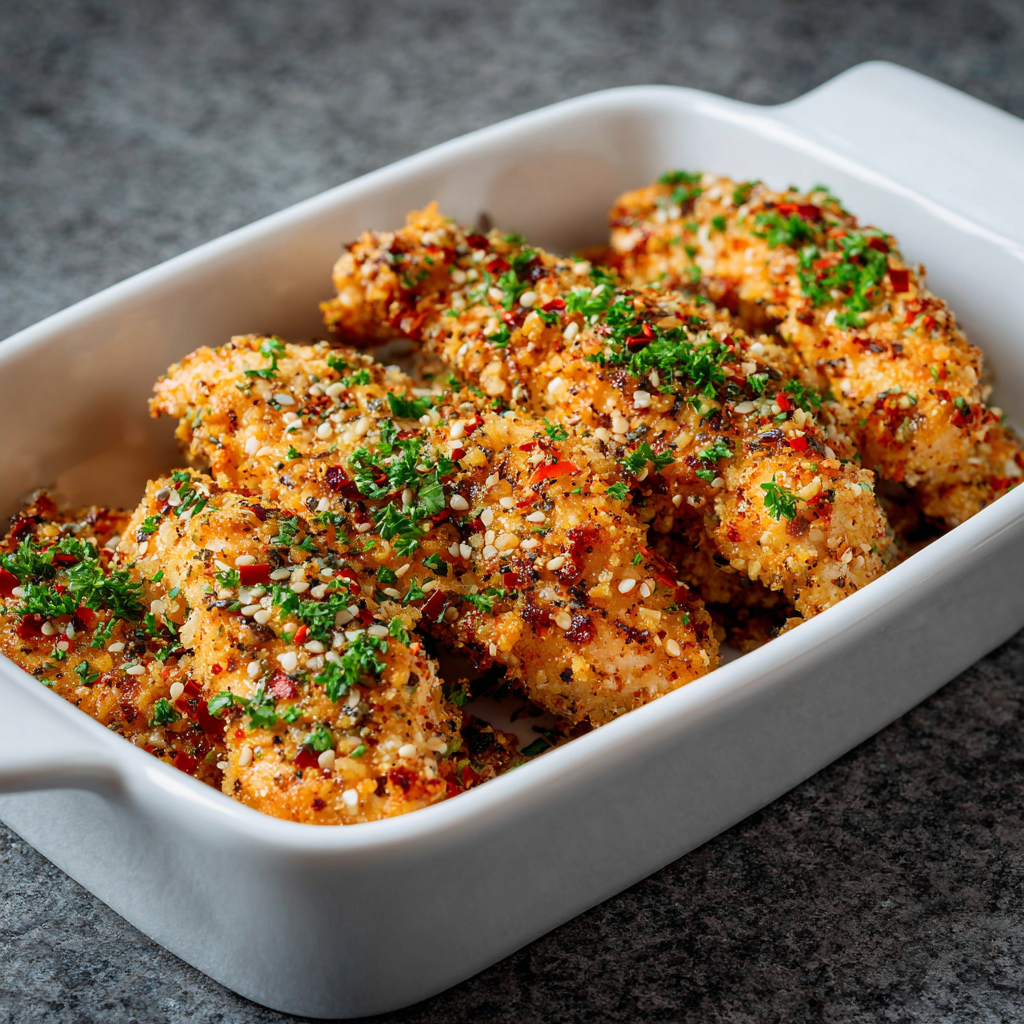
There’s something magical about gathering around the table with family and friends on gameday, and what better way to bring everyone together than with a platter of golden, crispy baked chicken tenders? These aren’t your typical greasy takeout version—instead, they’re a healthier homemade alternative that doesn’t sacrifice flavor or satisfaction. Next, you’ll appreciate how incredibly simple this recipe is to prepare, requiring just basic pantry staples and minimal hands-on time. Whether you’re feeding a crowd of hungry fans or looking for a weeknight dinner that feels special, these tenders deliver that perfect combination of crunch, juiciness, and comfort that keeps people coming back for more. Additionally, the beauty of this recipe lies in its versatility; it works just as well for packed lunches, family dinners, or casual entertaining. When you bite into these golden strips, you’ll taste why homemade versions outshine frozen alternatives every single time.
Ingredients
Makes: 4 servings (12-16 tenders)
- 1.5 pounds boneless, skinless chicken breasts
- 1 cup panko breadcrumbs
- 0.5 cup grated Parmesan cheese
- 2 large eggs
- 0.25 cup all-purpose flour
- 1 teaspoon garlic powder
- 1 teaspoon paprika
- 0.5 teaspoon onion powder
- 0.5 teaspoon black pepper
- 0.5 teaspoon sea salt
- 0.25 teaspoon cayenne pepper (optional, for heat)
- 2 tablespoons olive oil or cooking spray
- 1 tablespoon fresh or dried Italian seasoning
- Cooking spray or additional oil for the baking sheet
Preparation and Cooking Instructions
Getting Your Ingredients Ready
First, preheat your oven to 400°F and position the rack in the center. Next, line a baking sheet with parchment paper or aluminum foil, which makes cleanup effortless and prevents sticking. Additionally, lightly coat the prepared baking sheet with cooking spray to ensure your tenders develop that desirable golden exterior.
Meanwhile, prepare your chicken for breading. Take your chicken breasts and place them on a clean cutting board. Using a sharp knife, carefully slice each breast lengthwise into strips approximately 0.75 inches wide and 4 inches long. To ensure even cooking throughout, gently pound each strip to a uniform thickness of about 0.5 inches using the flat side of a meat mallet or the bottom of a heavy pan. This step is crucial because it guarantees that all pieces will cook at the same rate, preventing some from drying out while others remain underdone.
Setting Up Your Breading Station
To begin the breading process, gather three shallow bowls or plates and arrange them in a row. In the first bowl, combine the flour, garlic powder, onion powder, black pepper, and sea salt. Next, crack both eggs into the second bowl and whisk them together until well combined. In the third bowl, mix together the panko breadcrumbs, Parmesan cheese, paprika, Italian seasoning, and cayenne pepper if you prefer some heat.
This assembly-line method streamlines the breading process and prevents cross-contamination. Additionally, having everything prepared in advance means you can work quickly and efficiently without interruption.
Coating Your Chicken Tenders
First, take one chicken strip and dredge it thoroughly in the flour mixture, shaking off any excess. Next, dip the floured chicken into the beaten egg, making sure both sides are well coated. Afterward, immediately place the chicken into the panko mixture and press gently but firmly, ensuring the breadcrumbs adhere evenly to all surfaces. As a result, you’ll achieve that crucial thick, crunchy coating that distinguishes homemade versions from their frozen counterparts.
Transfer each coated tender to your prepared baking sheet, arranging them in a single layer without overlapping. However, if you need to stack them, place parchment paper between the layers to prevent them from sticking together. Once all your tenders are breaded and arranged, lightly spray them with cooking spray or brush them with the olive oil. This step ensures they’ll turn golden and crispy rather than pale and soggy.
Baking to Perfection
Place your baking sheet in the preheated oven and bake for 15 to 18 minutes, depending on the thickness of your strips. Meanwhile, resist the urge to open the oven door repeatedly, as this can extend cooking time and create uneven results. Instead, check them during the last few minutes of baking to ensure they’re reaching that perfect golden-brown stage.
Your tenders are done when the internal temperature reaches 165°F on an instant-read thermometer, and the coating is deep golden brown and crispy. Additionally, when you tap a cooked tender, it should produce a satisfying crunch. Remove the baking sheet from the oven and let the tenders rest on the sheet for approximately five minutes before serving. This resting period allows the coating to set completely, maintaining its crispness even as it cools slightly.
Serving and Storing Tips
Serving Suggestions
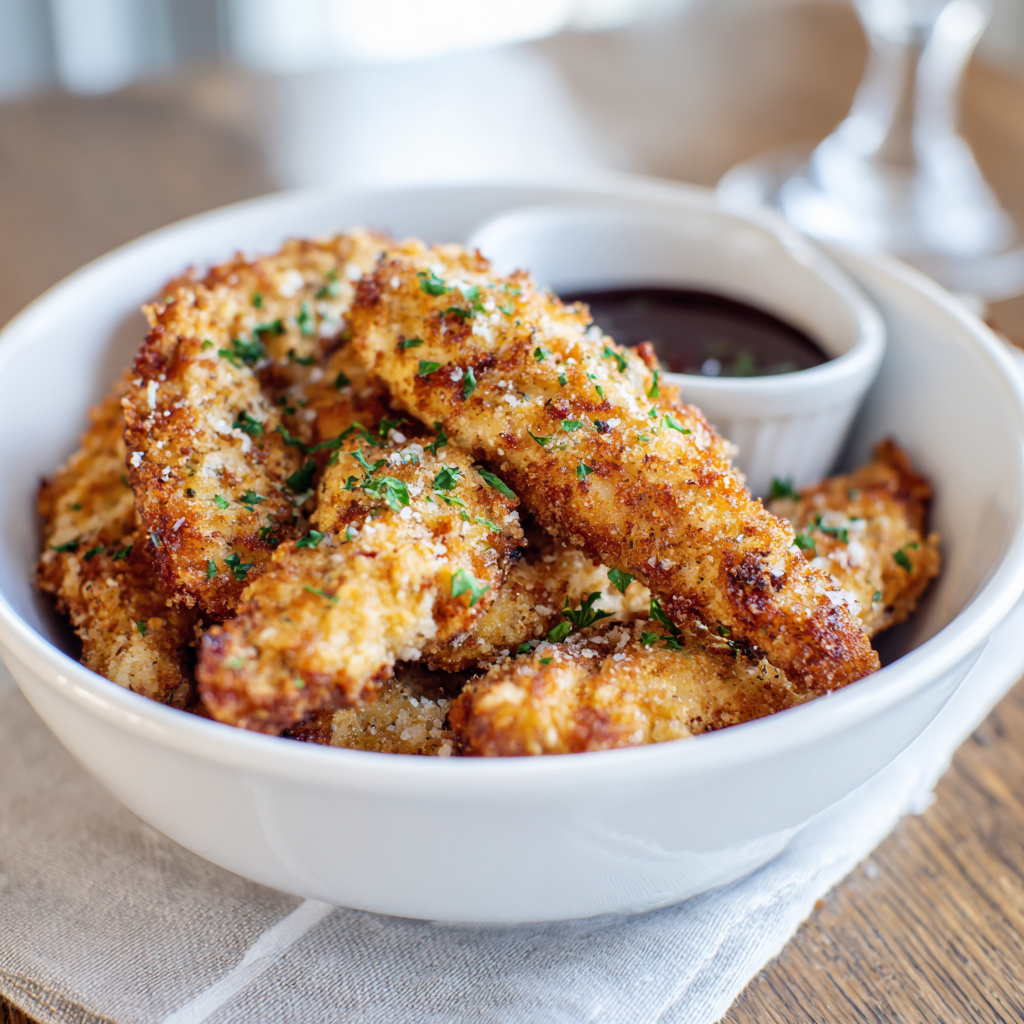
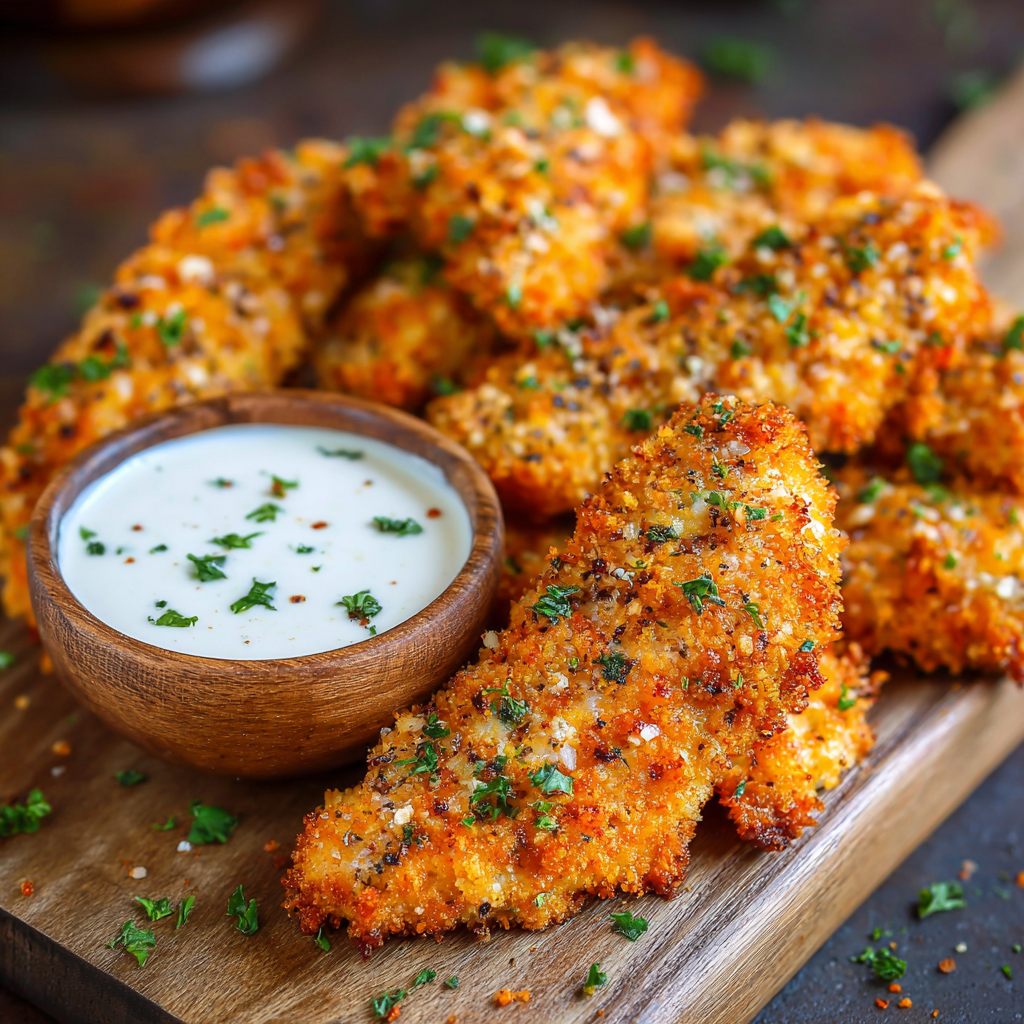
Serve these chicken tenders immediately while they’re still warm and crispy for maximum enjoyment. Next, pair them with classic dipping sauces such as honey mustard, ranch dressing, barbecue sauce, or a simple marinara for dipping. Additionally, consider serving alongside fresh coleslaw, roasted vegetables, sweet potato fries, or a crisp garden salad to create a complete, balanced meal.
For gameday entertaining, arrange your tenders on a large platter with multiple sauce options arranged around them. Meanwhile, don’t hesitate to garnish with fresh parsley or a squeeze of lemon juice for brightness. However you choose to serve them, these tenders disappear quickly, so prepare extra if you’re feeding a crowd.
Storage Tips
Allow any leftover tenders to cool completely before storing them in an airtight container in the refrigerator for up to four days. When you’re ready to reheat, place them on a baking sheet and warm in a 375°F oven for about eight minutes until they’re heated through and crispy again. Alternatively, reheat them in an air fryer at 350°F for five to seven minutes if you prefer faster cooking.
For longer storage, freeze your cooked tenders in a freezer-safe container or bag for up to three months. Additionally, you can freeze them raw after breading; simply place them on a baking sheet, freeze until solid, then transfer to a freezer bag and bake from frozen, adding three to four extra minutes to the cooking time. This makes meal prep incredibly convenient for busy weeks.
Helpful Notes and Tips
Ingredient Substitutions and Variations
If panko breadcrumbs aren’t available, regular breadcrumbs work perfectly well, though they may not achieve quite the same crunch. However, for extra crispiness, combine regular breadcrumbs with a few crushed tortilla chips or cornflakes. Additionally, you can swap the Parmesan cheese for sharp cheddar for a different flavor profile, or omit it entirely if you have dairy restrictions.
For those with gluten sensitivities, replace the all-purpose flour with a gluten-free flour blend and use certified gluten-free panko breadcrumbs. Next, if you prefer an even healthier option, substitute the panko with crushed almonds or ground oats for added nutrition and texture. Meanwhile, chicken thighs can replace chicken breasts for juicier results, though they may require slightly longer cooking time.
Common Mistakes to Avoid
One frequent mistake is not drying the chicken properly after pounding it. When the surface remains wet, breadcrumbs don’t adhere properly, resulting in a spotty coating. To remedy this, pat your chicken strips dry with paper towels before beginning the breading process.
Additionally, avoid skipping the resting period after baking. Furthermore, crowding the baking sheet prevents proper air circulation and results in unevenly cooked tenders. Always arrange them in a single layer with a bit of space between each piece for optimal results.
Another common error involves opening the oven door too frequently, which causes temperature fluctuations and uneven cooking. Instead, place an oven thermometer inside to monitor the temperature without opening the door.
Time-Saving Tips
To streamline your preparation, you can bread the chicken tenders ahead of time and refrigerate them on the baking sheet for up to eight hours before baking. Next, when you’re ready to cook, simply pop them straight into the preheated oven without any additional prep time.
Additionally, consider breading and freezing raw tenders in batches when you have time. Meanwhile, on busy weeknights, you’ll only need to bake them from frozen, making dinner preparation incredibly quick and convenient.
Chef Tips for Success
First, the secret to extra crispy tenders lies in double dredging; after the initial bread-crumb coating, dip the strip briefly back into the egg wash and then into the breadcrumbs one more time. This creates multiple layers of coating that provide an exceptionally satisfying crunch.
Additionally, if your coating seems to be browning too quickly while the inside remains undercooked, simply tent your baking sheet loosely with foil for the final few minutes to shield the exterior while the chicken finishes cooking through.
Frequently Asked Questions
Can I use chicken tenders that are already pre-cut instead of slicing the breast myself? Absolutely! Chicken tenders are ready to use straight from the package and will save you preparation time, though you may need to adjust cooking time slightly depending on their thickness.
What’s the best way to reheat frozen chicken tenders if I didn’t cook them first? Bake them straight from the freezer at 400°F for 20 to 25 minutes until golden and cooked through, checking that the internal temperature reaches 165°F.
Can I make these tenders dairy-free? Yes, simply omit the Parmesan cheese or replace it with a dairy-free alternative like nutritional yeast, which adds a savory depth of flavor.
How do I keep the coating crispy if I need to make these ahead of time? Store cooked tenders in a single layer in an airtight container with parchment paper between layers, and reheat in the oven rather than the microwave to maintain crispness.
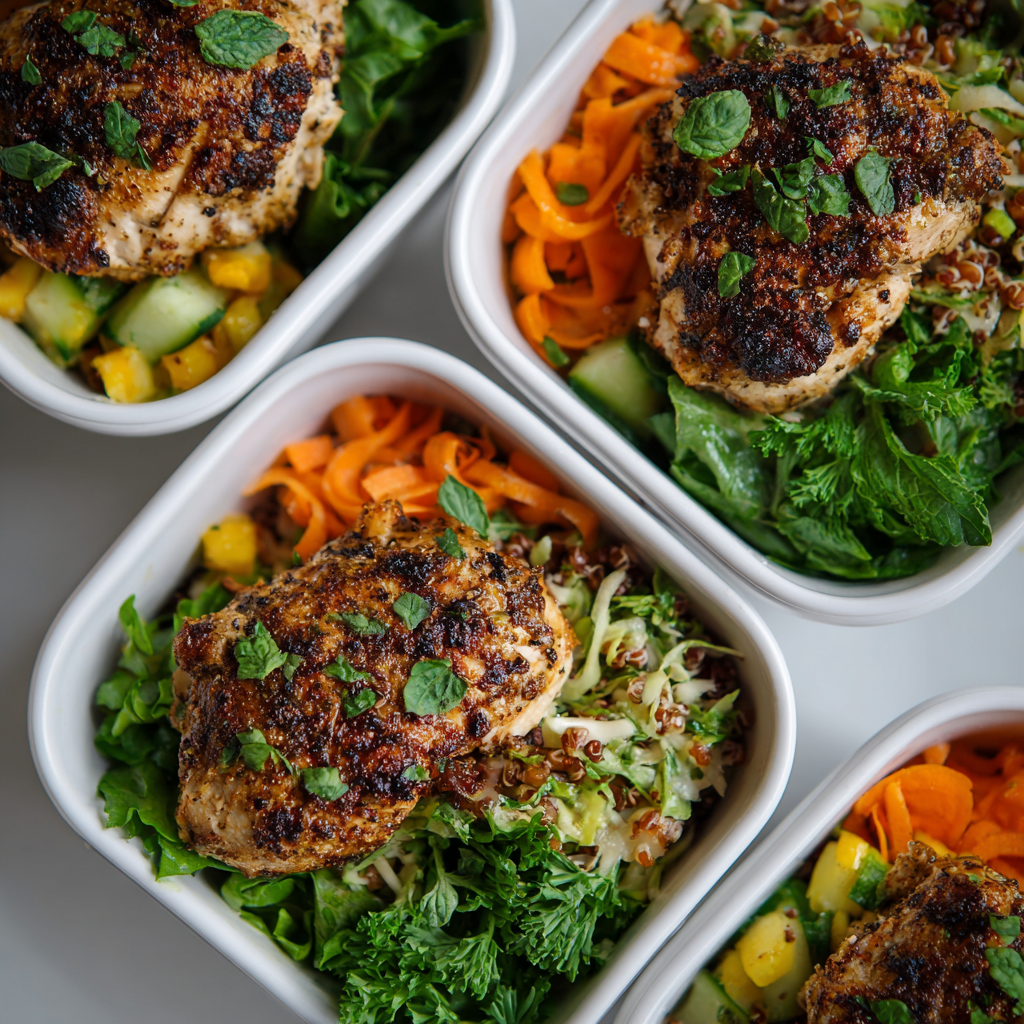
Are these tenders suitable for meal prep? Yes, they’re excellent for meal prep! Cook a batch, store them properly, and enjoy them throughout the week as part of lunch bowls, salads, or quick dinners.
Final Thoughts
These healthy gameday baked chicken tenders represent everything a home cook loves: simplicity, flavor, and genuine satisfaction. Next, the beauty of this recipe lies in how it delivers restaurant-quality results without the guilt or the greasy residue. Furthermore, once you master this basic technique, you’ll find yourself making these tenders regularly for everything from casual family dinners to impressive entertaining.
The next time someone suggests ordering takeout fried chicken, you’ll know you can create something even better right in your own kitchen. Additionally, your family and friends will taste the difference that homemade preparation makes. Meanwhile, you’ll appreciate knowing exactly what goes into every bite, with real ingredients and no mysterious additives.
So gather your ingredients, invite your favorite people over, and prepare to become the hero of your next gathering with a tray of these irresistible, crispy, and genuinely healthy chicken tenders.
Did you enjoy this recipe? If these Healthy Gameday Baked Chicken Tenders are now a favorite in your kitchen, please save this recipe, pin it to your Pinterest board, and share it with friends and family who would love it! Your support means everything and helps us keep creating delicious recipes just like this one. Thank you for cooking with us!