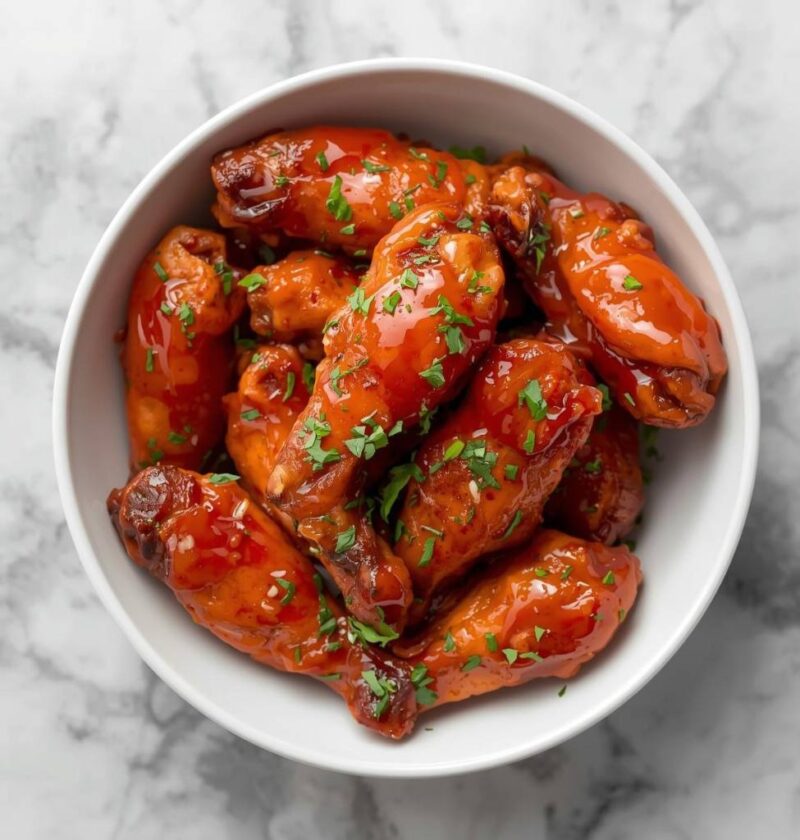
There’s something truly magical about biting into a perfectly glazed chicken wing fresh from the oven, watching that glossy honey barbecue sauce shine under the light. These wings represent comfort, celebration, and the kind of food that brings people together around the table. Whether you’re hosting a casual game night, planning a backyard gathering, or simply craving something delicious for dinner, this recipe delivers restaurant-quality results without requiring you to be a professional chef. The combination of sweet honey with smoky barbecue sauce creates a flavor profile that appeals to both kids and adults alike. What makes this recipe truly special is how simple it is to execute while still producing incredibly impressive results that will have everyone asking for your secret. In just about an hour from start to finish, you’ll have a batch of sticky, caramelized wings that taste like they came from your favorite neighborhood barbecue joint.
Ingredients
This recipe makes 4 servings, with approximately 6-8 wings per person.
- 3 pounds chicken wings, separated into drums and flats (drumettes and wingettes)
- 1 cup barbecue sauce, your preferred brand or homemade
- ½ cup honey
- 3 tablespoons butter
- 2 tablespoons apple cider vinegar
- 2 tablespoons Worcestershire sauce
- 1 tablespoon garlic powder
- 1 tablespoon onion powder
- 1 tablespoon paprika
- 1 teaspoon cayenne pepper (adjust to taste preference)
- 1 teaspoon black pepper
- 1 teaspoon salt
- ½ teaspoon dry mustard powder
- 2 tablespoons fresh lime juice
- 1 tablespoon sesame seeds, for garnish (optional)
- 2 tablespoons fresh cilantro, chopped, for garnish (optional)
- Cooking spray or oil for baking sheet
Preparing Your Chicken Wings
Preheat your oven to 400°F. While the oven heats, take your chicken wings out of the refrigerator and pat them completely dry with paper towels. This step is absolutely crucial because moisture prevents proper browning and crispy skin development. Next, separate your wings into the smaller drumettes and the flat wingettes if you haven’t already done so, discarding any wing tips or saving them for stock.
Transfer your dried wings into a large mixing bowl. Combine all your dry spices including garlic powder, onion powder, paprika, cayenne pepper, black pepper, salt, and dry mustard powder in a small bowl. Sprinkle this seasoning mixture evenly over the wings while tossing them gently but thoroughly. Make sure every single wing is well coated with the spice blend, paying special attention to any crevices or underneath areas where seasoning can hide.
Arrange your seasoned wings in a single layer on a baking sheet that you’ve either lined with foil or lightly sprayed with cooking spray. Having them in a single layer ensures even cooking and helps them brown properly on all sides. Bake these wings for about 25 minutes until they start to turn golden and develop some color on the surface.
Creating the Honey BBQ Glaze
Meanwhile, you’ll want to prepare your signature glaze while the wings cook. Combine your barbecue sauce, honey, and butter in a medium saucepan over medium heat. Stir this mixture frequently until the butter melts completely and everything is well blended together. Additionally, add your apple cider vinegar, Worcestershire sauce, and fresh lime juice to this saucepan.
Let this sauce simmer gently for about 5 minutes, stirring occasionally to prevent sticking or scorching on the bottom of the pan. The sauce should smell absolutely incredible at this point, with the honey caramelizing and the spices becoming more fragrant. Reduce the heat to low and keep the glaze warm while you continue cooking the wings.
Coating and Finishing the Wings
After the initial 25-minute bake time, carefully remove your wings from the oven. At this point, they should be partially cooked and starting to look appetizing. Pour about three-quarters of your prepared glaze directly onto the wings, then toss them carefully but thoroughly with tongs or two forks until every piece is coated evenly. This ensures that the sweet and savory flavors penetrate the chicken while also creating a beautiful caramelized exterior.
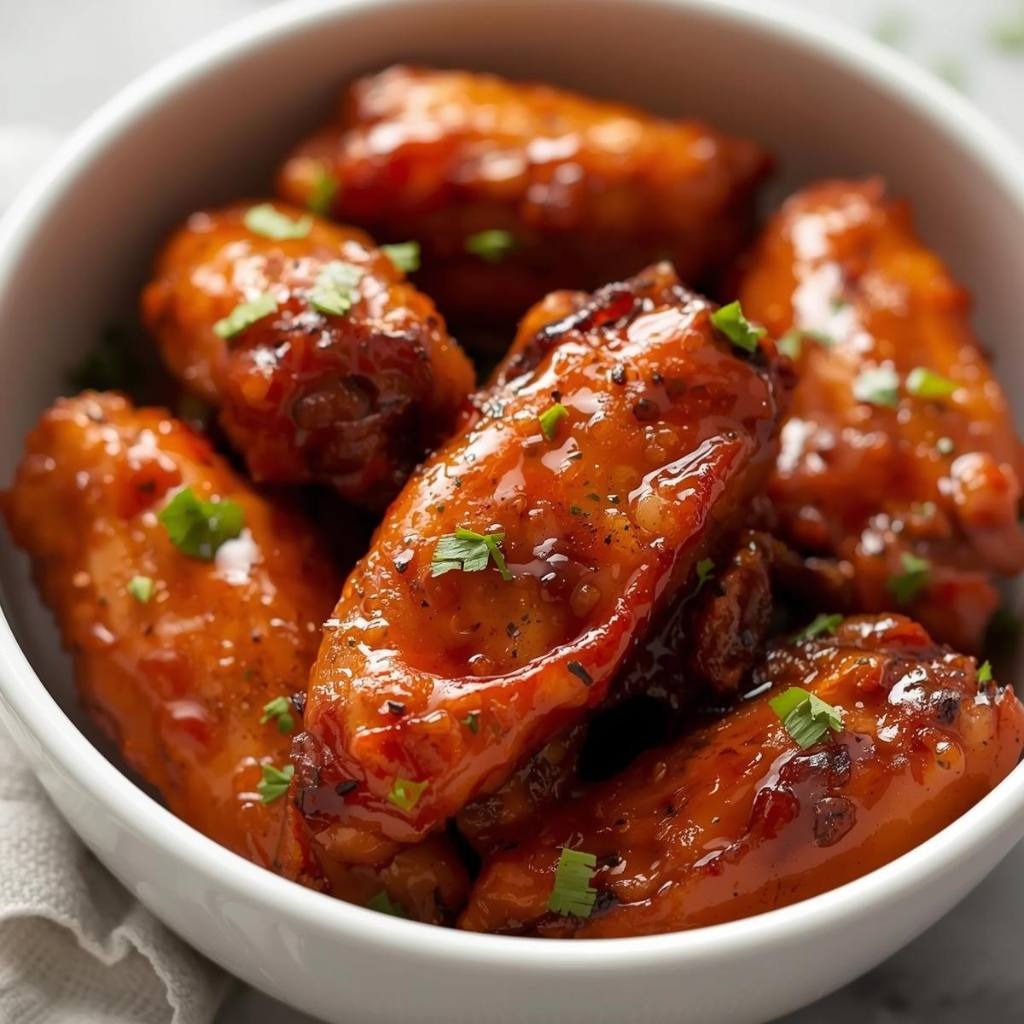
Return the coated wings to the oven and bake for an additional 15 to 20 minutes. Check them about halfway through this time and give them another gentle toss to redistribute the glaze. The wings are finished when they’re deeply golden brown and the glaze looks sticky and caramelized, almost lacquered onto the surface of the chicken.
Remove the baking sheet from the oven and let the wings rest for about 5 minutes before transferring them to a serving platter. This brief resting period allows the glaze to set slightly and makes them easier to handle. Before serving, drizzle the remaining reserved glaze over the top for extra flavor and visual appeal.
Serving and Storage Tips
Serving Suggestions
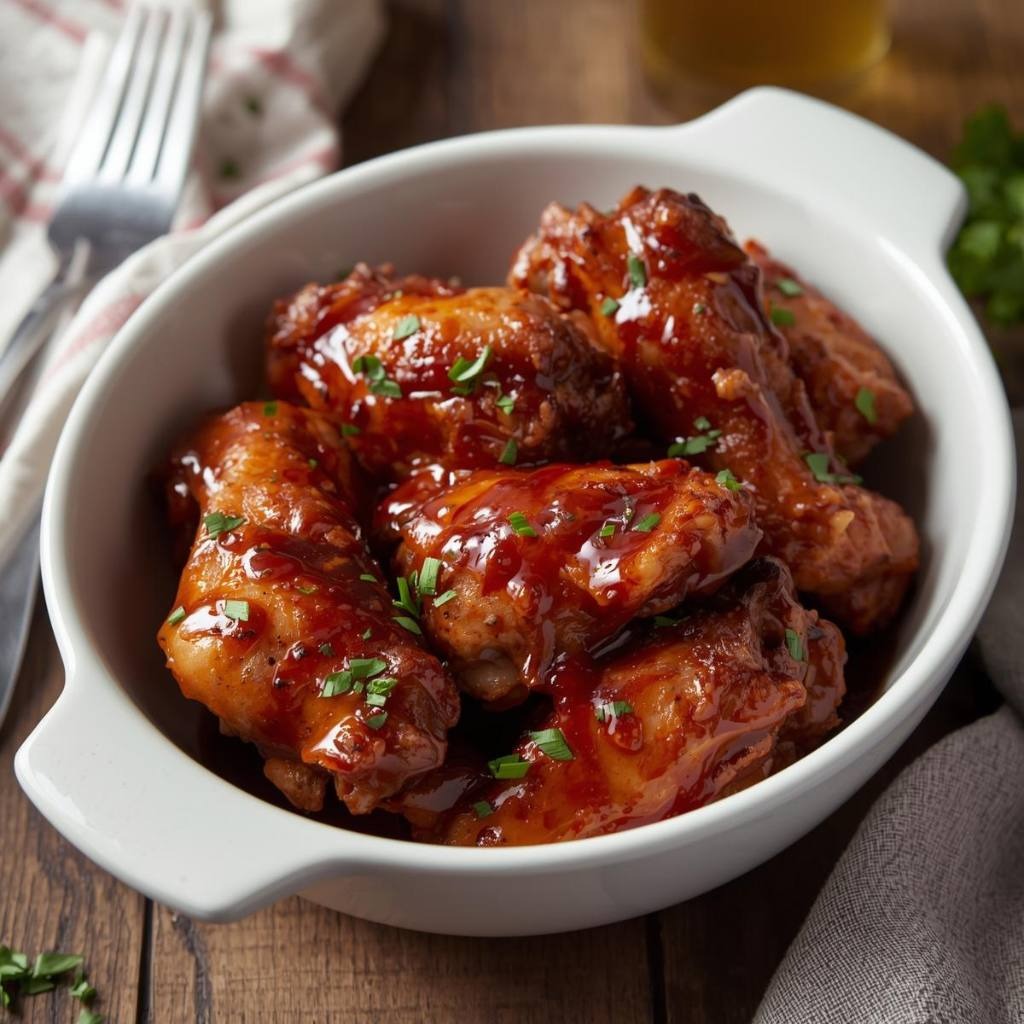
Serve your honey BBQ chicken wings hot right off the baking sheet while they’re still at their crispiest and the glaze is most glossy. Consider pairing them with creamy coleslaw to balance the sweetness of the glaze, or alongside a fresh green salad for something lighter. Traditional sides like cornbread, mac and cheese, or roasted vegetables complement these wings beautifully. For beverages, cold iced tea, lemonade, or even craft beer works wonderfully with the sweet and smoky flavor profile.
These wings are perfect for game day gatherings, weeknight family dinners, summer cookouts, or casual entertaining when you want impressive food without hours of preparation. You can also serve them as appetizers at parties by cutting the portions slightly smaller and letting guests grab them from a warming platter.
Storage Instructions
Leftover wings keep well in an airtight container in the refrigerator for up to 4 days. First, let them cool to room temperature before storing to prevent excess condensation. For longer storage, you can freeze the cooled wings in a freezer-safe container or resealable plastic bag for up to 3 months.
To reheat refrigerated wings, preheat your oven to 350°F and warm them on a baking sheet for about 10 minutes until heated through. Alternatively, you can reheat them in the microwave for 1 to 2 minutes, though this may soften the skin slightly compared to oven reheating. Frozen wings should be thawed in the refrigerator overnight before reheating using the same methods.
Helpful Notes and Tips
One of the most common mistakes when making chicken wings is not drying them thoroughly at the start, which results in steaming rather than roasting. Take extra time with the paper towels and your wings will reward you with crispy, golden skin. Additionally, don’t overcrowd your baking sheet because this traps steam and prevents proper browning.
If you prefer spicier wings, increase the cayenne pepper to 1.5 teaspoons or add a tablespoon of hot sauce to your glaze mixture. For a sweeter version that appeals more to children, simply increase the honey slightly and reduce the Worcestershire sauce. However, you can easily substitute your favorite barbecue sauce brand—whether you prefer a smoky, spicy, or mild variety—and the recipe will adapt beautifully.
Another helpful trick involves adding a tablespoon of smoked paprika to the dry spice mixture if you want to enhance that authentic barbecue flavor. Some cooks prefer to broil the wings for the final 2 minutes to get them extra crispy and caramelized, though this requires close attention to prevent burning.
Chef Tips
Professional chefs often recommend preparing your glaze and seasoning your wings well in advance, even the night before, which allows flavors to develop more deeply. Furthermore, using a combination of both dry spices and wet glaze creates layers of flavor that make these wings taste far more sophisticated than their simple ingredient list suggests.
Frequently Asked Questions
Can I use boneless, skinless chicken breasts for this recipe? Absolutely, though the cooking time will be much shorter at only 25 to 30 minutes total, and the texture will be different since breasts don’t develop crispy skin like wings do.
What if I don’t have apple cider vinegar? You can substitute white vinegar, rice vinegar, or even fresh lemon juice in equal amounts for a slightly different but equally delicious flavor profile.
How do I reheat frozen wings to maintain crispiness? Thaw them overnight in your refrigerator, then reheat in a 350°F oven for about 12 minutes rather than using a microwave.
Can I make this recipe in a slow cooker? Yes, combine the seasoned wings with the glaze ingredients in a slow cooker and cook on low for 4 hours, though they won’t develop the same crispy exterior as oven-roasted wings.
Is this recipe gluten-free? Most barbecue sauces and all the other ingredients are naturally gluten-free, but always check your specific barbecue sauce brand’s label to be certain.
Why This Recipe Works
These honey barbecue chicken wings succeed because they balance sweetness with savory depth in a way that feels completely craveable. The initial dry rub creates a flavorful base that stands on its own, while the glaze adds moisture, richness, and visual appeal. Starting the wings in the oven for 25 minutes allows them to cook through and develop color before the glaze goes on, which prevents the sugar from burning while still creating that gorgeous caramelized finish.
The combination of honey, barbecue sauce, and warm spices creates a flavor that feels both comforting and sophisticated enough to serve to guests. First-time cooks often worry that making wings from scratch is complicated, but this straightforward approach proves that delicious results are absolutely achievable in any home kitchen.
If you loved making these honey BBQ chicken wings, I’d absolutely love to hear about it! Did your family ask for seconds? Were your guests impressed? Please take a moment to save this recipe for later, pin it to your favorite Pinterest board, or share it with friends and family who would enjoy it. Your feedback and enthusiasm inspire us to keep creating more delicious recipes that bring joy to your table. Thank you for cooking with us today!