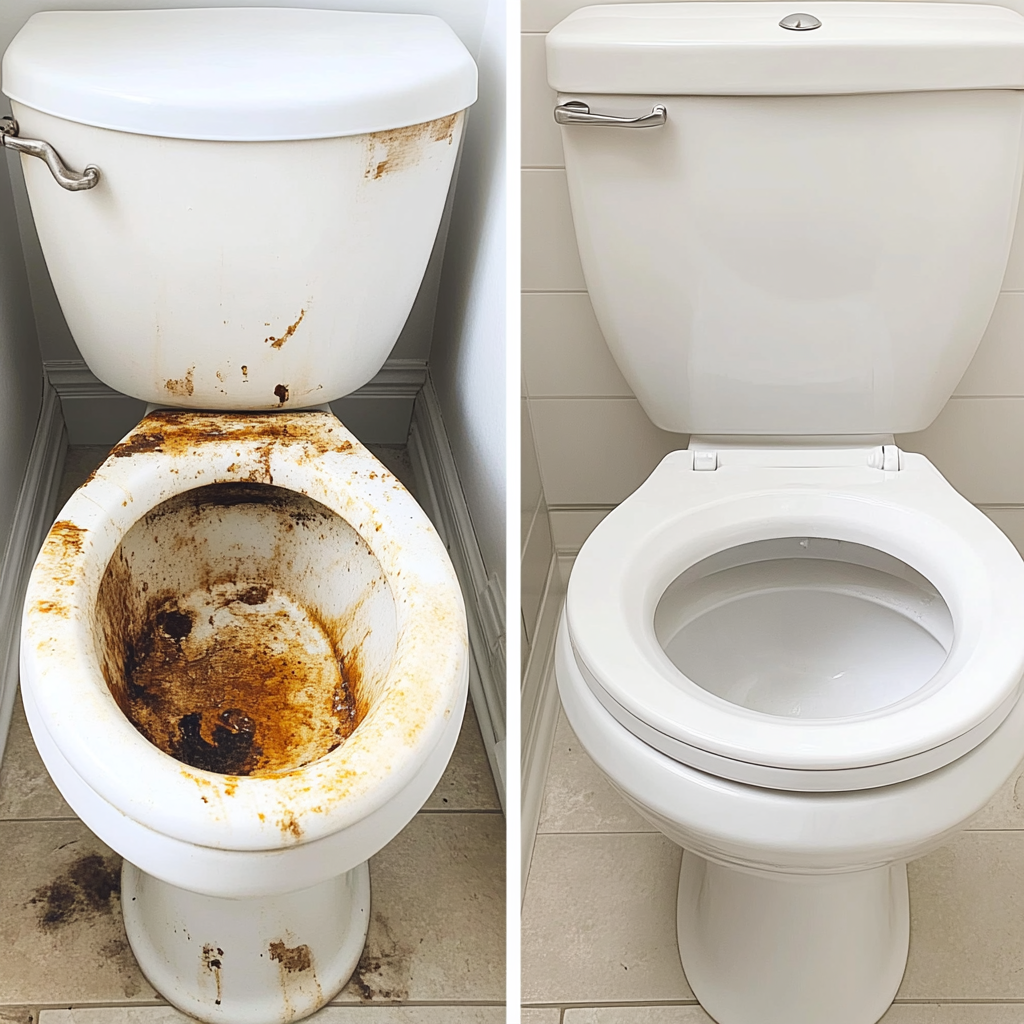
Description: Discover the easy trick I used to clean burnt kitchen utensils and restore them to their original shine. A simple method to save your cookware!
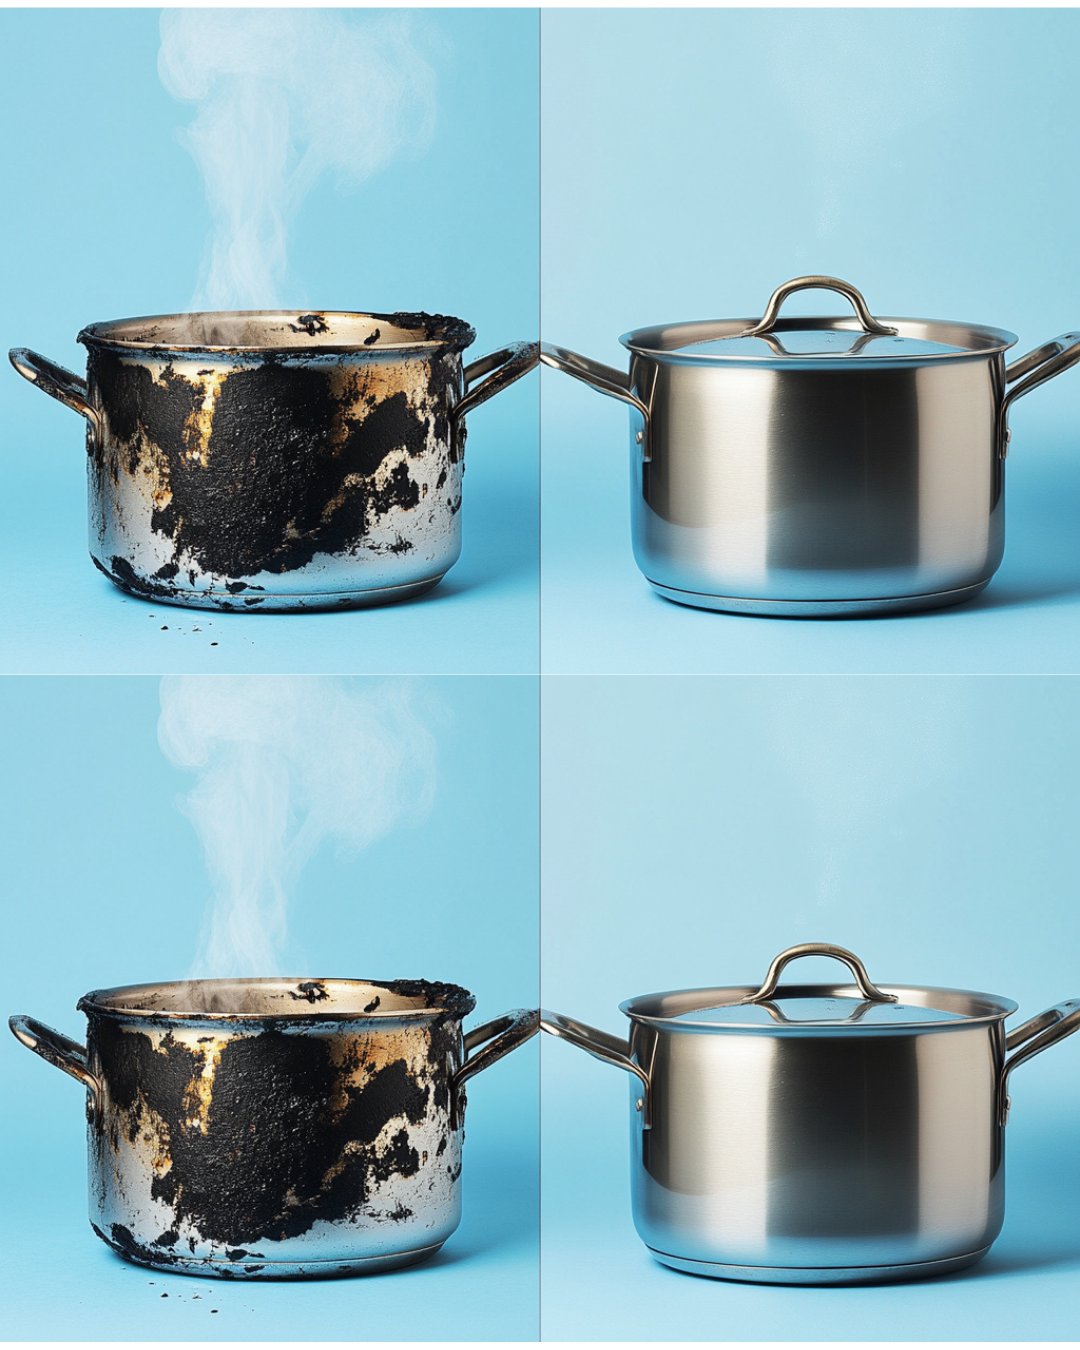
Burnt kitchen utensils are a common issue that can frustrate any home cook. However, cleaning these stubborn stains doesn’t have to be a hassle. In this article, I’ll walk you through the step-by-step process I followed when I cleaned the burnt kitchen utensils immediately. The trick I used was simple, effective, and doesn’t require any harsh chemicals. Whether you’re dealing with a burnt spatula, saucepan, or any other kitchen tool, these methods will make your utensils look as good as new.
The Shocking Truth About Cleaning Burnt Kitchen Utensils
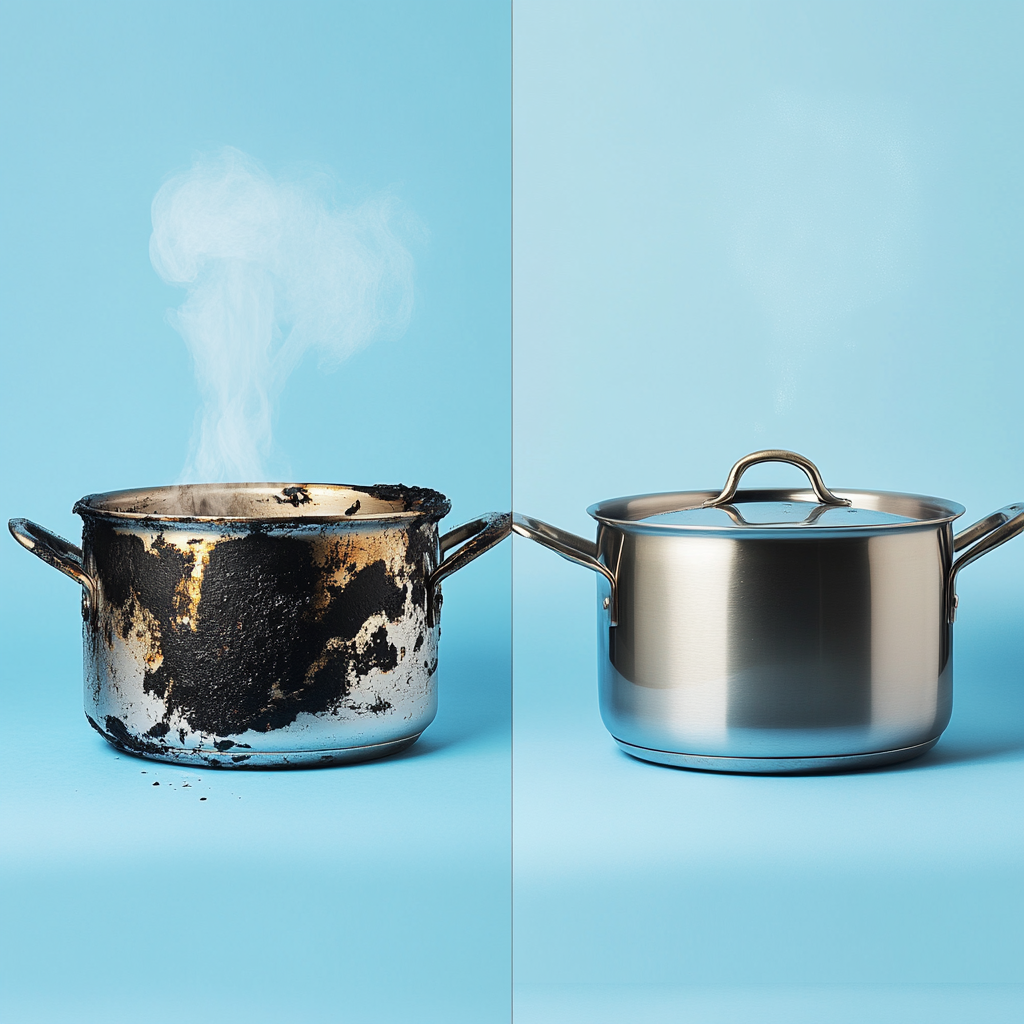
Cleaning burnt kitchen utensils often feels like a daunting task, especially when you’ve tried scrubbing, soaking, and using harsh cleaners, only to see little to no results. The good news is that there is an easy solution that not only saves time but also works wonders on your burnt utensils. The key is using natural ingredients that you likely already have in your pantry. The trick I used was surprisingly effective, and it’s all about the power of baking soda and a little bit of vinegar.
Baking soda is an all-purpose cleaner that can handle tough stains, grease, and burnt food. When combined with vinegar, it creates a powerful reaction that helps break down the residue left behind on your utensils. The combination of these two ingredients not only cleans but also deodorizes the utensils, leaving them smelling fresh.
It’s important to understand that burnt food on utensils doesn’t have to mean permanent damage. Many people struggle with cleaning their cookware after experiencing burnt food, but with the right technique, you can reverse the effects and bring your utensils back to life. This method is simple and can be done without any professional help.
How I Cleaned the Burnt Kitchen Utensils Immediately
Cleaning burnt kitchen utensils immediately after use is crucial to prevent the burnt residue from sticking and making it harder to clean. Once I realized how effective the trick was, I made it a habit to clean up my utensils right after they had cooled down.
Step 1: Soak in Hot Water
The first step is to soak your burnt utensils in hot water for about 15 minutes. This helps loosen any burnt food and grease. Make sure the water is hot, but not boiling, as extremely high temperatures can sometimes warp your utensils, especially if they are plastic or non-stick.
Step 2: Add Baking Soda
After soaking, sprinkle a generous amount of baking soda over the burnt areas. The baking soda will begin to absorb the grime, and you’ll notice that the surface starts to look cleaner almost instantly.
Step 3: Scrub with Vinegar
Now, add a small amount of vinegar onto the baking soda. The fizzing action will help lift off the burnt bits without damaging the utensil. Use a soft sponge or a dish brush to scrub the utensil gently. You’ll be amazed at how easily the burnt food comes off.
Step 4: Rinse and Dry
Once you’ve scrubbed away all the burnt residues, rinse the utensils under warm water. Dry them immediately with a soft towel to prevent any water spots from forming.
Why This Trick Works: The Science Behind the Magic
At its core, this method works due to the natural chemical reactions between baking soda and vinegar. Baking soda is an alkaline substance, while vinegar is acidic. When combined, they create a fizzing reaction that helps lift and dissolve stubborn burnt food particles.
Additionally, baking soda is mildly abrasive, which allows it to scrub away burnt food without damaging the surface of your utensils. It’s a gentle yet effective solution that doesn’t require harsh chemicals or expensive cleaning products.
The combination of vinegar and baking soda also helps break down grease and grime. The acidity of the vinegar helps to cut through the oil, while the alkalinity of the baking soda neutralizes odors, making it a great option for deodorizing your utensils as well.
5 Easy Ways to Use This Trick for Maximum Results
To make sure you get the best results, it’s important to follow these simple tips when cleaning your burnt kitchen utensils:
-
Use Hot Water: Always soak your utensils in hot water before applying the baking soda and vinegar. This softens the burnt food and makes it easier to clean.
-
Apply Baking Soda Generously: Don’t be shy with the baking soda. The more you use, the better the results.
-
Scrub Gently: Avoid using abrasive scrubbing pads or steel wool, as these can scratch the surface of your utensils.
-
Let It Sit: Give the baking soda and vinegar mixture time to work. Let it fizz for a few minutes before scrubbing.
-
Dry Immediately: After rinsing, dry your utensils right away to prevent water spots or rusting, especially for metal utensils.
Expert Tips to Supercharge Your Cleaning Experience
To really maximize your cleaning experience, try incorporating these expert tips:
-
Use a Paste: For tougher stains, create a paste by mixing baking soda and a bit of water. Apply this paste directly to the burnt areas, let it sit for 15–20 minutes, and scrub it away.
-
Try Salt for Extra Abrasiveness: If you’re dealing with a particularly stubborn stain, add a pinch of salt to the baking soda for extra scrubbing power.
-
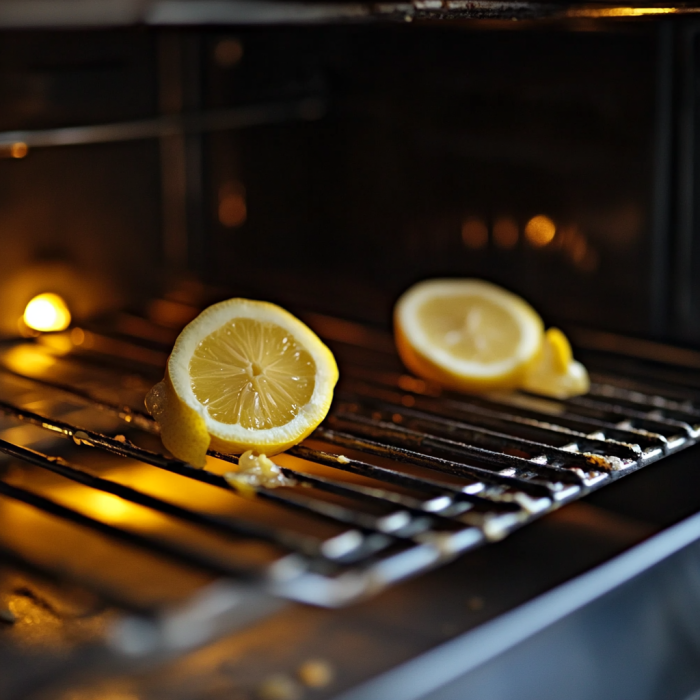
Use Lemon Juice: If you prefer a more natural cleaner, lemon juice can work similarly to vinegar. It has natural acids that break down grease and burnt food.
The Biggest Mistakes People Make with Cleaning Burnt Kitchen Utensils
While cleaning burnt utensils seems straightforward, there are a few common mistakes that can make the process less effective. Here are the top mistakes people make:
-
Not Soaking the Utensils First: Trying to clean burnt utensils without soaking them in hot water can make the task harder. Soaking softens the burnt food, making it easier to clean.
-
Using Harsh Chemicals: Some people turn to heavy-duty cleaners or abrasive pads that can damage their utensils. These chemicals often contain toxins that are harmful and unnecessary. Stick to natural ingredients like baking soda and vinegar for a safe, effective clean.
-
Skipping the Drying Step: Leaving utensils wet can lead to rust or water spots, especially with metal kitchen tools. Make sure to dry your utensils right after cleaning them.
Final Thoughts: Why You Should Try This Trick Today
The next time you’re faced with burnt kitchen utensils, remember this simple trick that cleaned the burnt kitchen utensils immediately. With just a few ingredients that you probably already have in your kitchen, you can save time, money, and effort while keeping your utensils looking brand new. No more harsh chemicals or hours spent scrubbing away. This method is quick, effective, and safe for all your kitchen tools. Give it a try today!
For more interesting tips you can see here www.sotastyrecipe.com/tips
And for recipes lovers, you can check my friend’s blog here www.infloin.com