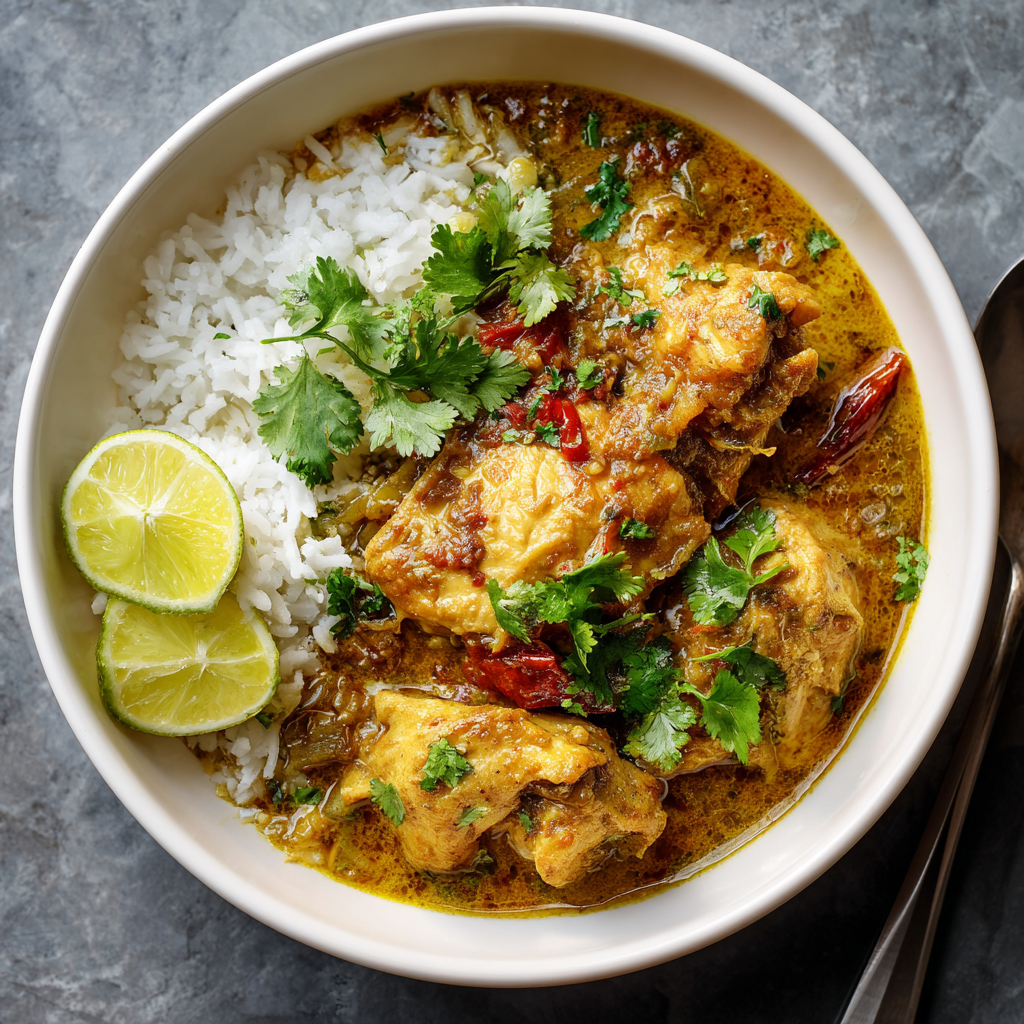
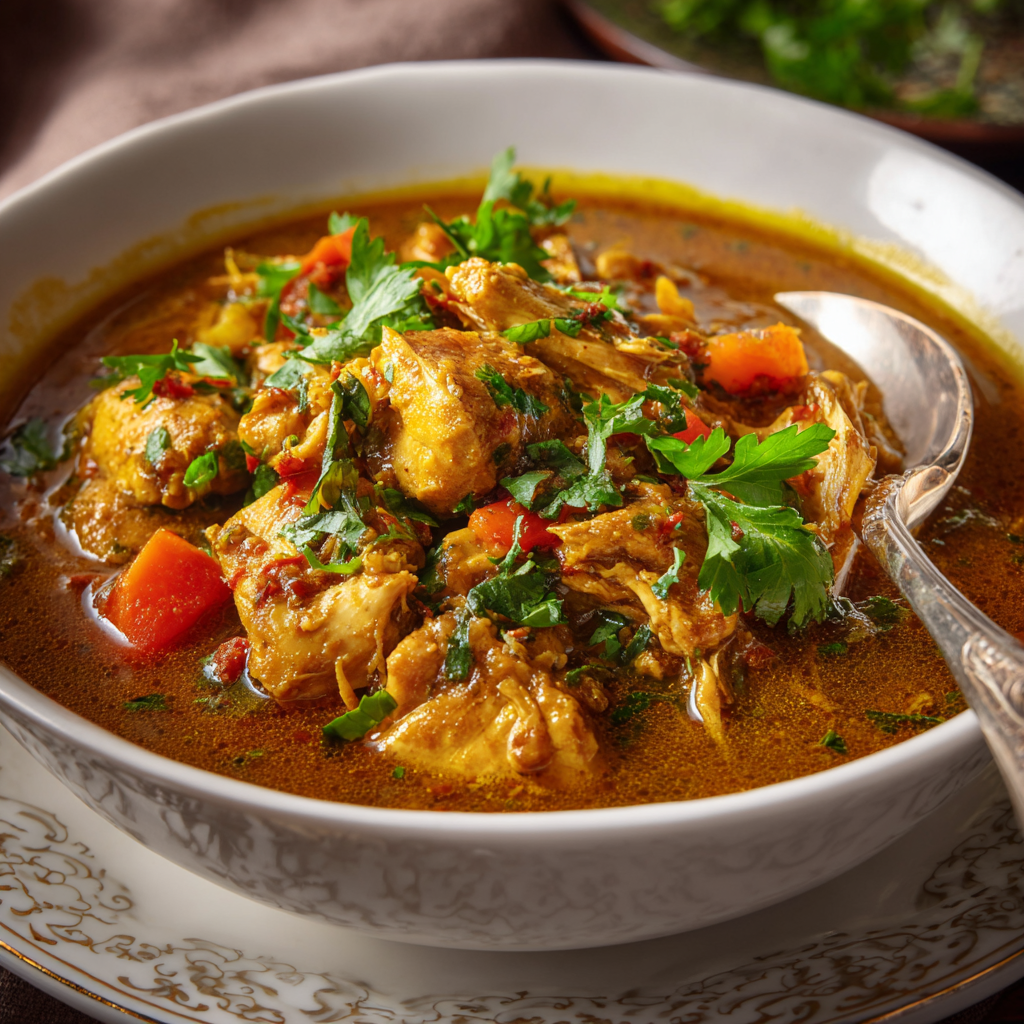
Nothing chases away winter’s chill quite like a steaming bowl of aromatic chicken curry that’s rich, creamy, and packed with warming spices. This Instant Pot version delivers all the complex flavors of traditional curry in a fraction of the time, making it perfect for busy weeknights when you need comfort food fast. The pressure cooker works its magic to infuse tender chicken with fragrant ginger, garlic, and a blend of spices that fill your home with the most inviting aroma. Unlike stovetop methods that require constant attention and stirring, the Instant Pot does all the work while you relax or tackle other tasks. Whether you’re new to curry or a longtime fan, this recipe strikes the perfect balance between authentic flavor and accessible ingredients. The result is restaurant-quality curry that tastes like it simmered for hours, yet comes together in under 30 minutes. Serve it over fluffy rice with warm naan bread, and you’ve got a cozy meal that satisfies both body and soul on the coldest winter evenings.
Ingredients
This recipe serves 6 people.
- 2 pounds boneless, skinless chicken thighs, cut into 1-inch pieces
- 2 tablespoons vegetable oil or ghee
- 1 large yellow onion, finely chopped
- 4 cloves garlic, minced
- 2 tablespoons fresh ginger, grated
- 3 tablespoons curry powder
- 2 teaspoons ground cumin
- 2 teaspoons ground coriander
- 1 teaspoon turmeric
- 1 teaspoon garam masala
- ½ teaspoon cayenne pepper (adjust to taste)
- 1 teaspoon paprika
- 1 can (14 ounces) crushed tomatoes
- 1 can (13.5 ounces) full-fat coconut milk
- ¾ cup chicken broth
- 2 tablespoons tomato paste
- 1 tablespoon soy sauce
- 1 tablespoon honey or brown sugar
- 1½ teaspoons salt
- ½ teaspoon black pepper
- 2 medium potatoes, peeled and cubed (optional)
- 1 cup frozen peas
- 2 tablespoons cornstarch mixed with 2 tablespoons water (for thickening)
- Fresh cilantro, chopped for garnish
- Juice of half a lemon
Step-by-Step Instructions
- Press the “Sauté” button on your Instant Pot and allow it to heat up until the display reads “Hot.”
- Add the vegetable oil or ghee, swirling it around to coat the bottom of the pot evenly.
- Season the chicken pieces with salt and pepper, tossing them to distribute the seasoning uniformly.
- Brown the chicken in batches for 2-3 minutes per side, developing a golden crust without cooking through completely.
- Transfer the browned chicken to a plate and set aside temporarily while you build the curry base.
- Add the chopped onion to the pot, stirring and scraping up any browned bits stuck to the bottom.
- Sauté the onion for 3-4 minutes until it becomes soft and translucent, stirring occasionally to prevent burning.
- Stir in the minced garlic and grated ginger, cooking for about 1 minute until wonderfully fragrant.
- Add all the spices—curry powder, cumin, coriander, turmeric, garam masala, cayenne, and paprika—stirring constantly for 30 seconds.
- Pour in a splash of chicken broth to deglaze the pot, scraping the bottom thoroughly to remove any stuck bits that could trigger the burn warning.
- Stir in the crushed tomatoes, tomato paste, remaining chicken broth, soy sauce, and honey, mixing everything until well combined.
- Return the browned chicken and any accumulated juices to the pot, stirring to coat the pieces with sauce.
- Add the cubed potatoes if using, nestling them into the sauce around the chicken pieces.
- Close the Instant Pot lid, ensuring the valve is set to the “Sealing” position for proper pressure building.
- Press the “Pressure Cook” or “Manual” button and set the timer for 8 minutes at high pressure.
- Allow the Instant Pot to come to pressure naturally, which typically takes 10-15 minutes before cooking begins.
- Wait for the cooking cycle to complete, then let the pressure release naturally for 5 minutes.
- Switch the valve to “Venting” to release any remaining pressure quickly, keeping your hand away from the steam.
- Open the lid carefully once the float valve drops, tilting it away from you to avoid the hot steam.
- Stir in the coconut milk and frozen peas, which will warm through from the residual heat.
- Press “Sauté” again and bring the curry to a gentle simmer if you want to thicken the sauce.
- Pour in the cornstarch slurry while stirring constantly, cooking for 2-3 minutes until the sauce reaches your desired consistency.
- Taste and adjust the seasoning, adding more salt, a squeeze of lemon juice, or a pinch of sugar to balance the flavors.
- Garnish generously with fresh cilantro just before serving for a bright, herbaceous finish.
Serving and Storing Tips
Serving Tips
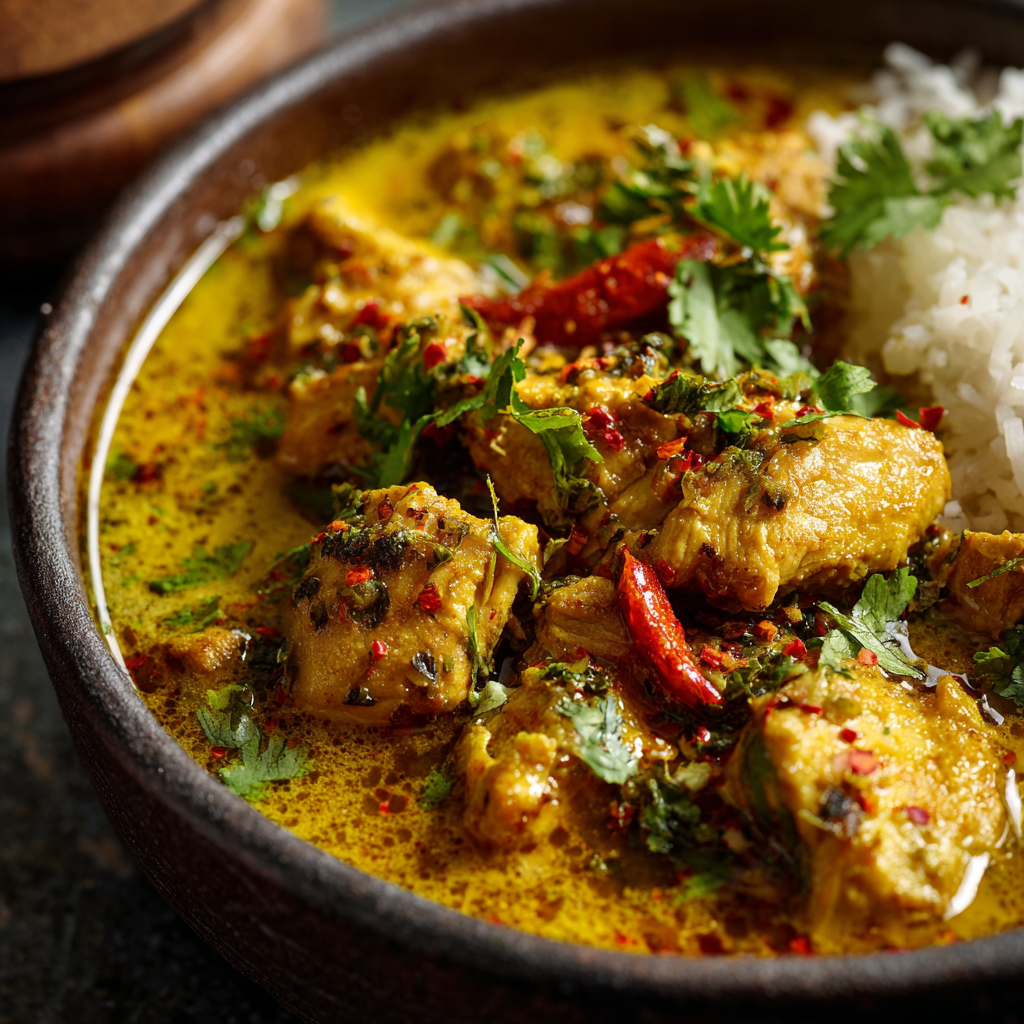
This fragrant curry deserves to be served over perfectly cooked basmati rice, which soaks up the creamy sauce beautifully. Alternatively, try it with jasmine rice, brown rice, or even cauliflower rice for a lower-carb option. Warm naan bread, roti, or crusty baguette pieces are perfect for scooping up every last drop of sauce. For a complete meal, serve alongside cooling cucumber raita, tangy mango chutney, or a simple tomato and onion salad dressed with lemon juice. The curry also works wonderfully as a filling for wraps or stuffed into pita pockets for lunch the next day.
Consider setting out small bowls of toppings like sliced green onions, extra cilantro, lime wedges, and a drizzle of yogurt so everyone can customize their bowl. This dish is ideal for dinner parties since you can easily double the recipe and it stays warm in the Instant Pot on the “Keep Warm” setting without drying out.
Storage Tips
Store leftover chicken curry in airtight containers in the refrigerator for up to 4 days, where the flavors will actually meld and intensify beautifully. In fact, many people insist curry tastes even better the second day after the spices have had time to fully bloom. For freezing, let the curry cool completely before transferring to freezer-safe containers, leaving about an inch of space at the top for expansion.
Properly frozen curry maintains excellent quality for up to 3 months in the freezer. To reheat from frozen, thaw overnight in the refrigerator first, then warm gently on the stovetop over medium-low heat, stirring occasionally. You may need to add a splash of coconut milk or broth to restore the original consistency since the sauce tends to thicken when cold. Microwave reheating works well too—use 50% power in 90-second intervals, stirring between each cycle to ensure even heating without creating hot spots.
Helpful Notes
Chicken thighs are strongly recommended over chicken breasts because they remain tender and juicy under pressure cooking, while breasts can become dry and stringy. However, if you must use breasts, cut them into larger chunks and reduce the pressure cooking time to 6 minutes. The full-fat coconut milk creates that signature creamy richness, but you can substitute with light coconut milk, though the curry won’t be quite as luscious. For a dairy-based version, use heavy cream or half-and-half instead of coconut milk, adding it at the end to prevent curdling.
Moreover, curry powder varies significantly between brands in terms of heat level and flavor profile, so start with the recommended amount and adjust to your taste. Some curry powders are quite mild while others pack serious heat, so taste as you go. Fresh ginger makes a noticeable difference compared to dried—it adds brightness and zing that ground ginger simply can’t match. If you don’t have fresh ginger, substitute with 1 tablespoon of ground ginger, though the flavor won’t be quite as vibrant.
The potatoes are entirely optional but add heartiness and help stretch the meal further. Sweet potatoes work wonderfully too and add a subtle sweetness that complements the spices beautifully. If you’re avoiding the burn notice on your Instant Pot, make absolutely sure to deglaze the bottom thoroughly after sautéing the spices, as they can stick and trigger the warning. Using enough liquid—at least 1 cup—also helps prevent this common issue.
Chef Tips
Professional chefs often bloom their spices in hot oil before adding liquid, which releases their essential oils and intensifies their flavors dramatically—this step is crucial for depth. Another restaurant secret involves finishing the curry with a tablespoon of butter stirred in at the very end, which adds silky richness and helps marry all the flavors together beautifully.
Frequently Asked Questions
Can I use chicken breasts instead of thighs? Yes, but reduce the cooking time to 6 minutes and cut them into larger pieces to prevent them from drying out under pressure.
My curry is too thin—how do I thicken it? Use the cornstarch slurry method described in the recipe, or simply simmer uncovered on sauté mode for 5-10 minutes to reduce and thicken naturally.
Can I make this curry vegetarian? Absolutely, substitute the chicken with chickpeas, cauliflower, or paneer cheese, and use vegetable broth instead of chicken broth for the same cooking time.
Is this curry very spicy? The recipe is moderately spiced but not extremely hot; adjust the cayenne pepper up or down based on your heat tolerance preferences.
Can I prep this ahead of time? Yes, you can cut the chicken and chop all vegetables the night before, storing them separately in the refrigerator until you’re ready to cook.
Did this Instant Pot Chicken Curry become your new cold-weather go-to recipe? If you loved how quickly this warming, flavorful dish came together, please save it to your collection, pin it for easy access, and share it with friends and family who need more comforting recipes in their rotation! Your enthusiasm and support inspire us to continue developing and sharing delicious, practical recipes that make home cooking easier and more enjoyable. We’d love to hear how your curry turned out—drop a comment below and let us know what you served it with!