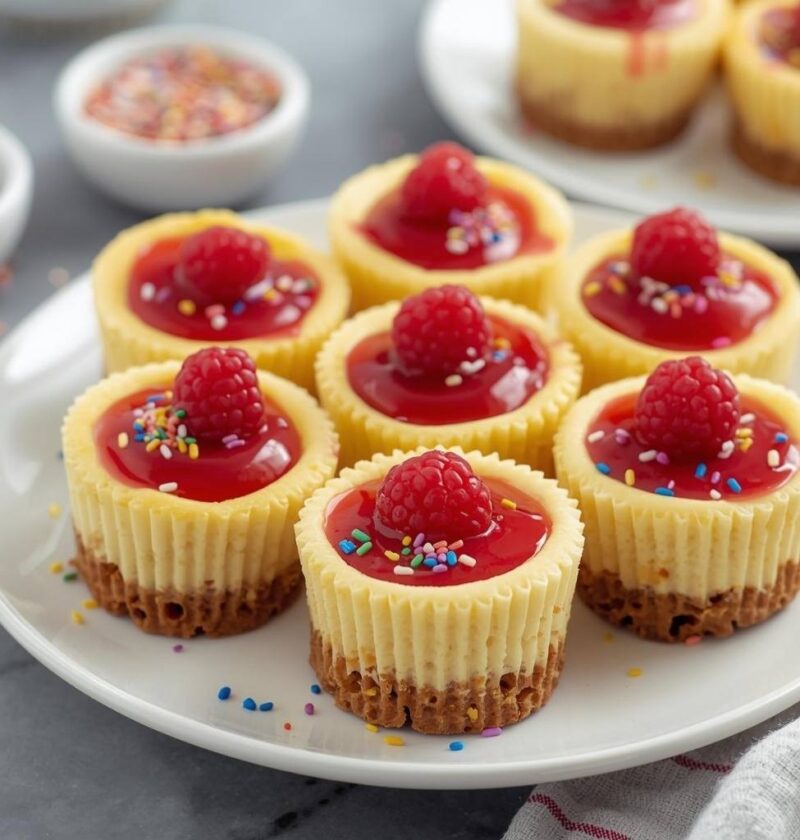
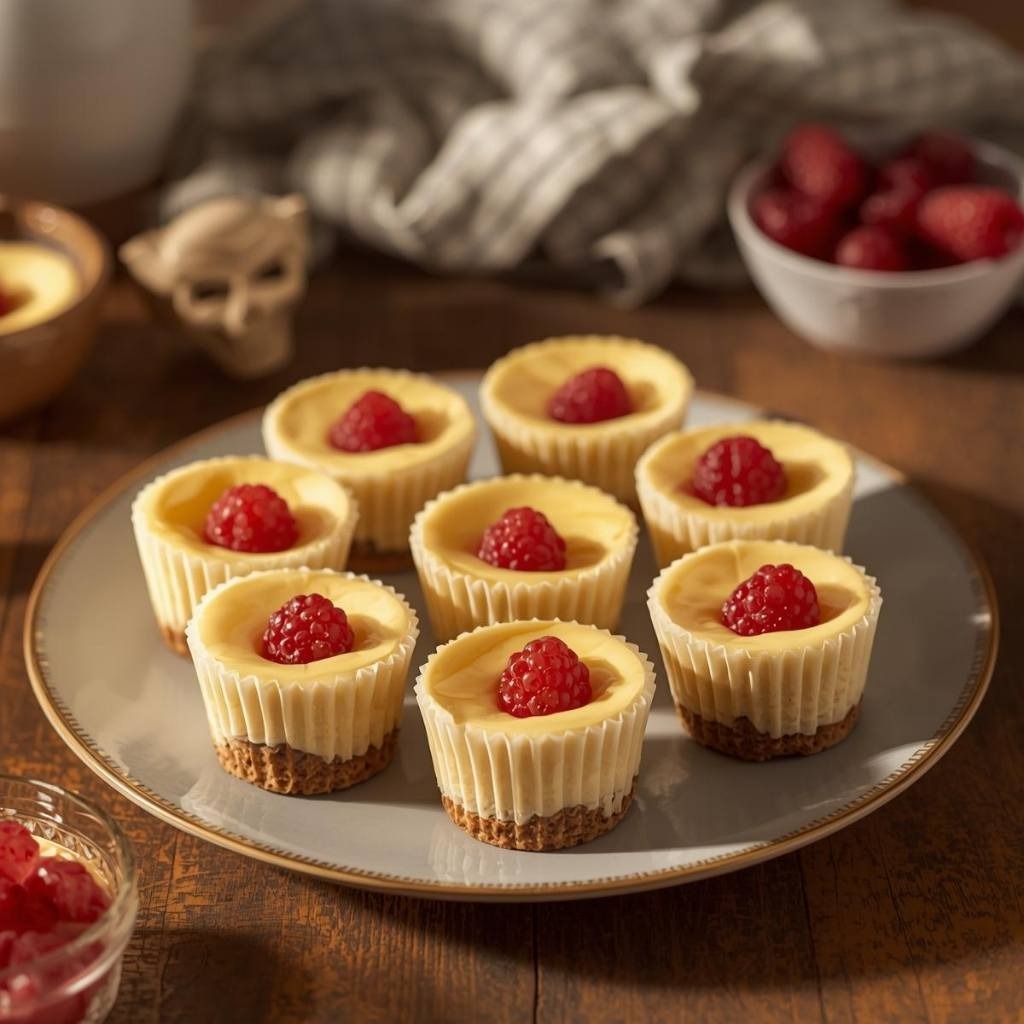
There’s something undeniably magical about serving individual portions of cheesecake. These Mini Cheesecake Cups deliver all the rich, creamy satisfaction of a full-sized dessert without requiring you to slice perfectly or worry about even portions. What makes this recipe truly special is how accessible it is—even for bakers with minimal experience. The combination of a buttery graham cracker crust, velvety cheesecake filling, and endless topping possibilities creates a dessert that tastes far more impressive than the effort required to make it. Whether you’re preparing for a dinner party, creating elegant treats for a special occasion, or simply craving something indulgent on a weeknight, these individual cups offer the perfect solution. The best part? You can prepare them ahead of time, letting your busy schedule work with you rather than against you. Your guests will be amazed, and you’ll enjoy the confidence that comes from serving restaurant-quality desserts from your own kitchen.
Ingredients
Servings: 12 mini cheesecake cups
Graham Cracker Crust: • 1 cup graham cracker crumbs (about 8 full crackers) • 3 tablespoons granulated sugar • 5 tablespoons melted butter
Cheesecake Filling: • 16 ounces cream cheese, room temperature • 1/2 cup granulated sugar • 1/4 cup sour cream • 1 teaspoon vanilla extract • 2 large eggs, room temperature • 2 tablespoons all-purpose flour
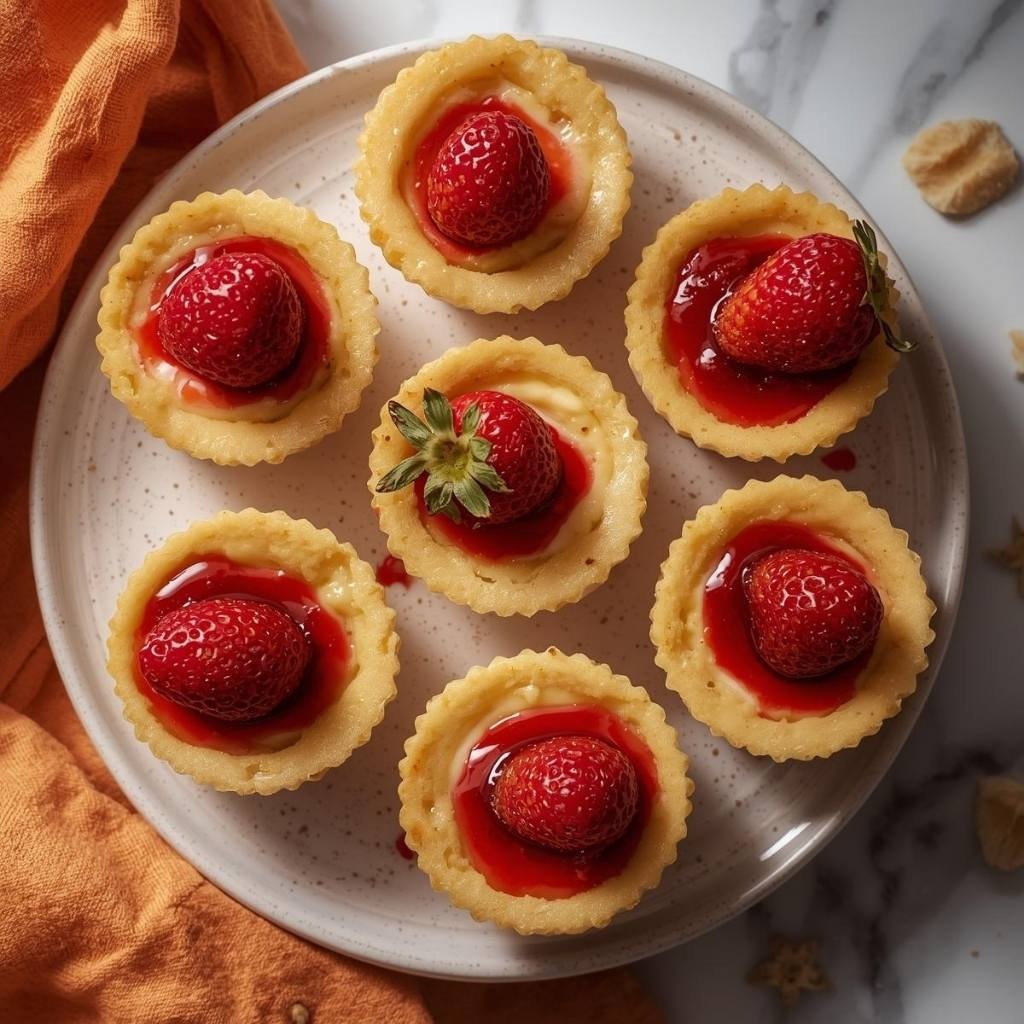
Optional Toppings: • 1/2 cup fresh berries (blueberries, raspberries, or strawberries) • 1/4 cup chocolate ganache or melted chocolate • 2 tablespoons honey or fruit compote • Whipped cream for serving • Crushed cookies or additional graham cracker crumbs
Step-by-Step Instructions
Prepare Your Equipment
- Preheat your oven to 325°F and position a rack in the center of the oven.
- Line a standard muffin tin with 12 paper or silicone baking cups, ensuring they fit snugly in each muffin cup opening.
- Boil water in a kettle for the water bath that will help bake your cheesecakes evenly and prevent cracking.
Make the Crust
- Combine graham cracker crumbs, sugar, and melted butter in a small mixing bowl, stirring until the mixture resembles wet sand.
- Press approximately 1 tablespoon of the mixture firmly into the bottom of each prepared baking cup, creating an even, compact layer.
- Set the muffin tin aside while you prepare the filling.
Prepare the Cheesecake Filling
- Beat the softened cream cheese on medium speed for about 2 minutes until it becomes smooth and creamy, making sure to scrape down the sides of the bowl.
- Add the sugar gradually while continuing to beat, mixing for another 2 minutes until the mixture is light and fluffy.
- Stir in the sour cream and vanilla extract, blending until fully incorporated and smooth.
- Add the eggs one at a time, beating on low speed after each addition and mixing just until combined—overmixing at this stage can incorporate too much air and cause cracks.
- Sprinkle the flour over the mixture and gently fold it in using a rubber spatula or wooden spoon, being careful not to overmix.
Fill and Bake
- Divide the cheesecake batter evenly among the prepared baking cups, filling each about three-quarters full.
- Place the filled muffin tin inside a larger roasting pan and position it on the oven rack.
- Pour hot (not boiling) water into the roasting pan until it reaches halfway up the sides of the muffin cups, creating a water bath.
- Carefully transfer the roasting pan to the preheated oven and bake for 20 to 25 minutes, until the cheesecakes are set around the edges but the centers still jiggle slightly when gently shaken.
- Turn off the oven and crack the door open about 2 inches, allowing the cheesecakes to cool gradually for 1 hour before removing them from the oven.
Cool Completely
- Transfer the muffin tin to a wire cooling rack and allow the cheesecakes to cool to room temperature, which will take approximately 30 minutes.
- Once cooled, refrigerate the cheesecake cups for at least 4 hours, though overnight chilling is ideal for the best texture and flavor.
Serving and Storing Tips
Serving Tips
First, remove your mini cheesecake cups from the refrigerator about 10 minutes before serving to allow the flavors to shine through. The slight chill will maintain the perfect creamy texture without the dessert being too cold. Next, consider adding fresh berries on top for a burst of color and tartness that complements the rich filling beautifully. Additionally, a drizzle of chocolate ganache, berry compote, or a dollop of whipped cream transforms these cups into elegant plated desserts worthy of any special occasion. You can also serve them with a small fork and spoon at a dessert bar, allowing guests to customize their experience with various topping options. These treats pair wonderfully with coffee, tea, or a sweet dessert wine like a Moscato or late-harvest Riesling.
Storage Tips
Store your covered cheesecake cups in an airtight container in the refrigerator for up to 5 days, where they will maintain their creamy texture and fresh flavor. However, if you want to extend their shelf life even further, freezing is an excellent option. First, allow the cheesecakes to cool completely and set in the refrigerator as instructed. Afterward, wrap each cup tightly in plastic wrap and then in aluminum foil before placing them in a freezer-safe container with layers of parchment paper separating each cup. Your frozen cheesecake cups will keep for up to 3 months. To thaw, simply transfer them to the refrigerator the night before serving, allowing them to thaw slowly and gently. Alternatively, you can thaw them at room temperature for 2 to 3 hours if you’re in a time crunch, though refrigerator thawing produces the best results.
Helpful Notes
Ingredient Substitutions and Add-Ins
The beauty of these mini cheesecake cups lies in their versatility. If you prefer a darker, more robust crust, substitute digestive biscuits for graham crackers, or use crushed vanilla wafers for a sweeter variation. Additionally, those with dairy sensitivities can replace traditional cream cheese with a high-quality dairy-free alternative, though the texture may be slightly different. For a fun flavor twist, add 1 teaspoon of lemon zest, 1/2 teaspoon of cinnamon, or 1 tablespoon of cocoa powder to your filling. Chocolate lovers should consider swirling melted chocolate into the batter before baking, creating beautiful marbled patterns. Moreover, you can easily customize the toppings based on the season—fresh peaches in summer, pumpkin spice drizzle in fall, or peppermint chocolate in winter.
Common Mistakes to Avoid
One of the most common issues is overmixing the batter, which incorporates too much air and leads to cracks on top. Simply mix until each ingredient is just combined, and you’ll notice a significant difference in your results. Furthermore, using cold cream cheese straight from the refrigerator can result in lumps and an uneven texture—always allow it to soften at room temperature for about an hour. Additionally, skipping the water bath might seem like a shortcut, but this crucial step ensures even, gentle cooking that prevents cracks and promotes the silky texture cheesecake is known for. Meanwhile, opening the oven door during baking or baking at too high a temperature causes sudden temperature changes that can crack the tops. Finally, rushing the cooling process by removing the cheesecakes from the oven immediately after baking leads to the dreaded cracks and sunken centers.
Time-Saving Tips
To save time, prepare the graham cracker crust mixture the day before and store it in an airtight container at room temperature. Next, you can make the cheesecake filling up to 2 hours ahead and refrigerate it in a covered bowl before transferring it to the baking cups. Additionally, since these cups can be made several days in advance, they’re perfect for meal prep or advance party planning. Consider baking a double batch when you have the oven on, as the preparation time is minimal compared to the baking and cooling period. You can then freeze the extra cups for future occasions, making last-minute dessert planning stress-free.
Chef Tips
The secret to crack-free cheesecake lies in the water bath and gradual cooling—never skip either step, as they work together to create the creamy texture and unblemished appearance that make these desserts truly special. Additionally, room temperature ingredients, particularly the cream cheese and eggs, blend together seamlessly and create a smoother, more luxurious filling than cold ingredients ever could.
Frequently Asked Questions
Can I make these cheesecake cups without a water bath? While it’s possible, the water bath is highly recommended because it ensures gentle, even baking that prevents cracking and guarantees a creamy center.
How far in advance can I prepare these mini cheesecake cups? You can prepare them up to 5 days ahead and refrigerate them in an airtight container, making them perfect for entertaining and stress-free meal planning.
Can I freeze these cheesecake cups, and if so, how do I thaw them? Yes, freeze them for up to 3 months wrapped tightly in plastic wrap and foil; thaw overnight in the refrigerator for best results.
What should I do if my cheesecake cups develop cracks on top? Cracks are often just cosmetic and won’t affect the taste; cover them with toppings, whipped cream, or chocolate sauce to hide them beautifully.
Can I use a regular muffin tin instead of baking cups? Yes, but lightly grease the muffin tin and line it with parchment paper for easy removal, or use silicone muffin liners for effortless serving.
Conclusion
These Mini Cheesecake Cups represent everything wonderful about homemade desserts: they’re elegant enough to impress, simple enough to execute, and absolutely delicious every single time. The combination of a crispy graham cracker foundation, silky cheesecake filling, and limitless topping possibilities means you can serve the exact same base with entirely different flavor profiles throughout the year. Whether you’re hosting an intimate dinner party, celebrating a special milestone, or treating yourself to something special on an ordinary Tuesday evening, this recipe delivers happiness in every bite.
The structured approach laid out in this guide ensures even novice bakers can create restaurant-quality results in their own kitchens. Furthermore, the make-ahead nature of these cups means you can focus on other party preparations or simply enjoy peace of mind knowing dessert is already handled. The flexibility in flavors and toppings keeps this recipe from becoming boring, allowing you to experiment and make it your own.
Next time you’re planning a gathering or dreaming of a special dessert, remember that these individual cups eliminate the pressure of achieving perfect slices while delivering premium flavor and presentation. Your family and friends will be absolutely thrilled, and the best part is that you’ll know exactly how straightforward the process truly is—making you feel like a professional baker even if this is your first time making cheesecake.
If you loved this recipe and found it helpful, we’d absolutely love it if you’d save it, pin it to your Pinterest board, or share it with friends and family who might enjoy making it too! Your support and feedback inspire us to keep creating delicious recipes and helpful guides. We can’t wait to see what you create in your kitchen, so please don’t hesitate to come back and let us know how your mini cheesecake cups turned out. Happy baking!