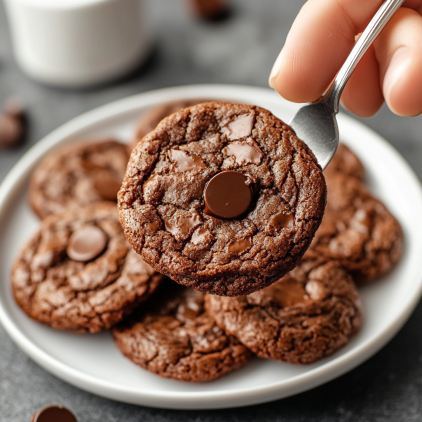
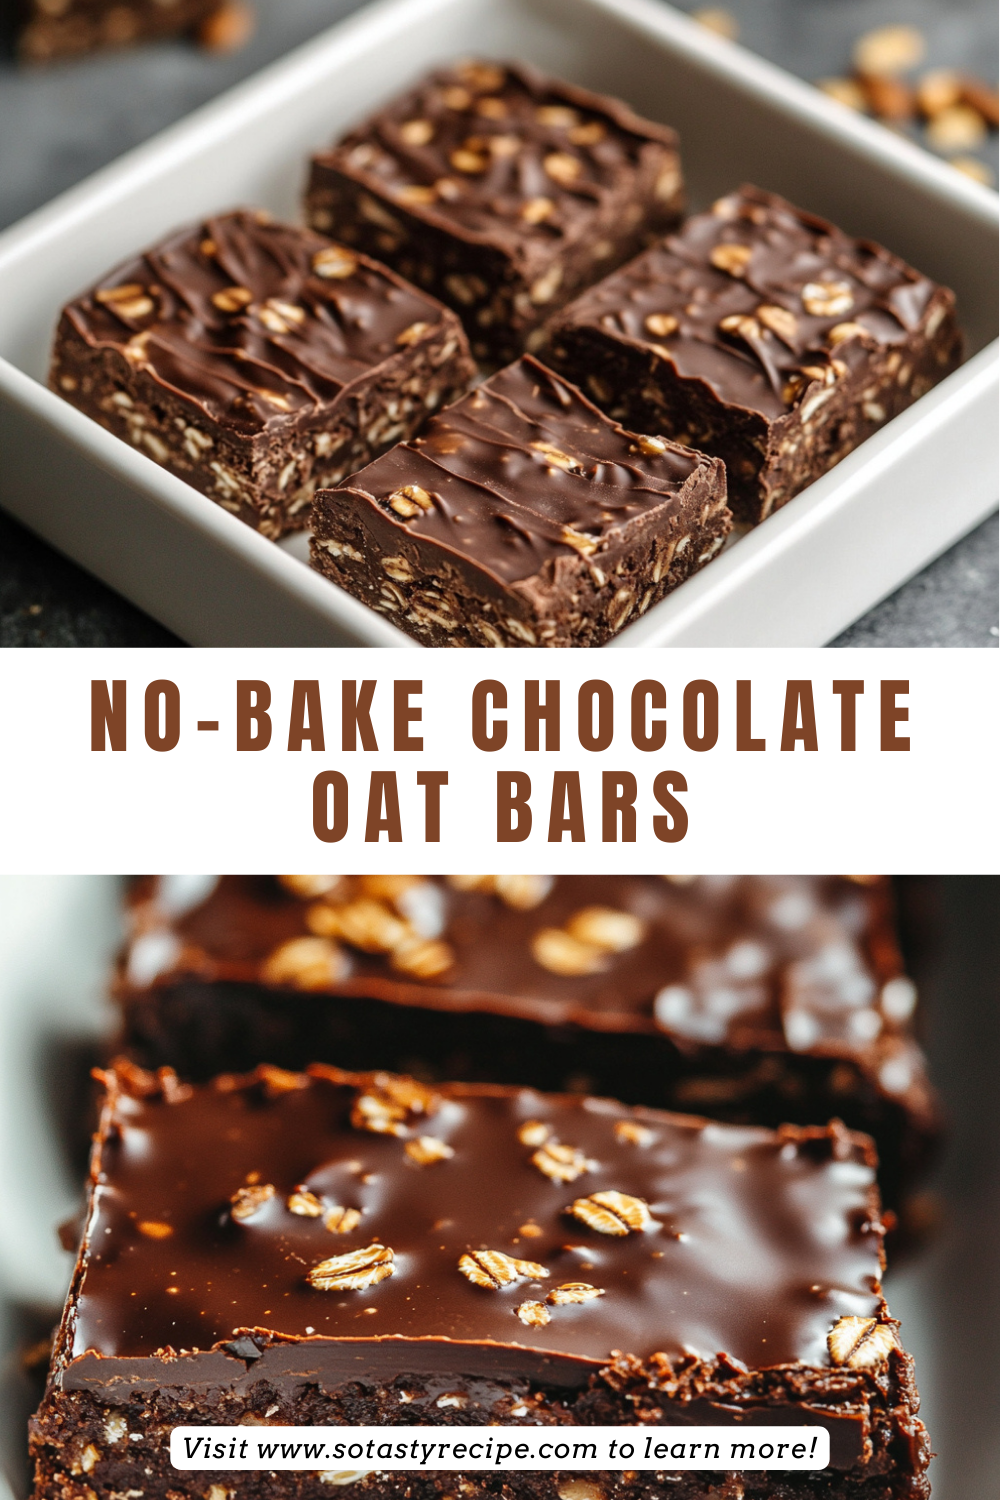
Indulge in these no-bake chocolate oat bars that are quick, easy, and absolutely delicious. With simple ingredients, they’re a perfect snack for any time of the day.
Introduction
No-Bake Chocolate Oat Bars are the perfect sweet treat for those who love quick and simple recipes. They are easy to prepare, requiring no baking, and are made with wholesome ingredients like oats, chocolate, and peanut butter. Whether you’re craving a snack, looking for a dessert, or needing a quick energy boost, these bars fit the bill. In this article, we’ll dive deep into the recipe, explain step-by-step instructions, and provide valuable tips on how to customize these bars to suit your taste and dietary needs.
What Are No-Bake Chocolate Oat Bars?
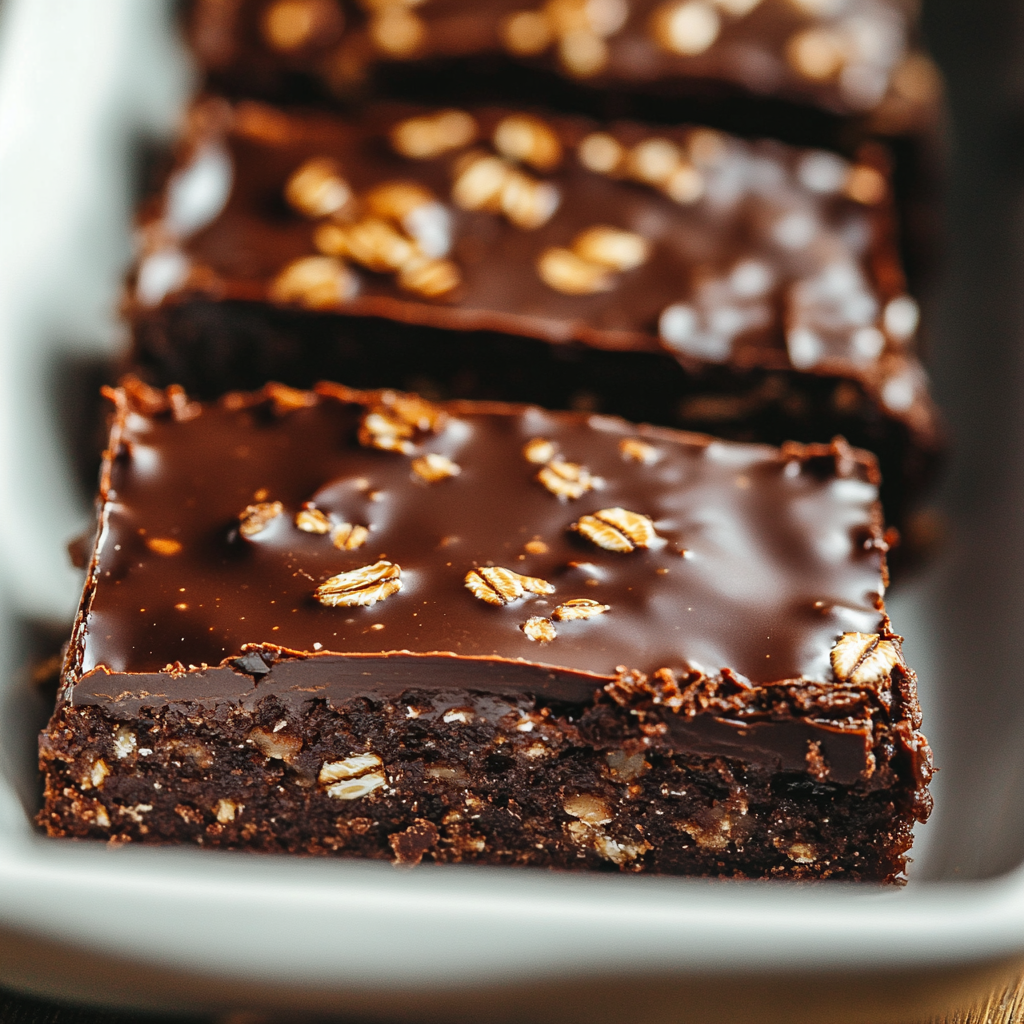
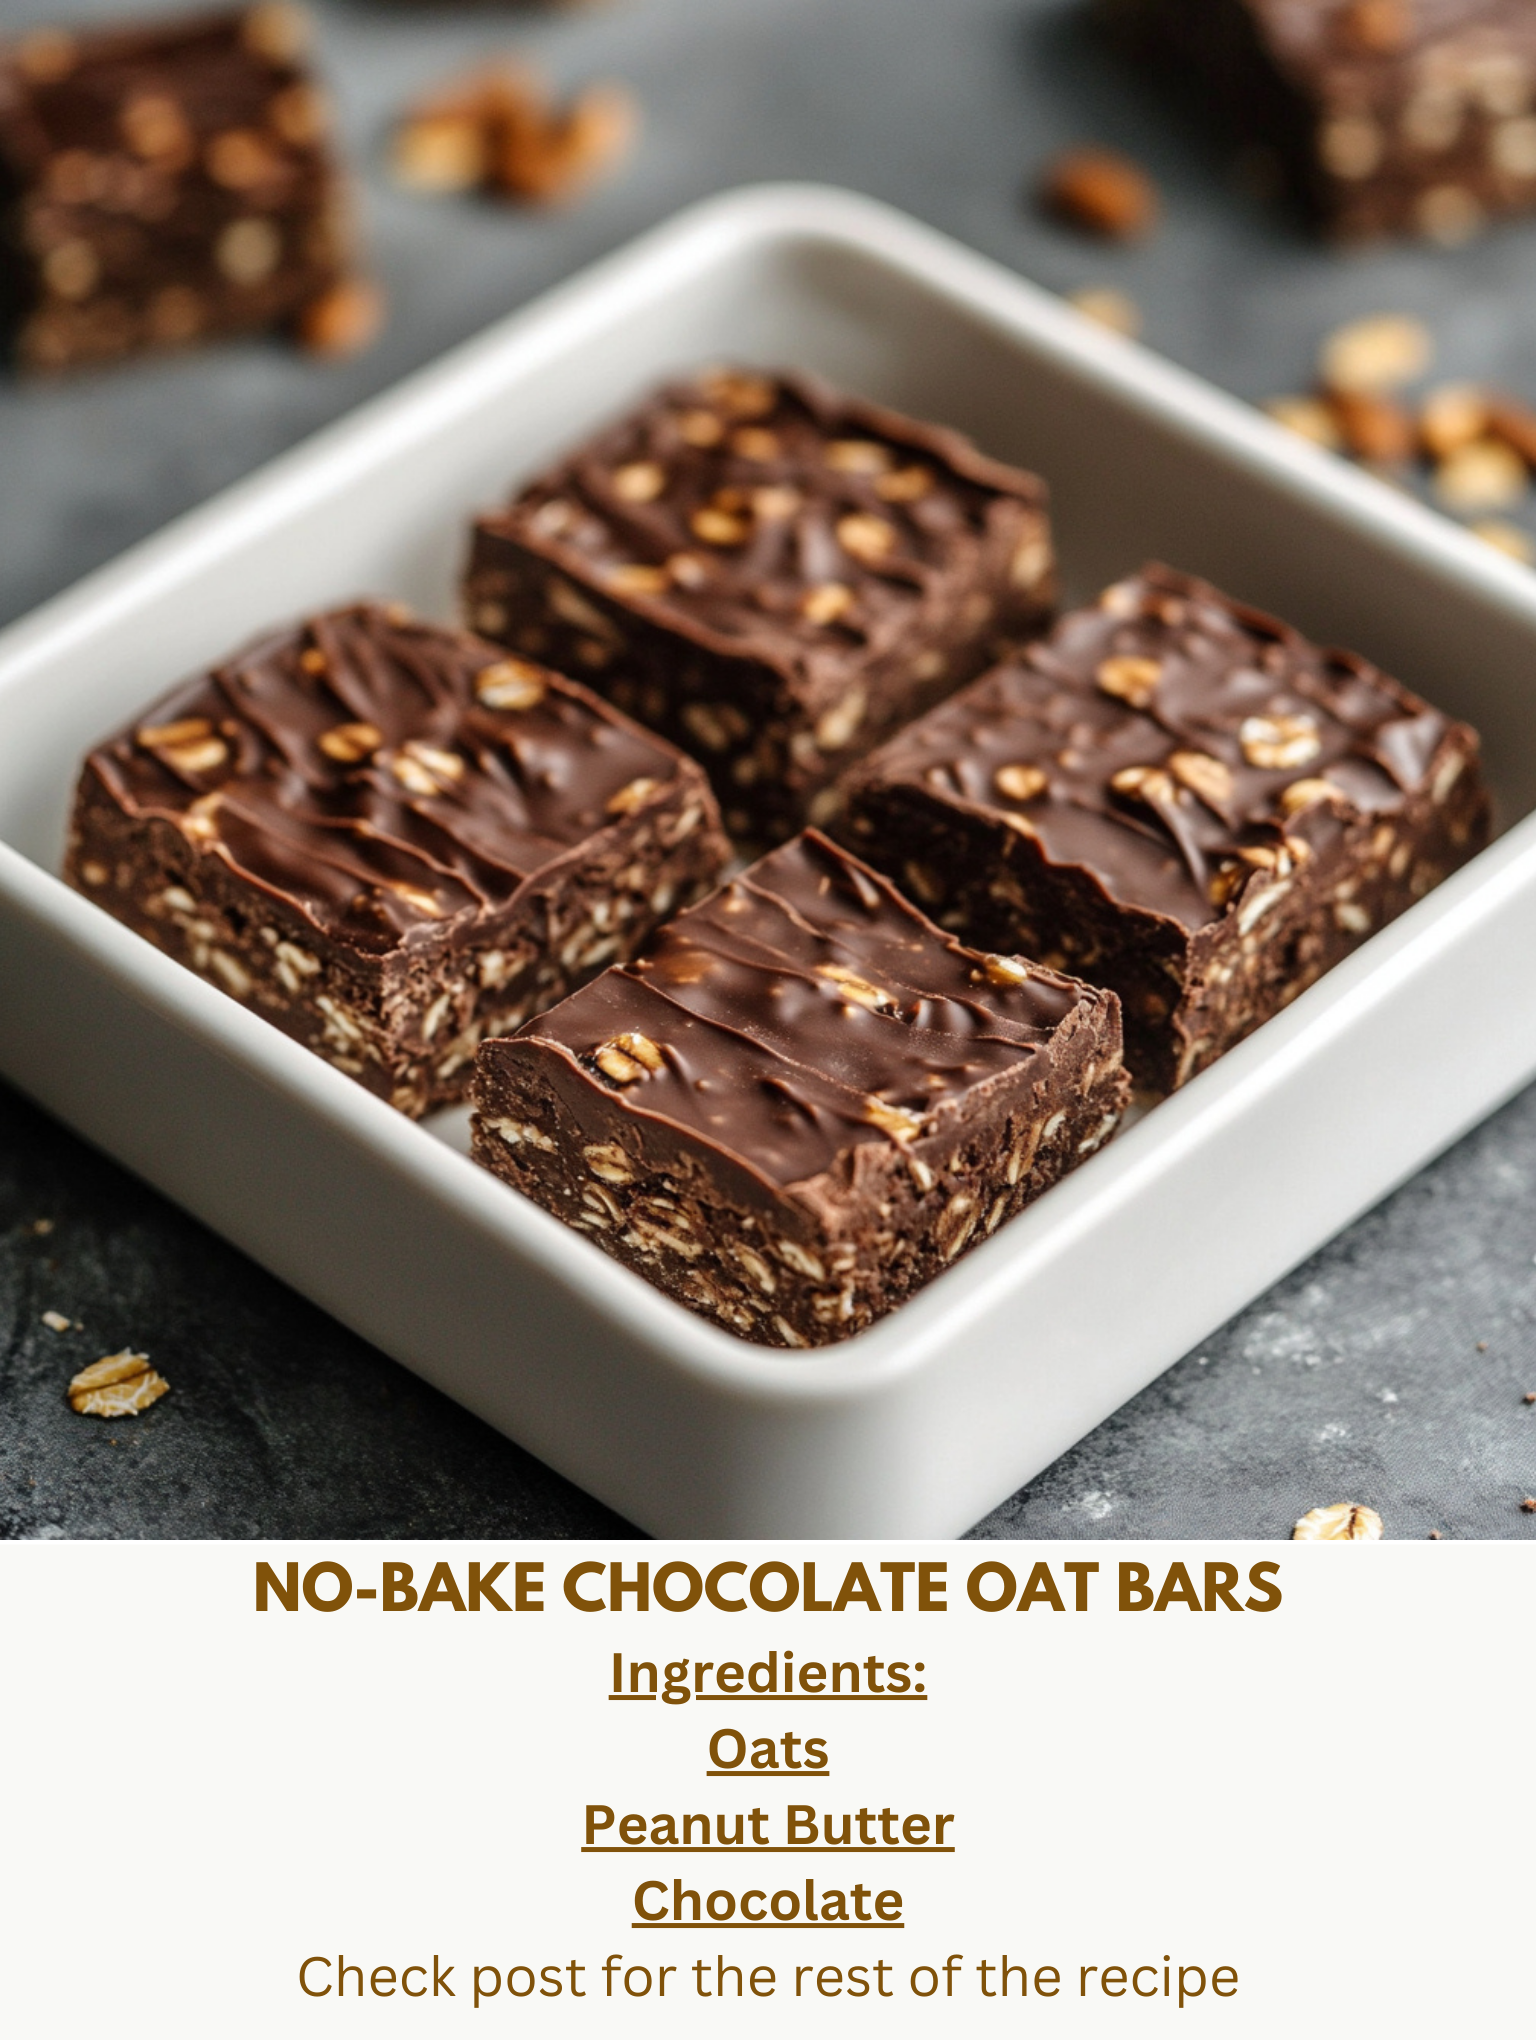
No-bake chocolate oat bars are a delicious and convenient treat made from oats, peanut butter, chocolate, and a handful of other simple ingredients. These bars are packed with flavor and texture, thanks to the combination of creamy peanut butter, hearty oats, and rich chocolate. Unlike baked goods that require a long prep and cook time, these bars come together in minutes and are set in the fridge to firm up. They are perfect for satisfying your sweet tooth without the need for any baking skills.
What makes these no-bake chocolate oat bars so appealing is their versatility. You can adjust the sweetness level, use different types of chocolate, or even swap out ingredients to suit your dietary preferences. Additionally, they are ideal for meal prep, allowing you to have a quick snack or dessert ready to go whenever you need it.
In addition to being a treat, they offer some health benefits as well. Oats are rich in fiber, which can help with digestion and provide long-lasting energy. Furthermore, the peanut butter adds a dose of protein and healthy fats, making these bars a more satisfying option compared to many other sweets.
Ingredients for No-Bake Chocolate Oat Bars
To make these no-bake chocolate oat bars, you need a handful of simple ingredients that you may already have in your pantry. Below is a list of the primary ingredients:
Key Ingredients:
-
Old-fashioned rolled oats – These are essential for the texture and provide the base of the bars.
-
Peanut butter – The binding agent that helps hold everything together. You can use creamy or chunky peanut butter, depending on your preference.
-
Chocolate chips – Semi-sweet or dark chocolate chips work best, though you can experiment with milk chocolate for a sweeter version.
-
Honey – A natural sweetener that helps hold the bars together and adds a touch of sweetness.
-
Vanilla extract – Adds depth to the flavor of the bars.
-
Salt – A pinch of salt to balance out the sweetness and enhance the flavors.
Optional Ingredients:
-
Chopped nuts – You can add nuts like almonds, walnuts, or cashews for an extra crunch.
-
Chia seeds – A great way to add some extra fiber and omega-3s to the recipe.
-
Dried fruits – Adding raisins or cranberries can give these bars a fruity twist.
-
Shredded coconut – For a tropical flair.
If you’re avoiding nuts, you can substitute peanut butter with sunflower seed butter or other nut butters. These ingredients are easy to find and are the key to creating a flavorful, no-bake treat that everyone will enjoy.
How to Make No-Bake Chocolate Oat Bars
Now, let’s dive into the process of making these no-bake chocolate oat bars. This recipe comes together in just a few simple steps, and it requires no baking, making it a quick and easy treat to prepare.
Step-by-Step Instructions:
Step 1: Prepare the Ingredients
First, measure out all the ingredients. If you are adding nuts, seeds, or dried fruits, chop them into smaller pieces so that they mix evenly with the oats.
Step 2: Melt the Chocolate and Peanut Butter
In a saucepan over low heat, combine the peanut butter, honey, and vanilla extract. Stir until the peanut butter is completely melted and the mixture becomes smooth. Add the chocolate chips and continue stirring until the chocolate is fully melted and combined with the peanut butter mixture.
Alternatively, you can melt the chocolate and peanut butter in the microwave in 30-second intervals, stirring in between, until everything is smooth.
Step 3: Combine with Oats
Once the chocolate-peanut butter mixture is melted and smooth, remove the saucepan from the heat. Stir in the rolled oats and any optional ingredients, like chopped nuts or seeds. Mix everything thoroughly to ensure the oats are evenly coated with the chocolate mixture.
Step 4: Press the Mixture into a Pan
Line an 8×8-inch baking dish with parchment paper for easy removal. Pour the mixture into the pan and spread it evenly, pressing it down firmly to compact the mixture. This will ensure the bars hold together once set.
Step 5: Chill and Set
Place the pan in the refrigerator and let the bars set for at least 2 hours, or until they are firm enough to cut. If you’re in a hurry, you can freeze them for about 30-45 minutes to speed up the process.
Step 6: Slice and Serve
Once the bars are fully set, remove them from the fridge and cut them into squares or bars, depending on your preference. Serve and enjoy these tasty, no-bake chocolate oat bars!
Cooking Time, Preparation Time, and Servings
-
Preparation time: 10 minutes
-
Cooking time: 0 minutes (no baking required)
-
Chilling time: 2 hours (or 30-45 minutes in the freezer)
-
Servings: Approximately 12-16 bars, depending on the size you cut them.
These bars are not only quick to make but also store well, so you can prepare a batch in advance and have snacks ready for days.
Why You’ll Love No-Bake Chocolate Oat Bars
Here are five reasons why these no-bake chocolate oat bars will quickly become your new favorite snack or dessert:
-
Quick and Easy: These bars come together in just minutes and require no baking. You can prepare them even if you’re short on time.
-
Healthy and Wholesome: With oats, peanut butter, and honey, these bars provide a good source of fiber, protein, and healthy fats. They’re much healthier than store-bought options!
-
Customizable: You can adjust the sweetness, use different types of chocolate, or add nuts and seeds to suit your personal preferences.
-
Perfect for Meal Prep: Make a big batch and store them in the fridge for quick, on-the-go snacks throughout the week.
-
Delicious Flavor: The combination of creamy peanut butter, rich chocolate, and hearty oats creates a perfect balance of flavors and textures.
Ingredient Notes
-
Oats: Be sure to use old-fashioned rolled oats, as they provide the right texture. Instant oats will not work well in this recipe.
-
Peanut Butter: Choose a natural, creamy peanut butter for the best consistency. Avoid peanut butter with added sugars or oils for a healthier version.
-
Chocolate: For a richer flavor, use dark chocolate or semi-sweet chocolate chips. You can also experiment with milk chocolate or even white chocolate for a different taste.
Storage Options
These no-bake chocolate oat bars are easy to store. Keep them in an airtight container in the fridge for up to one week. If you want to extend their shelf life, you can freeze them for up to three months. Just make sure to wrap them tightly in plastic wrap or foil before freezing to prevent freezer burn.
Variations and Substitutions
Substitutions for Ingredients:
-
Nut-free Version: If you prefer a nut-free option, use sunflower seed butter or soy nut butter in place of peanut butter.
-
Sugar-Free Version: Replace honey with a sugar-free sweetener like stevia or erythritol for a lower-sugar option.
-
Dairy-Free: To make this recipe dairy-free, use dairy-free chocolate chips and plant-based butter or coconut oil instead of regular butter.
Regional or Cultural Variations:
-
Middle Eastern Twist: Add rose water or orange blossom water to the mixture for a floral aroma and flavor.
-
Tropical Variation: Add dried pineapple or coconut flakes to create a tropical version of these bars.
Pairings and Accompaniments
These bars are versatile and pair well with a variety of beverages. For a more indulgent treat, serve them with a glass of cold almond milk or coffee. You can also serve them alongside fresh fruit like berries or banana slices for a refreshing contrast.
Comparison with Similar Recipes
Compared to similar no-bake desserts like no-bake granola bars, no-bake chocolate oat bars have a richer texture due to the addition of peanut butter and chocolate. Granola bars often have a more crumbly texture, while these bars are denser and stick together better, making them easier to eat on the go.
Frequently Asked Questions (FAQs)
How long do oat bars last in the fridge?
Oat bars will last for up to one week in the fridge when stored in an airtight container.
What are oat bars good for?
Oat bars are great for snacks, quick breakfasts, or as an energy boost before a workout. They are healthy, filling, and easy to make.
How many calories are in an oat bar with chocolate?
Each no-bake chocolate oat bar typically contains around 200-250 calories, depending on the ingredients used.
How to make chocolate oat bars?
Making chocolate oat bars is simple. Just melt chocolate and peanut butter, mix with oats, chill, and cut into bars. Full details are above.
Best Time to Enjoy the Recipe
These bars are perfect for an afternoon snack, an on-the-go breakfast, or a post-workout energy boost. They’re also great as a dessert after dinner or a sweet treat for kids’ lunchboxes.
Presentation Tips
To make your no-bake chocolate oat bars more attractive, try dusting them with a light coating of powdered sugar or cocoa powder. You can also drizzle extra melted chocolate over the top or sprinkle chopped nuts for added texture.
Conclusion
In conclusion, no-bake chocolate oat bars are a delicious, simple, and nutritious treat that’s perfect for any occasion. They are quick to make, customizable, and easy to store, making them an ideal snack or dessert. Whether you enjoy them on their own or paired with a beverage, these bars are sure to become a favorite in your recipe collection. Try them today and experience the perfect balance of oats, chocolate, and peanut butter!
For more interesting tips, you can see here www.sotastyrecipe.com.
And for recipe lovers, you can check my friend’s blog here www.infloin.com.