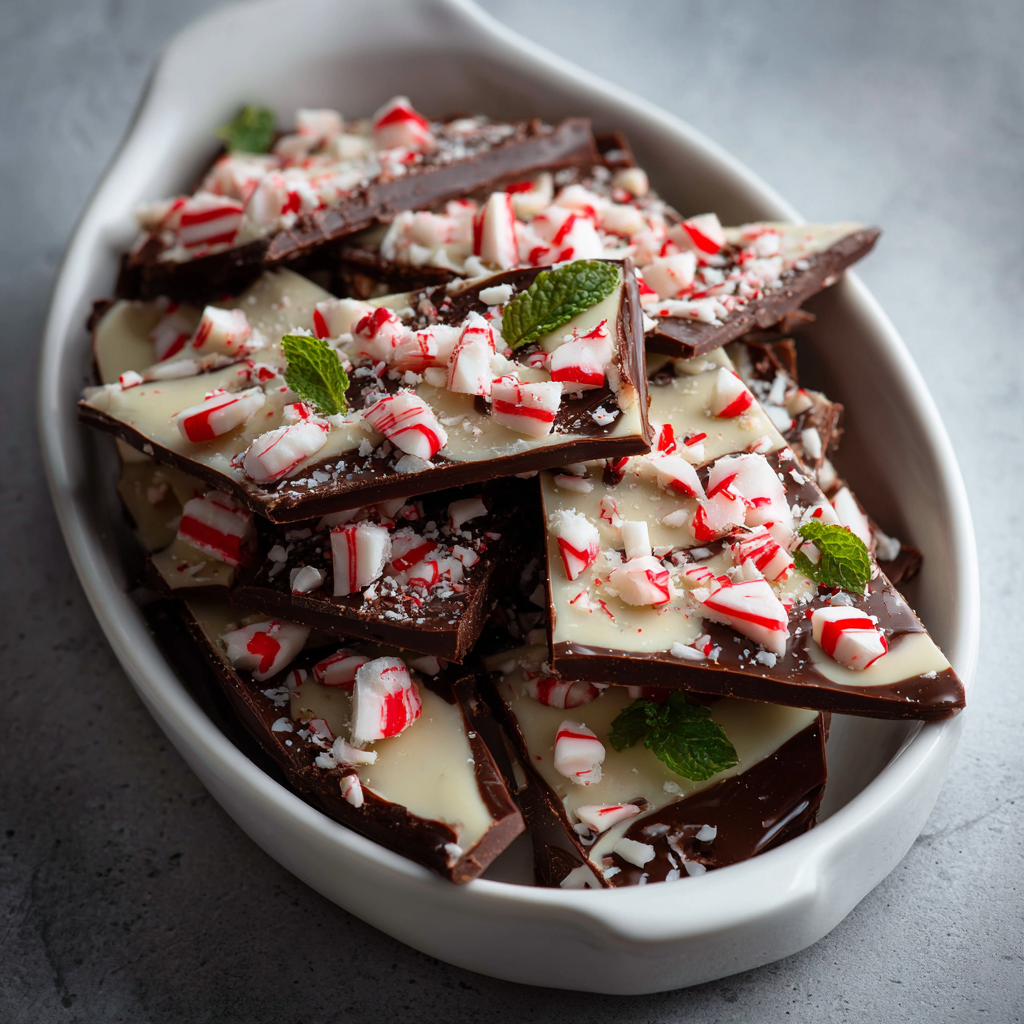
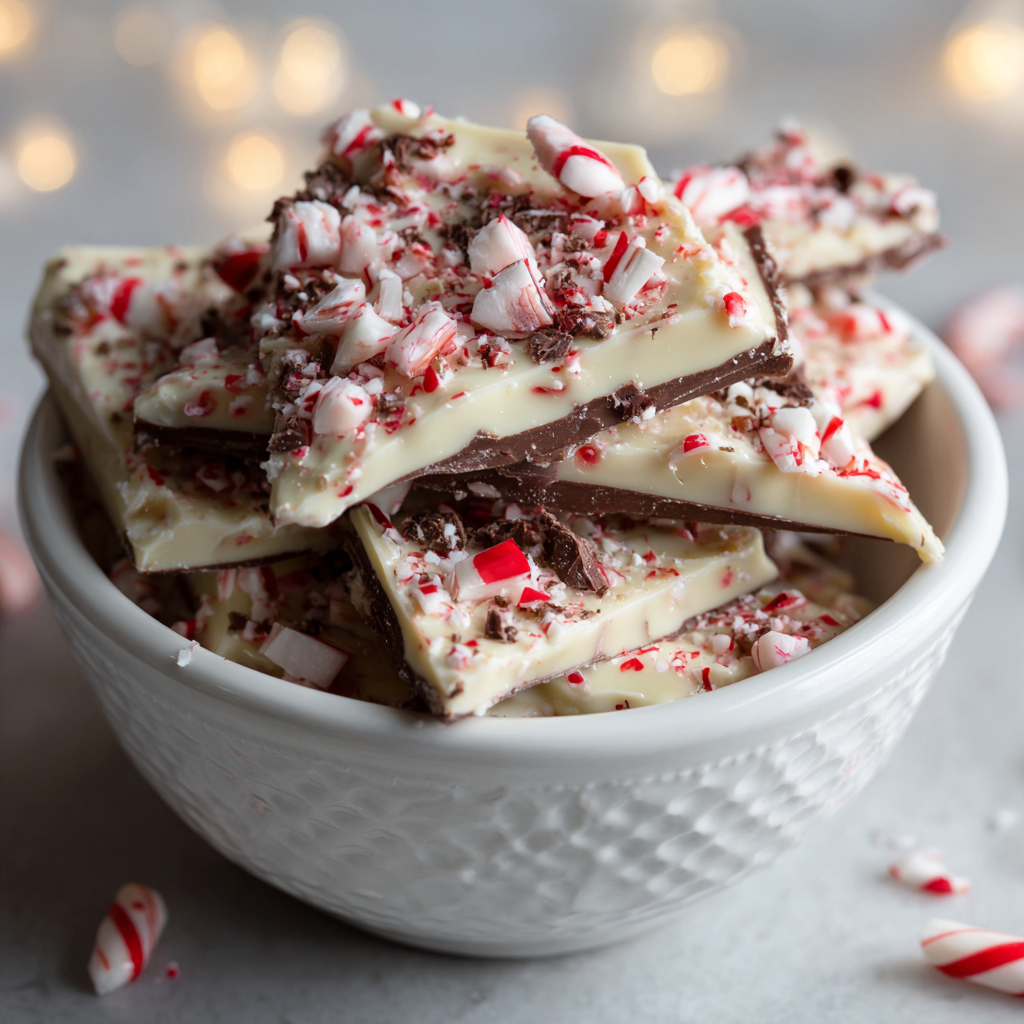
There’s something magical about the contrast of smooth, melted chocolate with crispy peppermint candy and festive sprinkles scattered across the top. Peppermint Chocolate Bark delivers restaurant-quality elegance with minimal effort, making it the perfect holiday treat for gifting, entertaining, or simply indulging in seasonal comfort. The rich chocolate base, the bright peppermint crunch, and the visual appeal of a beautifully decorated bark create an irresistible combination that keeps everyone coming back for more. Best of all, this recipe requires just a handful of simple ingredients and straightforward techniques that anyone can master. No special equipment needed, no complicated melting methods—just perfectly smooth, delicious chocolate bark that’ll have your guests asking for the recipe. Once you try making this at home, you’ll never settle for store-bought bark again.
Ingredients
This recipe makes 8 to 12 servings depending on portion sizes.
- 1 pound quality dark chocolate or semi-sweet chocolate, chopped finely
- 1 pound quality white chocolate, chopped finely
- 1/2 cup crushed peppermint candy canes or hard peppermint candies
- 1/4 cup festive sprinkles, red and white preferred
- 2 tablespoons peppermint extract or oil, optional but recommended
- 1 tablespoon coconut oil or vegetable oil, optional for smoother melting
- Pinch of sea salt, optional
- Parchment paper for setting
- Baking sheets
Preparing Your Chocolate Base
Preheat your oven to the lowest setting or simply prepare your workspace on the counter. Line a large baking sheet with parchment paper, ensuring the paper extends up the sides slightly for easier removal once the bark sets. This preparation prevents sticking and makes cleanup effortless.
Begin by chopping your dark or semi-sweet chocolate finely, creating uniform pieces that melt evenly and quickly. Furthermore, fine chopping ensures the chocolate melts smoothly without creating lumps or uneven texture. Additionally, ensure your chocolate is high quality—the ingredient quality makes a noticeable difference in the final bark’s taste and texture.
Create a double boiler by placing a heatproof bowl over a pot of simmering water, ensuring the bottom of the bowl doesn’t touch the water directly. Next, add your chopped dark chocolate to the bowl and stir frequently as it melts, approximately three to five minutes depending on the chocolate amount. Subsequently, the gentle, even heat of the double boiler prevents chocolate from burning or seizing, which can happen with direct heat.
If you prefer smoother, shinier chocolate that spreads more easily, add one tablespoon of coconut oil or vegetable oil to the melting chocolate—this creates a thinner consistency without compromising flavor. Additionally, if you’re using dark chocolate and want to enhance peppermint flavor, add one-half teaspoon of peppermint extract to the melted chocolate, stirring well to incorporate evenly.
Setting Your Dark Chocolate Layer
Once your dark chocolate is completely melted and smooth, pour it onto the parchment-lined baking sheet. Working quickly but carefully, spread the chocolate evenly across the surface using a rubber spatula or the back of a spoon, creating a layer approximately one-quarter inch thick. First, aim for uniform thickness so the bark breaks evenly into pieces later. Next, work efficiently before the chocolate begins to set, though you have several minutes to achieve your desired spread.
Allow this chocolate layer to cool until it’s set but still slightly tacky to the touch—approximately ten to fifteen minutes at room temperature, or faster if you place it in a cool location or briefly in the refrigerator. This tacky consistency allows the white chocolate layer to adhere properly without sliding off or creating separation between layers.
Creating Your White Chocolate Layer
While your dark chocolate sets, prepare your white chocolate using the same double boiler method. Add your finely chopped white chocolate to a clean heatproof bowl over simmering water, stirring frequently as it melts, approximately three to five minutes. Next, white chocolate melts more quickly than dark chocolate, so watch carefully to prevent overheating.
Once melted, add one-half teaspoon of peppermint extract if desired—this enhances peppermint flavor throughout the bark without being overpowering. Additionally, the peppermint extract creates brightness that complements both chocolate layers beautifully.
Pour the melted white chocolate over your set dark chocolate layer, spreading it evenly to create a similar one-quarter inch thickness. Work efficiently before the white chocolate begins to set, using your spatula to smooth it into an even, appealing layer. The white chocolate should cover the dark chocolate completely while allowing some of the darker layer to peek through around the edges if desired for visual interest.
Adding Your Festive Toppings
While the white chocolate is still soft and tacky, immediately add your crushed peppermint candy and festive sprinkles before the chocolate sets completely. First, timing is crucial here—if you wait too long, the white chocolate hardens and toppings won’t adhere properly. Next, work quickly but carefully, distributing the peppermint pieces and sprinkles evenly across the surface.
Crush your peppermint candies into small, irregular pieces—you want some texture variation rather than fine powder. Additionally, leaving some larger peppermint shards creates satisfying crunch and visual appeal. Furthermore, scatter red and white sprinkles across the surface, creating festive visual interest that catches the eye.
Optional finishing touch: sprinkle a tiny pinch of sea salt over the entire surface before the chocolate completely sets. This salt enhances both chocolate and peppermint flavors without making the bark taste salty. Subsequently, the salt creates sophisticated flavor complexity that elevates this treat from simple to genuinely special.
Setting and Hardening Your Bark
Allow your decorated bark to set completely at room temperature, approximately one to two hours depending on your kitchen temperature. Alternatively, place it in a cool location or refrigerator to speed up the process to thirty to forty minutes. Subsequently, you’ll know the bark is set when you can tap it gently with your finger and hear a solid sound rather than feeling any softness.
Once completely hardened, break the bark into irregular, rustic pieces by gently tapping it with the back of a spoon or cracking it along natural lines. First, irregular pieces look more attractive and artistic than perfectly uniform chunks. Next, the varied sizes also create different eating experiences—some pieces are mostly dark chocolate, others mostly white chocolate, creating flavor and texture variation.
Serving and Storing Tips
Serving Tips
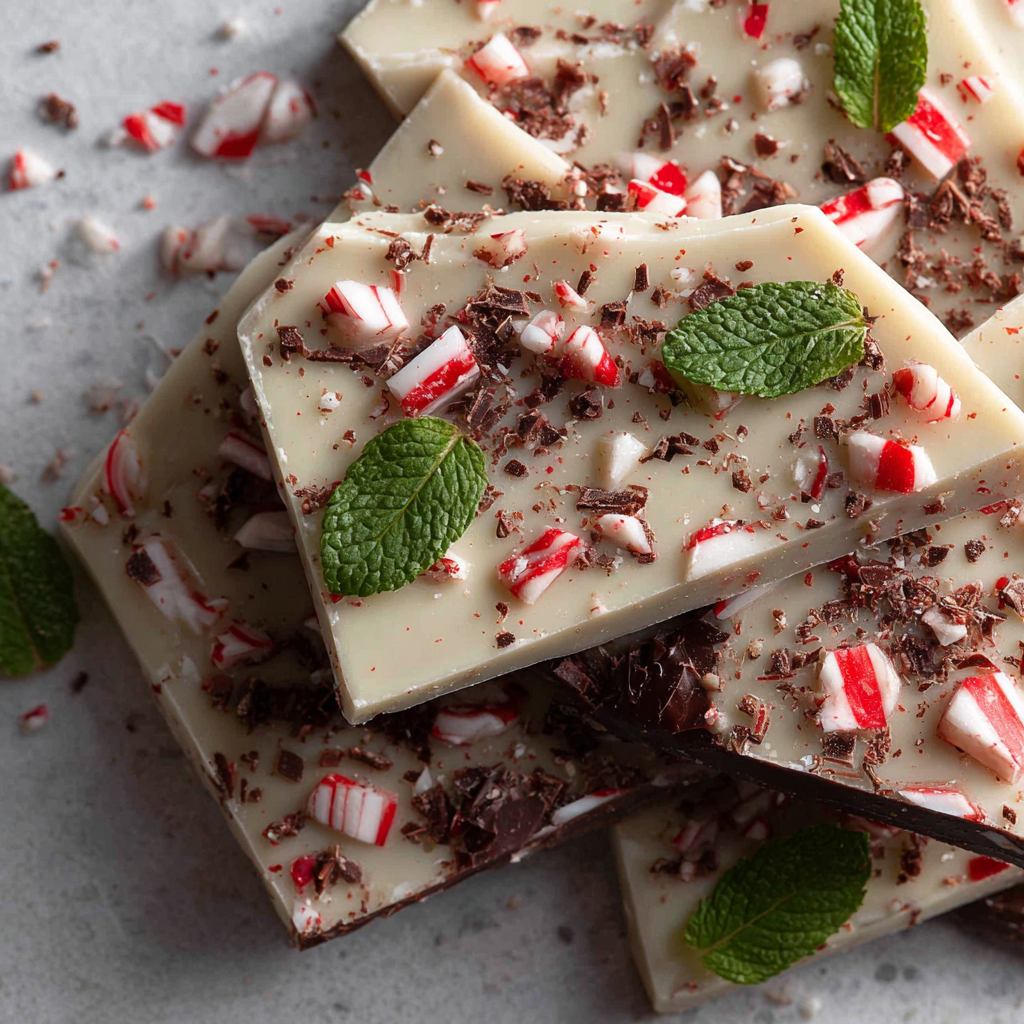
Present your peppermint chocolate bark on a beautiful platter, in decorative boxes, or on parchment paper that showcases its gorgeous, festive appearance. Additionally, the visual appeal makes this bark perfect for holiday entertaining, buffets, or dessert platters where it catches guests’ eyes immediately. Furthermore, arrange pieces in clusters or standing upright to create height and visual drama that elevates your presentation.
Serve alongside hot cocoa, coffee, eggnog, or other festive beverages that pair beautifully with chocolate and peppermint. Moreover, offer it as an elegant after-dinner treat at holiday dinner parties or sophisticated gatherings. Next, the bark works wonderfully for casual snacking as well, providing comfort and indulgence throughout the holiday season.
Storage Tips
Store finished peppermint chocolate bark in an airtight container at room temperature for up to two weeks, placing parchment between layers to prevent pieces from sticking together. Additionally, kept in cool, dry conditions away from direct sunlight and heat sources, the bark maintains its appearance and texture beautifully. Furthermore, if your kitchen is particularly warm, store the bark in the refrigerator for up to three weeks—just allow it to come to room temperature before eating for optimal flavor.
You can also freeze peppermint chocolate bark for up to three months in freezer-safe containers, allowing you to prepare it weeks in advance. Subsequently, thaw frozen bark at room temperature for approximately thirty minutes before serving. The bark remains delicious whether served cold from the refrigerator or at room temperature, so choose based on your preference for chocolate texture and flavor intensity.
Helpful Notes and Ingredient Substitutions
The beauty of chocolate bark lies in its flexibility—you can adapt components based on your preferences and dietary needs without compromising quality. For chocolate selection, use quality chocolate you genuinely enjoy eating, since flavor defines your finished bark. Additionally, if you prefer milk chocolate, use it instead of semi-sweet or dark chocolate for sweeter, creamier bark. Furthermore, substitute white chocolate with milk chocolate for different flavor profiles.
For peppermint, use crushed candy canes, hard peppermint candies, or even peppermint bark candies depending on what you have available. Additionally, if you lack peppermint extract, simply omit it—the crushed peppermint provides sufficient flavor. Next, you can adjust peppermint intensity by using more or less crushed candy, creating mild or intensely peppermint-forward versions.
For decorative toppings, use whatever festive sprinkles, crushed cookies, chopped nuts, or edible glitter you prefer. Additionally, white chocolate shavings, crushed candy canes, or even chopped dried fruit work beautifully. Furthermore, drizzle contrasting chocolate lines across the surface for striped patterns, or add other seasonal elements like crushed gingerbread cookies or candy pieces.
To save time during busy weeks, prepare your bark several days in advance, allowing you to focus on other holiday preparations. Moreover, you can make the bark in batches—dark chocolate base one day, white chocolate and toppings the next—spreading preparation across multiple sessions. Next, pre-chop your chocolate and measure all ingredients in advance, allowing you to assemble and set the bark in just fifteen minutes when you’re ready.
Avoid common mistakes by not overheating your chocolate, which causes it to become thick, lumpy, and unworkable. Additionally, ensure your double boiler water never touches the bottom of the bowl—this prevents scorching and ensures smooth melting. Next, work efficiently once you pour the chocolate onto your baking sheet, as it sets quickly and becomes difficult to spread once cooled.
Chef Tips
Professional chocolatiers know that tempering chocolate creates the shiniest, snappiest bark with the most appealing appearance and mouthfeel. However, traditional tempering requires precise temperature control and equipment. Therefore, using quality chocolate and avoiding excessive heat achieves excellent results without complicated techniques.
Another pro tip involves creating contrast by drizzling melted dark chocolate lines across your white chocolate layer before setting. Subsequently, this creates stunning visual stripes that look sophisticated and artistic. Additionally, if you reverse the colors—white chocolate base with dark chocolate layer on top—you create entirely different visual presentation while maintaining identical flavors.
Frequently Asked Questions
Can I use chocolate chips instead of chopped chocolate? Yes, chocolate chips work acceptably, though chopped chocolate melts more smoothly and creates better-textured bark because chips contain stabilizers that affect melting.
What if my chocolate seized or became grainy? Add one teaspoon of coconut oil to seized chocolate and stir gently—this often restores smooth texture without completely ruining your batch.
How do I prevent the white chocolate layer from sliding off the dark chocolate? Allow the dark chocolate layer to set until it’s slightly tacky to the touch before adding the white chocolate—this creates proper adhesion.
Can I make this bark without peppermint? Absolutely—create peppermint-free bark by substituting crushed pretzels, cookies, or nuts, or simply leave it plain with just chocolate.
Why doesn’t my bark look shiny like store-bought versions? Store-bought bark typically uses cocoa butter and tempering techniques—yours will still taste delicious and look beautiful with homemade charm.
The Perfect Holiday Treat and Gift
Creating memorable food experiences doesn’t require complicated techniques or special equipment. This Peppermint Chocolate Bark proves that with quality ingredients and straightforward methods, you can deliver restaurant-quality results every single time. The beauty of this recipe lies in its flexibility—you can easily double or triple the batch for larger gatherings, adjust flavors to suit different preferences, and prepare most of the work ahead of time.
Did you love this recipe? If this Peppermint Chocolate Bark hit the spot, we’d be thrilled if you could save this recipe for later, pin it to your favorite Pinterest board, or share it with friends and family who appreciate elegant, delicious holiday treats. Let us know in the comments how your bark turned out, and don’t forget to tag us in your photos—we love seeing your culinary creations!