Protein bagels with Greek yogurt have revolutionized the way health-conscious bakers approach breakfast, proving that nutritious doesn’t mean sacrificing authentic flavor or satisfying texture. These exceptional bagels showcase how simple, wholesome ingredients work together to create something that tastes bakery-quality while delivering impressive nutritional benefits that fuel your entire morning. What makes this recipe truly special is how Greek yogurt transforms traditional bagel dough into something remarkably tender, moist, and protein-rich without requiring complicated techniques or specialty ingredients you can’t find at your local grocery store. Whether you’re an athlete optimizing nutrition, a busy professional seeking substantial breakfast options, or simply someone who loves fresh-baked bagels with genuine staying power, these bagels deliver reliably impressive results every single time. The tanginess of Greek yogurt mingles beautifully with whole grains, creating complex flavors that rival bagels from the finest bagel shops in your city. From shaping the first dough ball to biting into a perfectly toasted bagel still warm from your toaster, you’ll experience the satisfaction of creating restaurant-quality breakfast foods right in your own kitchen.
Ingredients
This recipe makes 8 large bagels.
- 1 cup plain Greek yogurt, room temperature
- 1 cup warm water (approximately 110 degrees Fahrenheit)
- 2 tablespoons honey or granulated sugar
- 1½ teaspoons instant yeast or active dry yeast
- 3½ cups all-purpose flour
- ¾ cup whole wheat flour
- 1½ teaspoons sea salt
- 1 tablespoon olive oil
- 2 tablespoons honey for the boiling water
- 2 quarts water for boiling
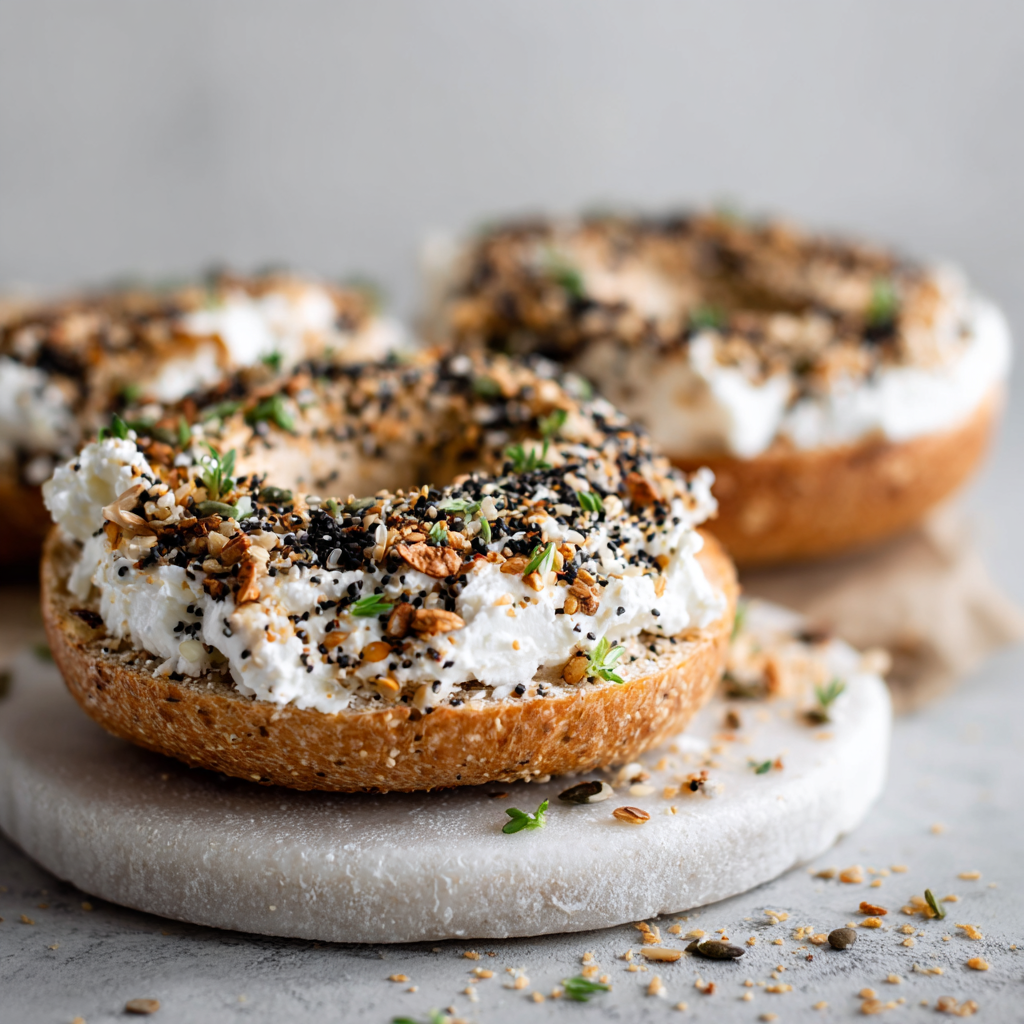
- Optional toppings: sesame seeds, poppy seeds, everything bagel seasoning, coarse salt, minced garlic, dried onion, everything bagel spice blend
Step-by-Step Instructions
Activate the Yeast and Create the Base
- Pour the warm water into a large mixing bowl and sprinkle the instant yeast over the surface along with the 2 tablespoons honey or sugar. Allow this mixture to sit undisturbed for about 5 minutes, giving the yeast time to activate and become noticeably foamy, which indicates the yeast is alive and ready to create magic in your dough.
- Add the room-temperature Greek yogurt to the yeast mixture and stir gently with a wooden spoon until everything combines smoothly. Next, you’ll notice the mixture becomes creamy and thick—this is exactly what you want, as the yogurt creates richness and protein throughout your bagels.
Combine Your Dry Ingredients
- In a separate large bowl, whisk together the all-purpose flour, whole wheat flour, and sea salt until well distributed throughout. Whisking these ingredients together ensures the salt particles are evenly dispersed and the flours are properly aerated before you mix with the wet ingredients.
- Pour the yeast-yogurt mixture into the dry ingredients and begin stirring with a wooden spoon until the dough comes together into a shaggy, somewhat rough mass. Meanwhile, don’t be concerned if the dough appears lumpy or uneven at this stage—the kneading process will develop everything perfectly.
Knead the Dough to Perfection
- Transfer the shaggy dough to a lightly floured work surface and knead for 8 to 10 minutes until the dough becomes smooth, elastic, and only slightly tacky to the touch. Add minimal flour during kneading since these bagels benefit from being somewhat moist, which contributes directly to their signature chewy texture.
- During the kneading process, you’ll gradually notice the dough becoming smoother and more cohesive as the gluten network develops beautifully. Continue kneading until the dough springs back quickly when you poke it with your finger, indicating the gluten has developed properly and your dough is ready.
First Rise and Development
- Shape the kneaded dough into a tight ball and lightly coat it with the olive oil, turning it to coat all sides evenly. Next, place the oiled dough in a clean, lightly oiled bowl, cover with a damp cloth or plastic wrap, and let it rise at room temperature for 1 to 1½ hours.
- The dough should roughly double in size during this first rise, though it may expand less than typical bread dough since Greek yogurt adds natural density. Afterward, gently press the dough with your fingertip—if the indentation slowly springs back halfway, it’s perfectly ready for shaping into bagels.
Shape Individual Bagels
- Turn the risen dough out onto a lightly floured surface and divide it into 8 equal pieces using a bench scraper or sharp knife. For perfectly consistent bagels, weigh each piece on a kitchen scale—each should weigh approximately 2.5 ounces.
- Take one piece of dough and roll it into a tight ball by cupping it in your palms and rolling it toward you several times with deliberate, confident motions. This rolling motion creates surface tension that helps your bagel maintain its shape beautifully during the rising and boiling stages.
- Using your thumb, poke a hole in the center of each dough ball and gently stretch it to create a ring shape with a hole approximately 2 inches in diameter. The hole will shrink slightly during rising and boiling, so don’t be concerned if it appears large initially.
- Place each shaped bagel on a piece of parchment paper, spacing them about 2 inches apart to prevent them from touching. Additionally, if you’re placing multiple bagels on one sheet, crumple the parchment slightly to create texture that prevents bagels from rolling together during the proof.
Second Rise and Proofing
- Cover the shaped bagels with a damp cloth or plastic wrap and let them proof at room temperature for 45 minutes to 1 hour until they puff noticeably. Meanwhile, you can prepare the boiling water and gather your toppings during this waiting period.
- The bagels should puff slightly but won’t quite double in size like bread dough would—this is completely normal and actually desirable for authentic, chewy bagel texture. To test if they’re ready, gently drop one bagel into a bowl of cool water; if it sinks slightly then floats after about 10 seconds, it’s perfectly proofed and ready for boiling.
Prepare the Boiling Water
- Fill a large pot with 2 quarts of water and bring it to a rolling boil over medium-high heat. Then add the 2 tablespoons honey to the boiling water—the honey creates a slightly sweet exterior that promotes browning and adds subtle flavor development.
- Reduce the heat to maintain a gentle boil rather than a vigorous rolling boil, as overly turbulent water can cause bagels to tear or absorb excess water that makes them gummy. Next, preheat your oven to 425 degrees Fahrenheit and line a large baking sheet with parchment paper for easy cleanup and even browning.
Boil Your Bagels
- Working in batches of 2 to 3 bagels so the pot isn’t overcrowded and your bagels have room to cook properly, gently place each bagel into the simmering honey water. The bagels should sink initially, then float to the surface after about 30 to 60 seconds as they absorb moisture and become lighter.
- Once the bagels float, boil them for an additional 1 to 2 minutes per side—flip them over halfway through using a slotted spoon to ensure both sides experience the boiling process evenly. Furthermore, don’t skip or rush the boiling step, as it’s absolutely crucial for creating the bagels’ characteristic chewy exterior and dense, satisfying crumb.
- Remove the boiled bagels from the water using a slotted spoon and place them directly onto the prepared baking sheet. If desired, brush the top of each warm bagel with water and immediately sprinkle with your choice of toppings while still wet so they adhere properly and toast beautifully.
Bake to Golden Perfection
- Transfer the baking sheet to the preheated 425-degree oven and bake for 20 to 25 minutes until the bagels develop a deep golden brown color on top. The bagels are finished when they sound hollow when gently tapped on the bottom, indicating they’re fully cooked inside.
- Remove the bagels from the oven and transfer them to a wire cooling rack where they can cool completely. Allow them to cool for at least 15 to 20 minutes before slicing and enjoying, though they’re absolutely delicious served warm with your favorite toppings and spreads.
Serving and Storing Tips
How to Serve These Protein Bagels
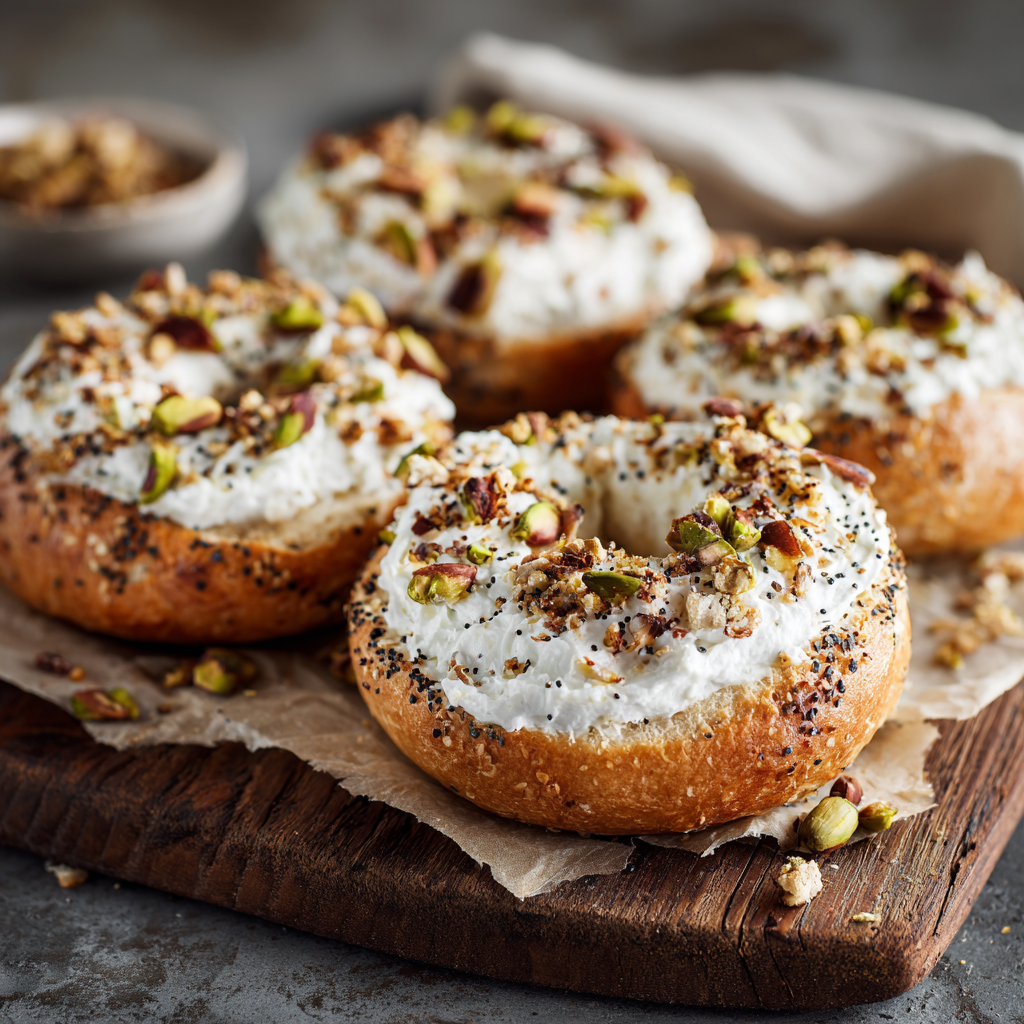
First, serve these hearty, nutritious bagels warm or toasted, splitting them horizontally with a serrated bread knife for the cleanest, most satisfying cut. Additionally, they pair beautifully with classic bagel toppings like cream cheese, smoked salmon, tomato, and thinly sliced red onion for a sophisticated breakfast or weekend brunch. Furthermore, spread them with natural peanut butter and fresh berries, creamy hummus and cucumber slices, or ripe avocado and a fried egg for protein-rich combinations that keep you satisfied for hours. For a lighter option, simply toast the bagels and spread with a thin layer of Greek yogurt and honey for subtle sweetness that won’t weigh you down. Alternatively, slice and toast them to create perfectly crispy bagel chips perfect for snacking, dipping in hummus, or serving alongside a fresh green salad.
Storing Your Bagels Properly
Next, allow the bagels to cool completely before storing them in an airtight container or resealable plastic bag at room temperature, where they’ll stay fresh and chewy for up to 3 days. Additionally, you can wrap individual bagels in plastic wrap and freeze them for up to 1 month in a freezer-safe container or zip-top bag with parchment paper between layers. To reheat frozen bagels, simply pop them into a toaster oven at 375 degrees for 8 to 10 minutes until warmed through completely, or slice them first and toast directly in your toaster for quickest breakfast preparation. For longer freshness without freezing, keep bagels in a paper bag rather than plastic, as paper allows better air circulation and prevents them from becoming overly soft or condensed. Alternatively, slice bagels before freezing for convenient grab-and-toast breakfast options throughout the week and month.
Helpful Notes and Variations
Ingredient Substitutions and Adjustments
Meanwhile, if you prefer recipes made with all-purpose flour without whole wheat additions, simply use 4¼ cups all-purpose flour total instead of the mixed flours, though the whole wheat adds valuable nutrition and subtle nutty complexity. For those seeking even higher protein content in every bagel, add 2 to 3 tablespoons of plain whey protein powder to the dry ingredients, reducing the flour slightly by the same amount to maintain proper dough consistency. Additionally, if your Greek yogurt is thicker than usual—perhaps from a particularly thick brand—add an extra tablespoon or two of warm water to achieve the proper dough consistency. For a lighter, more delicate flavor profile, substitute half of the Greek yogurt with plain regular yogurt, though the protein content will be slightly lower than desired.
Creative Variations to Explore
To create everything bagels with maximum flavor, combine sesame seeds, poppy seeds, coarse salt, minced garlic, and dried minced onion in equal parts and sprinkle generously over the boiled bagels before baking. Additionally, you might use a store-bought everything bagel seasoning blend for convenience and consistent flavor throughout your batch. For a sweeter variation that’s perfect for dessert bagels, brush the warm boiled bagels with melted butter and sprinkle with cinnamon sugar before baking for a delicious cinnamon-sugar bagel. Furthermore, create jalapeño cheddar bagels by kneading chopped fresh jalapeños and shredded sharp cheddar cheese into the dough before shaping for a spicy, savory twist. Another wonderful option is to make garlic and herb bagels by stirring dried Italian herbs, garlic powder, and a touch of onion powder into the flour mixture before combining with wet ingredients.

Common Mistakes to Avoid
First, don’t skip the boiling step or attempt to rush through it, as boiling is absolutely what creates the bagels’ distinctive chewy exterior and dense texture that separates them from ordinary bread rolls. Additionally, avoid overproofing the shaped bagels during the second rise, as overly puffy bagels become too light, airy, and lose their characteristic density and satisfying chewiness. Furthermore, resist the temptation to use boiling water that’s too hot—water that’s overly turbulent causes bagels to absorb excess water and become gummy rather than chewy. Another common error is neglecting to properly seal the hole when shaping the bagels; the hole needs a gentle pinch around the seam to prevent it from opening and disappearing during rising and boiling. Finally, don’t slice the bagels while they’re still warm unless you truly enjoy gummy, doughy interiors—allowing them to cool properly on a rack ensures proper texture and crumb structure.
Chef Tips
The secret to perfectly chewy, protein-rich bagels lies in the Greek yogurt, which adds substantial protein and natural density while maintaining moisture throughout the bagel’s crumb structure and creating incredible flavor depth. Additionally, for the most consistent results every single time you bake, use a kitchen scale to weigh dough pieces and carefully measure water temperature—precision in these two areas ensures every bagel bakes identically and delivers the same satisfying texture and authentic flavor you’ve worked to develop.
Frequently Asked Questions
Why is Greek yogurt used instead of regular yogurt in this recipe?
Greek yogurt is strained to remove excess whey, making it thicker and significantly higher in protein than regular yogurt, typically containing double the protein. This concentrated texture contributes directly to the bagels’ dense, chewy crumb while substantially boosting the protein content that makes these bagels so satisfying and nutritious.
Can I make these bagels without the boiling step?
Boiling is absolutely essential for creating authentic bagel texture—without it, you’ll end up with dense bread rolls rather than true bagels with chewy exteriors. The boiling step gelatinizes the starch on the surface, creating the characteristic chewy exterior and dense interior that defines proper, bakery-quality bagels.
How much protein do these bagels contain per individual bagel?
Each bagel contains approximately 12 to 15 grams of protein depending on the specific Greek yogurt brand you use for baking, making them substantially higher in protein than traditional bagels which typically contain only 8 to 10 grams per bagel.
Can I make smaller bagel thins instead of full-sized bagels?
Absolutely! Divide the dough into 12 to 16 pieces instead of 8, shape them slightly smaller, and reduce boiling time to 45 seconds per side and baking time to 15 to 18 minutes. Bagel thins will be thinner and slightly less chewy than full-sized versions though equally delicious.
What if I don’t have a kitchen scale for precise measurements?
While a kitchen scale ensures wonderful consistency and identical results, you can divide the dough by eye and visual estimation, aiming for equal-sized pieces. The bagels will still turn out absolutely delicious even if the sizes vary slightly—just adjust boiling time slightly for any larger or smaller bagels.
Conclusion
Protein bagels with Greek yogurt prove that nutritious, satisfying breakfast options don’t require compromising on authentic taste, satisfying texture, or the cherished bagel experience you truly crave and deserve. These impressive homemade bagels deliver substantial protein content that keeps you satisfied for hours while maintaining the chewy interior and golden-brown exterior that make bagels so universally beloved and celebrated. From the moment you shape the first dough ball to the final moment you bite into a warm, freshly toasted bagel, you’ll appreciate how quality ingredients and proper technique combine to create something genuinely exceptional. Whether you’re meal-prepping for the entire week, training athletically for peak performance, or simply seeking wholesome breakfast foods that taste absolutely delicious, these bagels deliver reliable, consistent results that rival any bagel shop in your area.
Did you absolutely love making these protein bagels with Greek yogurt? Please save this recipe, pin it to your breakfast board, or share it with friends and family who would adore these satisfying, nutritious, and delicious treats. We’d genuinely love to hear from you—drop a comment below and tell us if you tried a unique flavor variation, served them at a special breakfast gathering, or discovered your own creative topping combination that became a favorite. Your feedback and shares inspire us to continue creating delicious, approachable recipes that bring joy and nutrition to your kitchen!