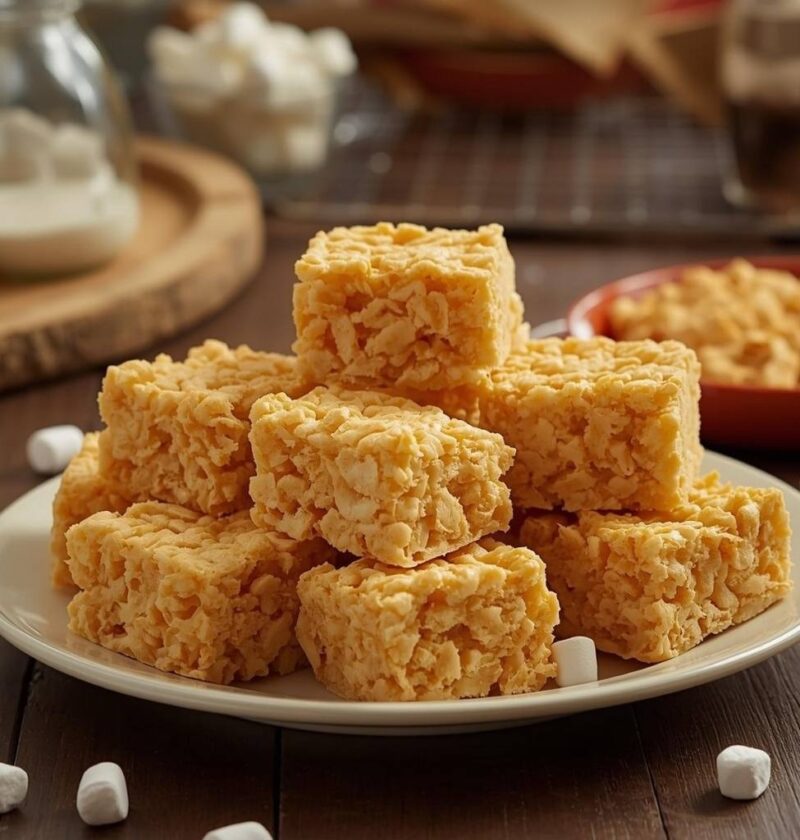
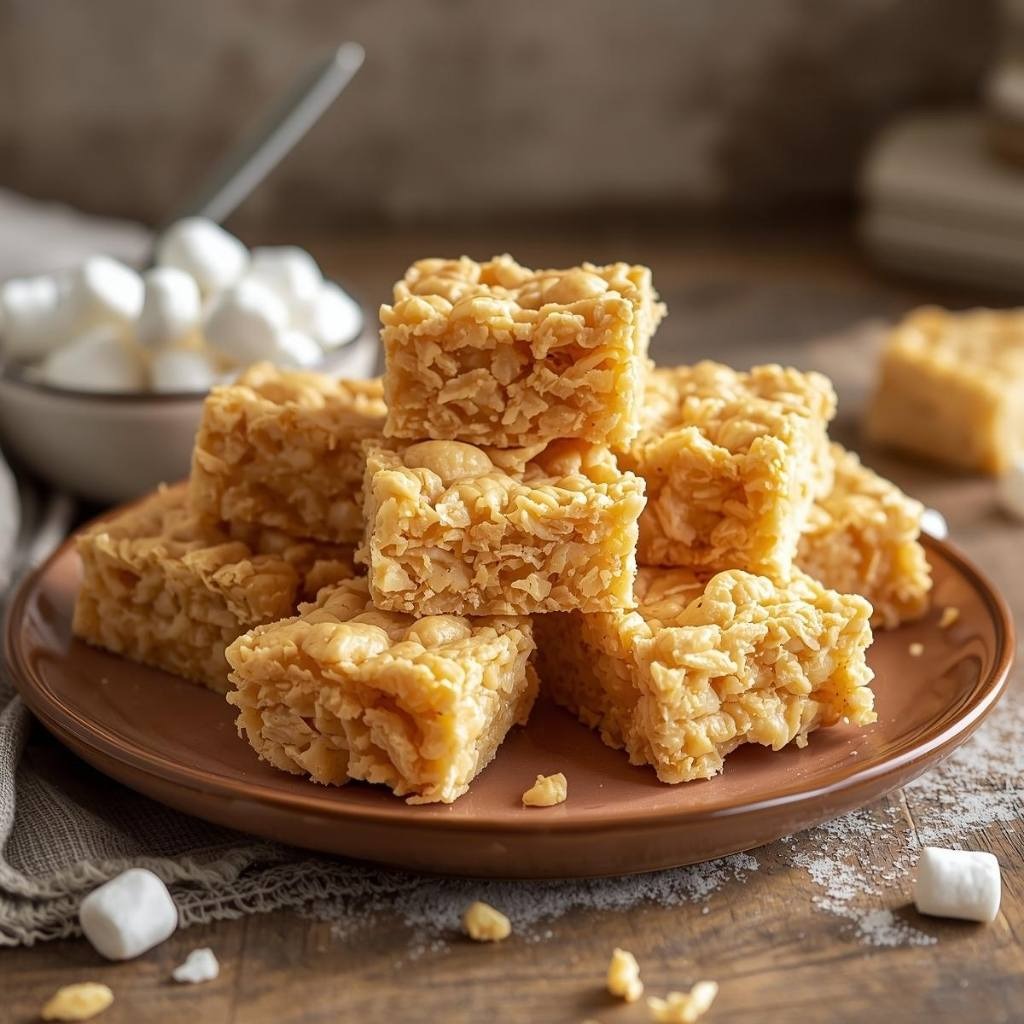
Few desserts evoke nostalgia and joy quite like biting into a warm, gooey Rice Krispie treat straight from the pan. These iconic confections have delighted generations with their irresistible combination of crispy cereal, gooey marshmallow, and rich butter, creating a texture that’s both satisfying and addictive. What makes Rice Krispie Treats truly special is their remarkable simplicity—you need just four basic ingredients and about ten minutes to create something that tastes like pure happiness. Whether you’re preparing treats for a bake sale, packing them in lunch boxes, bringing them to a party, or simply craving something nostalgic and sweet, this recipe never disappoints. The beauty of this classic treat lies in its versatility; the basic recipe serves as a perfect foundation for endless creative variations and flavor combinations. Beyond their delicious taste, Rice Krispie treats are wonderfully forgiving for even the most inexperienced baker, making them an excellent choice for teaching kids to cook or for creating impressive homemade gifts that feel personal and special. From the moment you start stirring the marshmallow mixture, you’ll remember exactly why this recipe has remained a beloved favorite for decades.
Ingredients
Servings: 24 treats
Basic Recipe: • 3 tablespoons unsalted butter • 4 cups marshmallows (about 40 large marshmallows or 1 10-ounce bag of mini marshmallows) • 1/2 teaspoon vanilla extract • 6 cups Rice Krispies cereal • 1/4 teaspoon salt
For Assembly and Serving: • Additional butter or cooking spray for greasing the pan • Parchment paper (optional but recommended)
Optional Mix-ins and Toppings: • Chocolate chips • Crushed candy canes • Sprinkles • White chocolate drizzle • Food coloring • Cinnamon sugar • Melted chocolate for dipping • Caramel bits
Step-by-Step Instructions
Prepare Your Pan
- Line a 9×13-inch baking pan with parchment paper, allowing it to overhang the sides for easy removal and lifting later.
- Lightly grease the parchment paper with butter or cooking spray to prevent sticking.
- Measure out all your ingredients before beginning, as this recipe moves quickly once you start cooking.
Melt the Marshmallows
- Add the unsalted butter to a large pot or Dutch oven over medium heat, allowing it to melt completely.
- Pour the marshmallows into the pot with the melted butter, stirring frequently with a silicone spatula or wooden spoon.
- Continue stirring as the marshmallows begin to soften and melt, ensuring even heat distribution and preventing burning.
- Keep stirring until the marshmallows are completely melted and the mixture is smooth and glossy, which typically takes 3 to 4 minutes total.
- Remove the pot from the heat immediately once the marshmallows are fully melted to prevent the mixture from becoming too hot or crystallizing.
Add Flavoring and Cereal
- Stir in the vanilla extract and salt, mixing until fully incorporated and the flavoring is distributed throughout the marshmallow mixture.
- Slowly pour the Rice Krispies cereal into the pot, stirring gently but thoroughly to coat every piece with the marshmallow mixture.
- Continue stirring until all the cereal is evenly coated and no dry cereal pieces remain visible—this should take about 1 to 2 minutes.
- Work quickly at this stage, as the marshmallow mixture begins to set as it cools.
Transfer to Pan
- Pour the cereal mixture into the prepared baking pan, working quickly before it hardens.
- Using a buttered spatula, wooden spoon, or your buttered hands, press the mixture firmly and evenly into the pan.
- Press down gently but firmly to create a compact, even layer without compressing it so much that the treats become dense and hard.
- Smooth the top as much as possible for an even, professional appearance.
Cool and Cut
- Allow the treats to cool at room temperature for at least 15 minutes before cutting, though 30 minutes is ideal for cleaner cuts.
- Lift the Rice Krispie treat slab from the pan using the parchment paper overhang and place it on a cutting board.
- Using a sharp, greased knife or kitchen shears, cut the treats into 24 squares of equal size.
- Wipe your cutting tool between cuts with a damp cloth to prevent sticking and create clean edges.
Optional Decorating
- If desired, melt chocolate chips or white chocolate and drizzle over the cooled treats using a fork or squeeze bottle.
- Add any desired toppings such as sprinkles, crushed candy canes, or cinnamon sugar while the chocolate is still wet.
- Allow the chocolate to set completely before serving or storing.
Serving and Storing Tips
Serving Tips
First, serve these treats at room temperature for the best texture and flavor—they’re delicious fresh from the cooling period, but they also keep beautifully for several days. Next, present them on a pretty platter or in individual paper liners for a charming, bakery-quality presentation that looks far more impressive than the minimal effort required. Additionally, you can cut them into different sizes depending on the occasion; larger squares work well for substantial snacks or dessert portions, while smaller rectangles are perfect for lunchbox additions or party favors. These treats pair wonderfully with cold milk, hot cocoa, coffee, or tea, making them ideal for breakfast, afternoon snacks, or dessert. Furthermore, wrapping individual treats in colorful tissue paper or cellophane creates excellent homemade gifts for teachers, neighbors, or friends. Consider arranging them on a dessert platter alongside other finger foods for parties, picnics, or casual gatherings.
Storage Tips
Store your Rice Krispie treats in an airtight container at room temperature for up to 5 days, maintaining their optimal texture and freshness. However, keeping them in a sealed container with parchment paper between layers prevents them from sticking together. Meanwhile, you can also wrap individual treats tightly in plastic wrap and store them in an airtight container for up to 7 days, giving you grab-and-go convenience. For longer storage, freeze the treats in a freezer-safe container with parchment paper separating each layer for up to 2 months without any loss of quality. Additionally, thaw frozen treats at room temperature for about 1 hour before serving, or eat them directly from the freezer for a chilled texture similar to a Popsicle. If the treats become slightly hard after a few days, you can soften them by placing a slice of bread in the airtight container overnight—the cereal treats will absorb moisture and become chewy again. Do not refrigerate Rice Krispie treats, as moisture in the refrigerator causes them to become soggy and sticky.
Helpful Notes
Mix-In and Topping Ideas
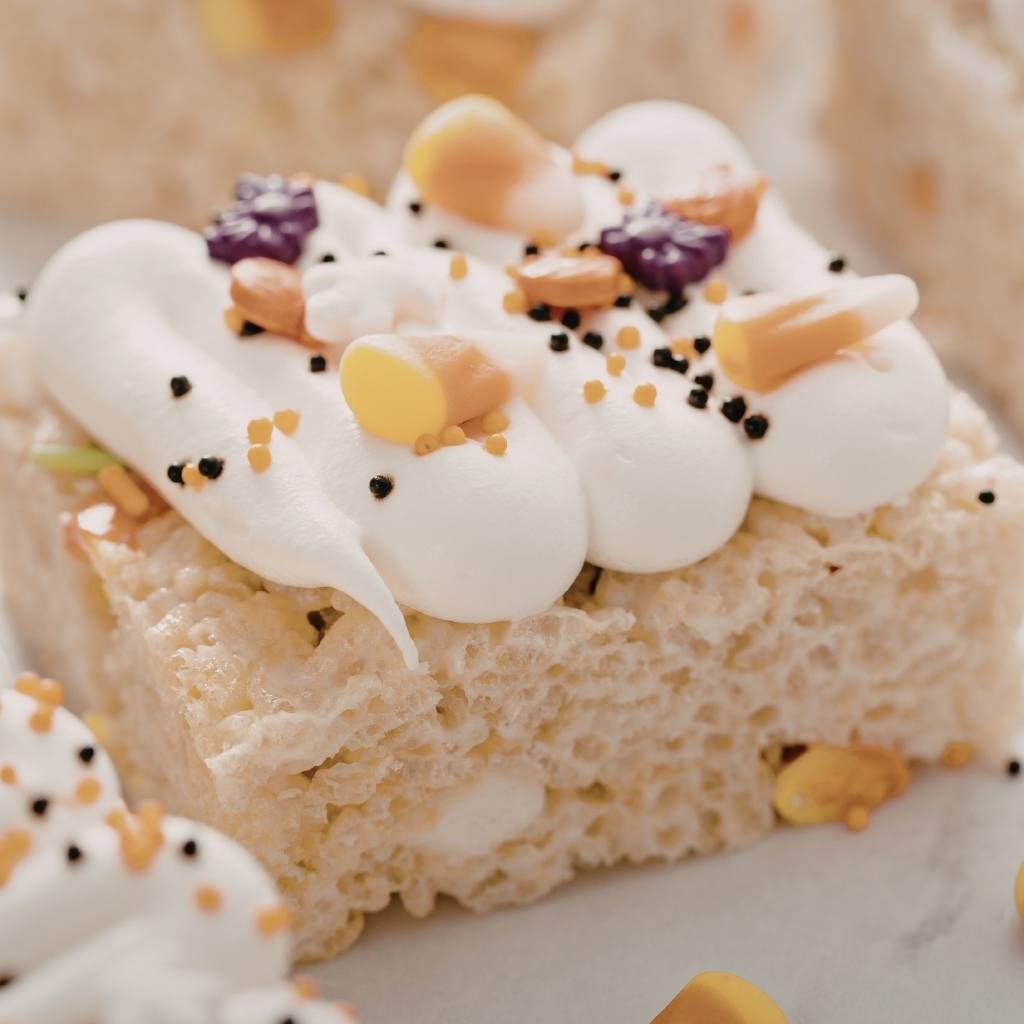
The simple base recipe provides a blank canvas for endless creative variations that allow you to match any occasion or preference. For chocolate lovers, fold 1 cup of chocolate chips into the marshmallow mixture before adding the cereal, creating a decadent chocolate version. Additionally, you can create festive holiday treats by adding green food coloring and crushed candy canes for Christmas, or orange food coloring and black sprinkles for Halloween. Meanwhile, peanut butter enthusiasts can swap 2 tablespoons of butter with creamy peanut butter, adding a delicious nutty flavor to the classic recipe. Furthermore, adding 1/2 teaspoon of almond extract or 1/4 teaspoon of peppermint extract creates flavor variations that feel special and gourmet. For a fruity twist, add 1/4 teaspoon of strawberry extract or freeze-dried strawberries mixed into the cereal before adding it to the marshmallow mixture. Consider creating fun treat combinations by dipping half the treats in melted white chocolate and half in melted dark chocolate, or by creating swirled colors using food coloring in the marshmallow mixture.
Common Mistakes to Avoid
One of the most frequent mistakes is removing the treats from the heat too late, causing the marshmallow mixture to become too thick and difficult to spread evenly into the pan. Remove the pot from the heat as soon as the marshmallows are completely melted and smooth. Additionally, pressing the mixture too firmly into the pan creates treats that are dense and hard rather than light and crispy, so use a gentle but firm hand. Furthermore, cutting the treats while they’re still warm results in messy, misshapen pieces, so patience is essential—waiting at least 30 minutes before cutting makes a significant difference. Meanwhile, using old cereal that’s already begun to lose its crispness results in treats that lack the satisfying crunch everyone expects, so always use fresh cereal. Finally, opening the bag of Rice Krispies too far in advance allows the cereal to absorb moisture from the air and become stale before using it, so open it close to cooking time.
Time-Saving and Make-Ahead Tips
These treats are among the fastest desserts to prepare, but you can make them even more convenient by preparing them completely the day before serving. Next, Rice Krispie treats actually improve slightly overnight as the marshmallow sets more firmly, creating slightly cleaner cuts the next day. Additionally, you can prepare the treats up to 1 week in advance and store them in an airtight container, making them perfect for advance party planning or gift-giving. For even more convenience, freeze treats for up to 2 months, allowing you to have homemade treats available on short notice. Furthermore, double or triple the recipe when you have time; the preparation process is nearly identical, just requiring a larger pot and longer stirring time. Meanwhile, if you’re short on time, you can skip the decorating step and serve the treats plain, as they’re delicious and beautiful on their own.
Professional Tips for Perfect Results
The secret to clean-cut treats lies in using a sharp, greased knife and wiping it between each cut—this simple step transforms your presentation from homemade to bakery-quality. Additionally, working quickly with the marshmallow mixture before it sets ensures you can spread it evenly and smoothly into the pan without struggles. Meanwhile, using a wooden spoon rather than a metal spoon for stirring prevents the marshmallows from sticking and burning on the pot. Furthermore, having all ingredients measured and ready before you start cooking allows you to work at the proper pace without rushing. Finally, lining the pan with parchment paper is not just a convenience tip—it actually helps you achieve cleaner edges and perfect squares, elevating the final presentation considerably.
Frequently Asked Questions
Can I make Rice Krispie treats without a microwave, and what’s the best stovetop method? Yes, stovetop method is actually traditional and often preferred; melt butter and marshmallows in a pot over medium heat, stirring constantly until smooth, then add cereal and proceed as directed.
How can I prevent my treats from becoming hard and stale? Store them in an airtight container at room temperature, and place a slice of bread in the container to help them stay chewy—replace the bread daily.
Can I use a different cereal instead of Rice Krispies? You can substitute similar cereals like Cocoa Krispies or other crispy cereals, though the texture and taste will differ; avoid cereals with dried fruit or chocolate chips.
What’s the best way to cut these treats into perfect squares? Use a sharp knife greased with cooking spray or butter, and wipe it clean between each cut; waiting 30 minutes before cutting helps create cleaner edges.
Can I make Rice Krispie treats with vegan butter and marshmallows? Absolutely—vegan butter and marshmallows work wonderfully in this recipe and create treats that are nearly identical to the traditional version.
Conclusion
Rice Krispie Treats represent comfort, simplicity, and pure joy in their most delicious form, combining nostalgic memories with the ease of preparation that makes them accessible to cooks of all skill levels. The remarkable beauty of this classic recipe lies in how four simple ingredients transform into something absolutely irresistible, proving that exceptional desserts don’t require complexity or extensive ingredient lists. Whether you’re making them for the first time or the hundredth time, each batch delivers the same satisfaction and happiness that has made these treats beloved for generations.
The versatility of the basic recipe opens endless possibilities for creative variations and flavor combinations, ensuring you’ll never grow bored regardless of how frequently you prepare them. Furthermore, the make-ahead nature of these treats means you can prepare them days or even weeks in advance, keeping your schedule flexible while always having homemade treats available for unexpected gatherings or personal enjoyment. The opportunity to involve children in the cooking process makes these treats not just delicious but also meaningful, creating memories alongside delicious results.
Next time you’re craving something nostalgic, need a quick dessert solution, want to prepare homemade gifts, or simply feel like making something that brings smiles to faces, remember that Rice Krispie Treats are always the answer. Your family and friends will appreciate the homemade touch, and you’ll love how simple yet satisfying the entire process truly is.
If you loved making these Rice Krispie Treats and found this recipe helpful, we’d absolutely love it if you’d save it, pin it to your Pinterest board, or share it with friends and family who might enjoy making it too! Your support and feedback inspire us to keep creating simple yet delicious recipes and helpful guides that bring homemade goodness into every kitchen. We can’t wait to hear about your experience making these treats, so please come back and let us know if you tried any fun variations or creative mix-ins. Happy cooking!