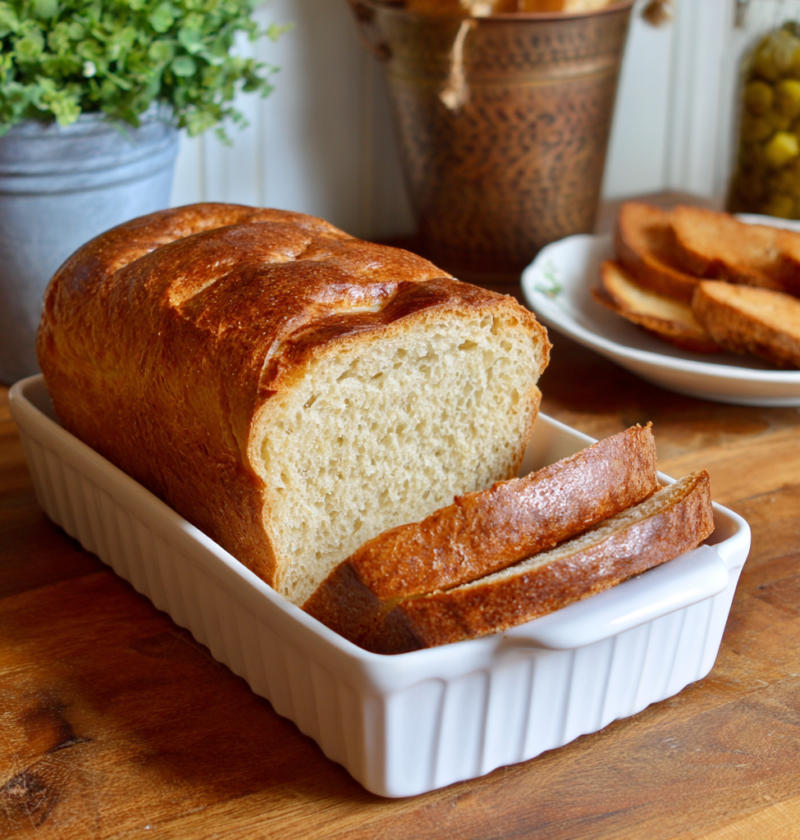
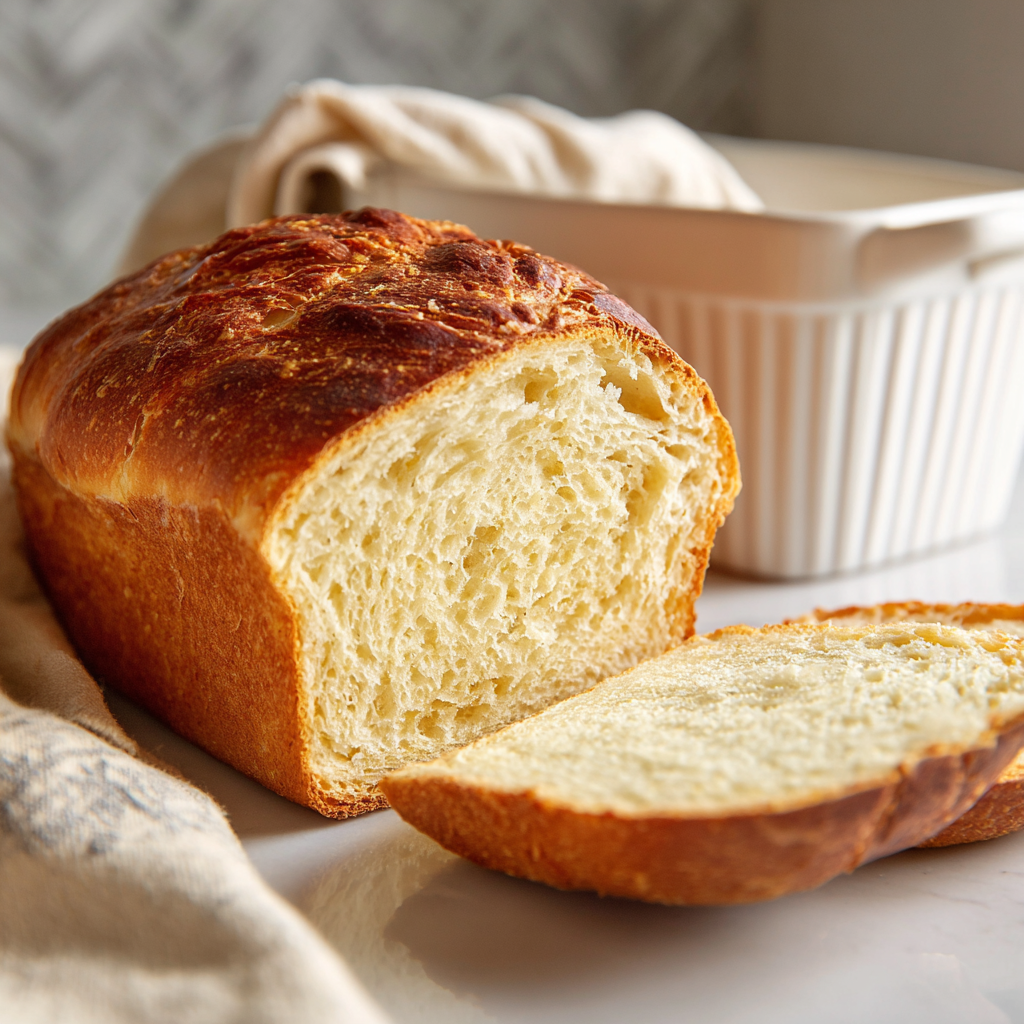
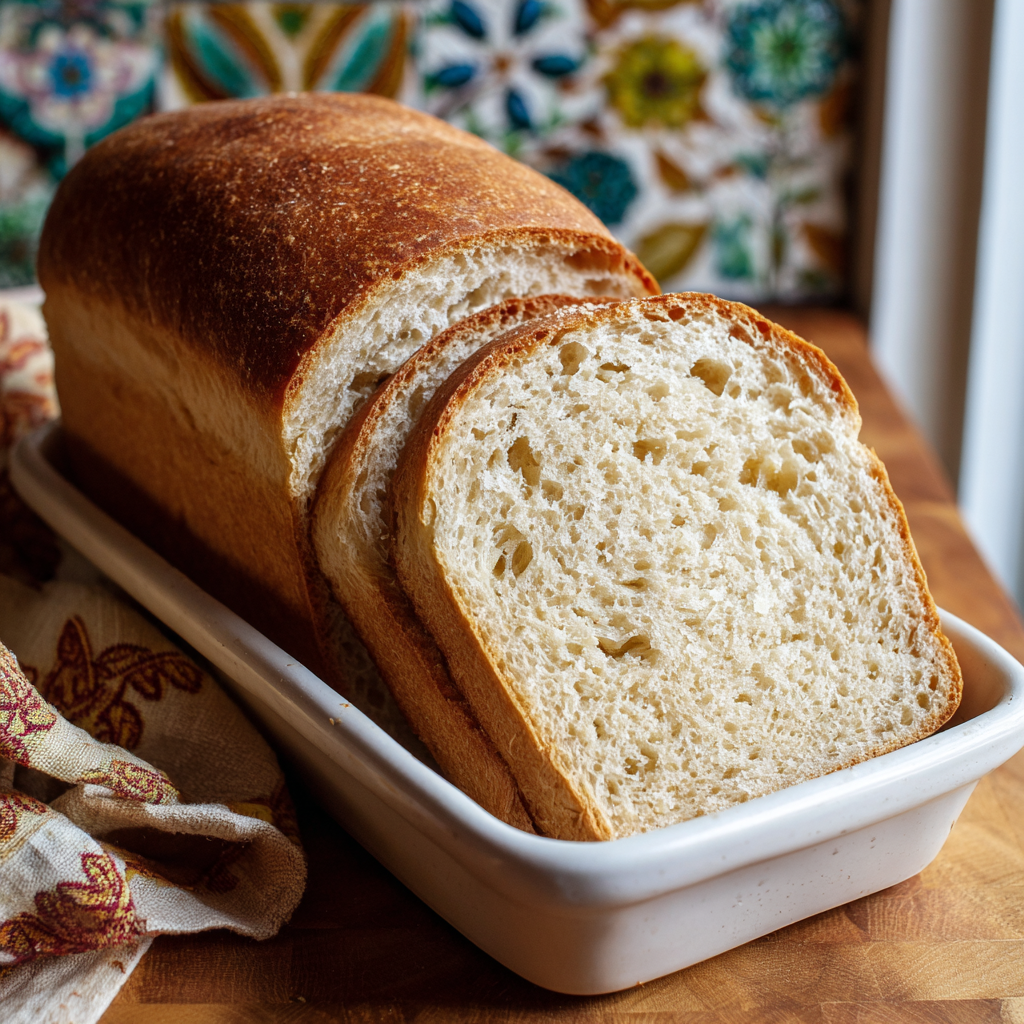
There’s something genuinely wonderful about slicing into a perfectly baked loaf of sandwich bread that combines the soft, pillowy texture of classic sandwich loaves with the subtle complexity and superior keeping quality of sourdough fermentation that makes every single sandwich taste genuinely special and deeply satisfying. This Sourdough Discard Sandwich Bread Recipe proves that sourdough starter belongs in everyday bread—instead of the trash, it transforms simple sandwich dough into something with incredible texture, fermented complexity, and extended freshness that makes traditional sandwich bread pale in comparison. What makes this bread truly extraordinary is how it celebrates the intersection of sustainability and practical daily baking, transforming typically discarded sourdough starter into something that serves your family for multiple meals while staying fresh and delicious longer than conventional options. Whether you’re a sourdough enthusiast looking to expand your creative repertoire, someone who appreciates quality bread for everyday use, planning to create impressive homemade bread for people you love, or simply treating your family to something absolutely delicious and meaningfully made, this sourdough discard sandwich bread delivers pure satisfaction and genuine nourishment. The combination of soft crumb, beautiful golden crust, subtle fermented complexity, and perfect sandwich-slicing texture creates bread that tastes like it came from an artisanal bakery while being completely practical for daily meals. Your family will be absolutely enchanted by the superior flavor, impressed by how delicious homemade sandwich bread tastes compared to store-bought versions, and utterly satisfied making sandwiches from freshly baked slices of this absolutely wonderful bread.
Ingredients
This recipe makes 1 beautiful loaf, yielding approximately 16 to 20 slices.
For the Dough:
- ¾ cup sourdough discard (unfed, room temperature)
- ⅔ cup whole milk, warmed
- ¼ cup water, room temperature
- 2 tablespoons honey
- 2 tablespoons melted butter, plus extra for the pan
- 1 teaspoon salt
- 3⅓ cups all-purpose flour
- ½ teaspoon instant yeast (helps with rising, optional)
For the Topping (Optional):
- 1 tablespoon water mixed with ½ teaspoon honey (egg wash alternative)
- 1 tablespoon sesame seeds, poppy seeds, or everything bagel seasoning
Instructions
Mix the Dough
- In a large mixing bowl, combine the sourdough discard and warmed milk, stirring together until partially combined.
- Add the room temperature water, honey, and melted butter to the mixture, beating gently with a wooden spoon until these ingredients are incorporated.
- In a separate medium bowl, whisk together the all-purpose flour, salt, and optional instant yeast, combining them thoroughly.
- Create a well in the center of the flour mixture and pour the sourdough mixture into it, stirring with a wooden spoon until all flour is incorporated.
- The dough will be slightly shaggy at this point, which is completely normal and expected at this stage.
Knead the Dough
- Transfer the dough to a lightly floured work surface and knead it gently for 8 to 10 minutes, working until it becomes smooth, elastic, and slightly tacky.
- The dough should spring back slowly when poked with your finger, indicating proper gluten development for sandwich bread structure.
- Avoid overworking the dough excessively, as this can result in tough, dense bread rather than tender, soft sandwich loaves.
First Rise
- Clean your mixing bowl and coat it lightly with butter, then place the kneaded dough into the bowl and turn it over to coat all sides.
- Cover the bowl with a damp kitchen towel and place it in a warm, draft-free location for 1 to 2 hours.
- The dough is ready when it has doubled in size and shows visible bubbles throughout, indicating active fermentation.
- Gently poke the dough with your finger—if the indentation slowly springs back halfway, it’s properly risen and ready to shape.
Shape the Loaf
- Once the dough has doubled, turn it out onto a lightly floured work surface and gently press down to release some of the air.
- Shape the dough into a round ball by pulling the edges toward the center and rotating slightly, creating surface tension.
- Allow the shaped dough to rest for 5 minutes on the work surface, allowing the gluten to relax slightly.
- Flatten the dough gently into an oval shape approximately 8 inches long and 5 inches wide.
- Starting from the short end closest to you, tightly roll the dough toward the far end, creating a compact, cigar-like shape.
- Pinch the seam firmly along the entire length, creating a tight seal that prevents the bread from unraveling during rising and baking.
- Tuck the ends under slightly, creating a neat loaf shape approximately 8 to 9 inches long.
Prepare the Pan
- Butter a standard 9×5-inch loaf pan thoroughly, ensuring all surfaces are coated evenly.
- Place the shaped dough seam-side down into the prepared pan, pressing gently so it contacts the pan evenly.
- The dough should fit snugly in the pan with slight space at the top for rising during the second rise and baking.
Second Rise
- Cover the loaf with a damp kitchen towel and place it in a warm location for 1 to 2 hours until it has risen significantly.
- The dough is ready to bake when it has risen above the top edge of the pan by approximately ½ to 1 inch.
- Alternatively, refrigerate the unbaked loaf overnight, which develops deeper flavor and makes baking more convenient for morning freshness.
- If using overnight cold rise, remove the loaf from the refrigerator and allow it to come to room temperature for 45 minutes to 1 hour before baking.
Prepare for Baking
- Preheat your oven to 375°F about 15 minutes before the loaf finishes its second rise.
- If using optional topping, brush the risen loaf gently with the water-honey mixture using a pastry brush.
- Sprinkle sesame seeds, poppy seeds, or everything bagel seasoning evenly over the brushed loaf if desired.
- The toppings add visual appeal and create textural interest on the finished loaf.
Bake the Bread
- Place the loaf pan in the preheated 375°F oven and bake for 30 to 35 minutes until the top is deeply golden brown.
- The loaf should sound hollow when tapped on the bottom with your knuckle, indicating the bread is fully cooked throughout.
- The internal temperature should reach approximately 205°F when measured with an instant-read thermometer inserted into the center of the loaf.
- If the top is browning too quickly but the loaf isn’t fully baked, tent it loosely with aluminum foil and continue baking.
- Remove the loaf from the oven and turn it out onto a wire cooling rack immediately after baking.
Cool Completely
- Allow the bread to cool completely on the wire rack for at least 1 hour before slicing.
- Cooling is essential as it allows the interior structure to finish setting—cutting into warm bread causes it to compress and become gummy.
- While cooling, the bread develops its final texture and the flavors fully develop and mature.
- Once completely cooled, the bread can be sliced, stored, or used for sandwiches immediately.
Serving and Storing Tips
How to Serve This Wonderful Bread
Present your gorgeous sourdough discard sandwich bread sliced on a beautiful serving board or in a bread basket lined with a clean cloth. First, slice it with a serrated bread knife using gentle sawing motions rather than pressing down, which preserves the beautiful crumb structure. Additionally, serve fresh from cooling or toasted with butter, jam, or your favorite toppings. Meanwhile, use it for sandwiches with quality deli meats, cheeses, fresh vegetables, and spreads for nutritious, delicious meals. For special occasions, arrange sliced bread on a beautiful platter with accompanying spreads and toppings for elegant entertaining. Furthermore, this bread is wonderful toasted for breakfast, making French toast, or alongside soup for complete meals.
Storage Instructions for Maximum Freshness
Keep your sourdough discard sandwich bread at room temperature in a bread box, paper bag, or wrapped lightly in a kitchen towel for up to 5 days, as the sourdough extends shelf life significantly compared to traditional bread. Never store bread in plastic bags while still warm, as condensation creates a soggy crust; wait until completely cool. For longer storage, wrap the completely cooled loaf in plastic wrap and then aluminum foil, freezing for up to 3 months in a freezer-safe container. To use frozen bread, thaw it overnight at room temperature wrapped in its packaging, which prevents moisture loss during thawing. Individual slices can be frozen separately and toasted directly from frozen for quick breakfast or snack options without full thawing needed.
Helpful Notes and Pro Tips
Tips for Perfect Sandwich Bread
Start by using sourdough discard that hasn’t been recently fed, as unfed discard contains the fermented flavor that creates complexity without requiring long fermentation times. Additionally, room temperature ingredients ensure proper mixing and fermentation—cold milk and water don’t incorporate smoothly, affecting rise and texture. The key to soft sandwich bread is not overworking the dough during kneading—knead gently just until smooth and elastic rather than overdeveloping gluten. Furthermore, allowing proper rising times ensures the bread is light and fluffy rather than dense or gummy. When shaping, work confidently and tightly to create a compact loaf that rises upward rather than spreading outward. Meanwhile, the optional instant yeast helps ensure reliable rising, though the sourdough starter provides yeast activity on its own.
Understanding Sourdough Discard in Sandwich Bread
Sourdough discard is the starter removed before feeding, containing wild yeast and lactic acid bacteria that add subtle fermented complexity. Additionally, the discard contributes moisture and tang that improve bread texture and extend shelf life significantly compared to traditional recipes. The sourdough discard may cause slightly different rise patterns, but proper fermentation times ensure beautiful results. Furthermore, fermented discard breaks down starches, potentially making bread easier to digest than traditional sandwich bread. The acidic nature of sourdough discard contributes to the subtle tangy flavor and superior keeping qualities that make this bread so special.
Ingredient Substitutions and Variations
If you don’t have sourdough discard, you can use Greek yogurt or buttermilk in equal amounts, though the fermented complexity will be less pronounced. In contrast, for maximum sourdough flavor, you could increase the discard to 1 cup and reduce other liquids slightly. For different flavor profiles, you could add 1 tablespoon of honey for extra sweetness, or replace water with vegetable broth for savory depth. You could also create a whole wheat version by replacing up to half the all-purpose flour with whole wheat flour for nuttier flavor. Alternatively, adding 2 tablespoons of ground flaxseed or seeds creates nutritionally complete bread with added texture.
Topping and Variation Ideas
Beyond the suggested optional seeds and seasonings, you can create completely personalized bread by choosing from an unlimited array of options including herbs, different seeds, or savory spice blends. Additionally, you could create a honey-sweetened version by increasing honey slightly for subtle sweetness. You might also consider adding fresh herbs like rosemary or thyme to the dough before shaping for herb-infused variations. Meanwhile, creating a multigrain version by mixing various seeds into the dough creates interesting texture and nutrition. You could also create a sweet bread version by increasing honey to ¼ cup and adding dried fruit for completely different applications.
Chef Tips
Professional bakers always shape their loaves tightly and confidently, as loose shaping results in bread that rises outward instead of upward, creating flat loaves with uneven crumb structure. Additionally, cooling bread completely on a wire rack prevents moisture from condensing on the bottom and creating soggy texture that develops gumminess.
Frequently Asked Questions
Can I use recently fed sourdough starter instead of unfed discard? Yes, though unfed discard provides more fermented complexity and tang; recently fed starter still works beautifully and creates delicious bread with milder sourdough flavor.
What if my bread doesn’t rise enough during the second rise? Your kitchen may be too cool—try placing it in a warm location like an oven with just the light turned on, or extend the rising time by an additional hour.
Can I make this bread ahead of time and bake it fresh whenever I want? Yes, you can prepare the shaped dough, refrigerate overnight, then bake fresh for convenience and superior flavor development from overnight cold fermentation.
How do I know if my bread is perfectly baked versus underbaked or overbaked? Perfectly baked bread is deeply golden brown on top and sounds hollow when tapped; if too pale, bake longer; if too dark, reduce heat slightly next time.
Is there a way to make this bread without sourdough discard if I don’t have a starter? You can replace the discard with buttermilk or Greek yogurt in equal amounts, though the fermented complexity and superior keeping qualities will be less pronounced.
Conclusion
Sourdough Discard Sandwich Bread represents the perfect marriage of everyday practicality and sourdough craftsmanship that creates bread so delicious and superior that it elevates ordinary sandwiches into something genuinely memorable and satisfying. This recipe proves that sourdough discard belongs in everyday bread rather than in the trash—instead, it transforms simple dough with fermented complexity, superior texture, and extended freshness that distinguishes it from basic sandwich bread immediately. Whether you’re a sourdough enthusiast looking to expand your practical applications, someone who appreciates quality ingredients in daily meals, creating nutritious homemade bread for your family, or simply treating yourself to something absolutely delicious and meaningfully made, this sourdough discard sandwich bread delivers on every level. From the moment you begin mixing the dough and those wonderful fermented aromas fill your kitchen to the final bite of perfectly sliced, beautifully textured bread, every aspect of this experience feels completely special and thoroughly satisfying. The straightforward instructions mean that even inexperienced bakers can create something that tastes professionally made and absolutely incredible without any stress or frustration. Most importantly, the care and attention you invest in creating this bread from sourdough discard shines through in every slice and every sandwich. This is more than just bread—it’s an expression of sustainability, nourishment, and genuine affection served fresh and wonderful.
Did you absolutely love making this Sourdough Discard Sandwich Bread as much as we loved sharing this recipe with you? We’d genuinely adore hearing about your bread-baking experience! Please save this recipe to your favorites, pin it to your Pinterest board, and share it with friends and family who deserve delicious, sustainable bread that proves sourdough discard belongs at the breakfast table and sandwich board, not in the trash. Your shares, comments, and feedback inspire us to keep developing delicious recipes that bring joy and nourishment to your kitchen and table. Don’t forget to tag us on social media if you make this wonderful bread—we can’t wait to see your gorgeous creations and hear how much your loved ones cherished these thoughtful, delicious, and absolutely wonderful sourdough discard sandwich bread loaves!