There’s something magical about biting into a cold, creamy popsicle on a warm afternoon, and when that popsicle happens to be homemade strawberry yogurt, the magic multiplies. These frozen treats taste like summer itself, bursting with the bright flavor of fresh strawberries balanced perfectly against cool, tangy yogurt. The best part? You don’t need fancy equipment or complicated techniques to make them. With ingredients you likely already have at home, you’ll create popsicles that taste infinitely better than anything from a store, and they’re made without artificial colors or mysterious additives. Whether you’re looking for a refreshing snack for the kids, a light dessert for your dinner party, or simply a way to cool down after a busy day, this simple recipe delivers delicious results every single time.
Ingredients
Makes: 8 popsicles
- 1 pound fresh strawberries, hulled and halved
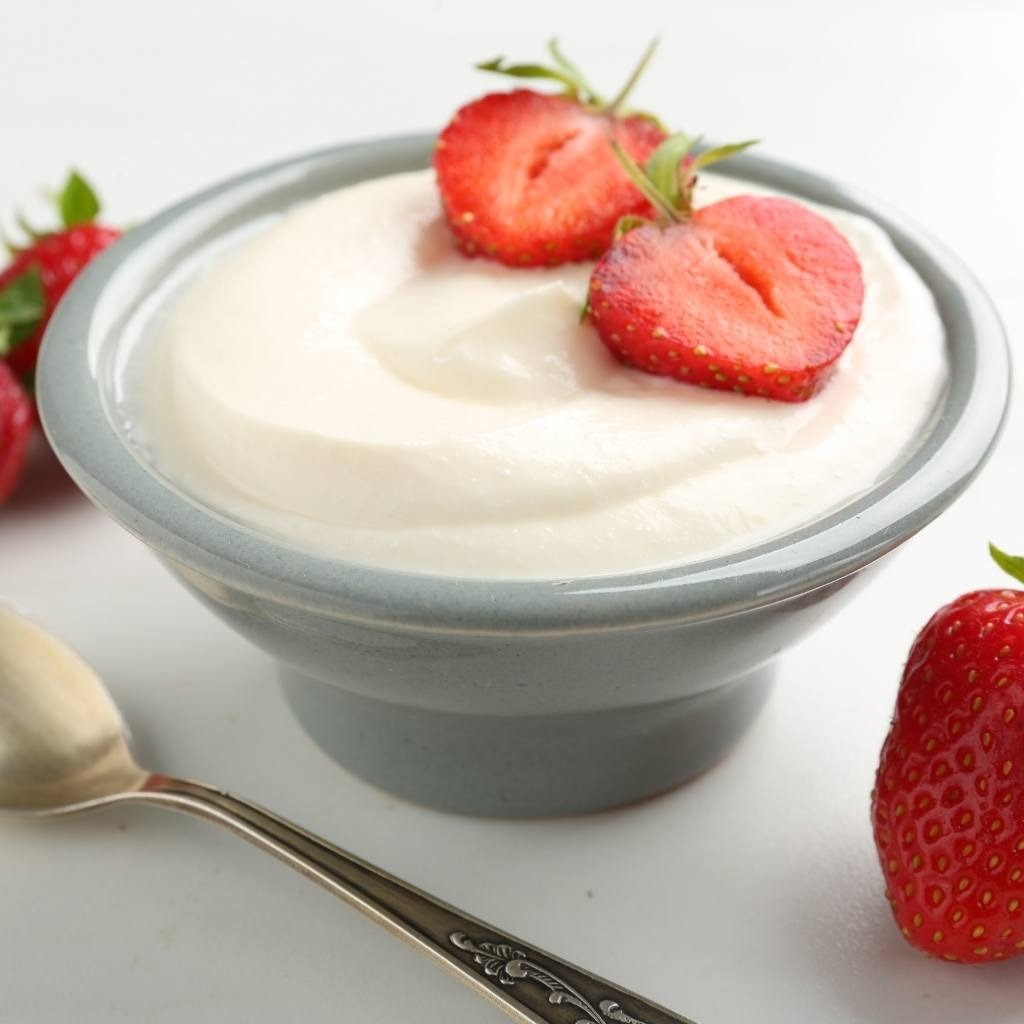
- 1 cup plain Greek yogurt
- 1/3 cup honey or maple syrup
- 2 tablespoons fresh lemon juice
- 1 tablespoon vanilla extract
- Pinch of salt
- Optional: 2 tablespoons finely chopped fresh mint
Step-by-Step Instructions
- Prepare your strawberries by rinsing them thoroughly under cool water and removing the green stems and hulls with a small knife or strawberry huller. Next, cut each strawberry in half to make blending easier and faster.
- Add the prepared strawberries to a blender or food processor. Pour in the Greek yogurt, honey, lemon juice, vanilla extract, and salt. If you’re using mint for extra freshness, add it to the blender now.
- Blend the mixture on medium speed for about 30 to 45 seconds until completely smooth. However, if you prefer a strawberry yogurt mixture with some texture, pulse the blender just a few times instead of fully processing the ingredients.
- Once blended, pour the strawberry mixture through a fine-mesh strainer into a large bowl. This step ensures an incredibly smooth consistency by removing any small seeds or pulp, though it’s entirely optional if you don’t mind a bit of texture.
- To begin filling your popsicle molds, place them on a flat surface for stability. Using a spoon or pouring pitcher, carefully distribute the strawberry yogurt mixture evenly among all eight molds, filling each one about three-quarters of the way full.
- Insert the popsicle sticks into the center of each mold, pushing them down gently until they stand upright on their own. In contrast to some wooden sticks that are difficult to position, quality sticks designed for popsicles will hold their position easily.
- Place the filled molds in your freezer on a level shelf where they won’t tip over. Allow them to freeze for at least 6 hours, though overnight freezing is ideal for achieving that perfectly solid texture.
- After the popsicles have frozen completely, remove them from the freezer and let them sit at room temperature for about one minute. This brief wait makes removal easier without melting the pops.
- To release each popsicle, gently run warm water over the outside of the mold for a few seconds, then pull the stick slowly and steadily. If a popsicle resists, try running a bit more warm water around the edges until it slides out smoothly.
- Serve your strawberry yogurt popsicles immediately, or transfer them to a freezer-safe container for storage and eat whenever you like.
Serving and Storage Tips
Serving Your Popsicles
These homemade popsicles are delicious on their own, but there are wonderful ways to serve them for different occasions. First, consider offering them as a simple afternoon snack straight from the freezer with nothing else needed. Additionally, they pair beautifully with fresh berries, coconut flakes, or crushed graham crackers for added texture and flavor. For a more elegant presentation at dinner parties, arrange several popsicles on a wooden board alongside other light desserts and fresh fruit. Furthermore, you can serve them alongside grilled chicken or fish for a refreshing contrast to warm, savory meals. They’re also perfect for children’s birthday parties, summer picnics, or as healthy treats during hot weather.
Storage Tips
Next, let’s talk about keeping your popsicles fresh and ready to enjoy. Store finished popsicles in an airtight container in your freezer for up to two weeks, ensuring they’re kept away from foods with strong odors. However, if you have leftover strawberry yogurt mixture before freezing, you can refrigerate it in a covered container for up to three days. When freezing, keep the popsicles upright in a dedicated container so they don’t crack or stick together. To prevent ice crystals from forming, ensure your freezer maintains a steady temperature of 0°F or below. If you need to transport them, place the container in a cooler with ice packs to maintain their frozen state.
Helpful Notes and Tips
Making these popsicles successfully becomes even easier when you know a few insider secrets. First, use Greek yogurt for its thicker consistency and tanginess, which creates a richer texture than regular yogurt. Next, the lemon juice isn’t just for flavor—it brightens the strawberry taste and prevents the yogurt from tasting too heavy. Additionally, if honey seems too thick to blend smoothly, warm it slightly before adding it to the mixture, which allows it to incorporate more evenly throughout the popsicles. For a sweeter version, increase the honey to 1/2 cup, but remember that more sweetness can mask the natural strawberry flavor. In contrast, if you prefer less sweetness, reduce the honey to 1/4 cup and let the tart yogurt shine through.
Several ingredient substitutions work wonderfully if you don’t have everything on hand. You can replace Greek yogurt with regular yogurt or even coconut yogurt for a dairy-free version. Furthermore, agave nectar or brown sugar syrup can substitute for honey if that’s what you have available. Optional add-ins that elevate these popsicles include a handful of fresh blueberries blended in, a squeeze of orange juice for brightness, or even a small amount of beet juice for a deeper color and earthiness.
Avoid one common mistake: overfilling the molds. When you fill them too high, the mixture expands slightly as it freezes and can overflow out the sides. However, filling them three-quarters full prevents this issue while still giving you hearty, satisfying popsicles. Additionally, invest in quality popsicle molds with sturdy sticks because flimsy molds crack easily when frozen, and cheap sticks bend or break during removal. Finally, patience pays off—resist opening the freezer repeatedly, as this raises the temperature and lengthens freezing time.
Chef Tips
First, for restaurant-quality presentation, serve these popsicles while they’re still slightly frozen but soft enough to hold their shape; this texture is more pleasant to bite into than rock-hard ice. Additionally, try creating a beautiful striped effect by pouring half the mixture into molds, inserting sticks when partially frozen, then adding additional layers of different colors or textures if you’re feeling adventurous.
Frequently Asked Questions
Can I use frozen strawberries instead of fresh ones? Absolutely—frozen strawberries work perfectly and often have excellent flavor since they’re frozen at peak ripeness. Simply thaw them before blending and proceed with the recipe as written.
How can I make these dairy-free? Replace the Greek yogurt with coconut yogurt, cashew cream, or silken tofu to achieve the same creamy texture while keeping the recipe completely plant-based.
Do I need special popsicle molds? While silicone molds are convenient and flexible, traditional plastic or wooden molds work fine. The key is choosing molds with secure, well-designed sticks that won’t wobble.
Can I make the mixture ahead of time? Yes, blend the strawberry yogurt mixture up to three days in advance, store it covered in the refrigerator, then pour into molds and freeze when ready.
What’s the best way to remove stubborn popsicles from molds? Run warm water over the outside of the mold while gently wiggling the stick side to side; a few seconds of warmth usually releases even the stickiest popsicles without melting them.
Final Thoughts
Creating these strawberry yogurt popsicles at home transforms ordinary days into something a little more special. The simplicity of the recipe means even beginner cooks can succeed, while the quality of the homemade version far surpasses store-bought alternatives. Whether you’re beating the heat on a summer afternoon, surprising your family with a healthy frozen treat, or impressing guests with homemade desserts, these popsicles deliver on every level. Moreover, knowing exactly what goes into your food—just pure strawberries, creamy yogurt, and a touch of sweetness—brings genuine peace of mind that commercial products simply cannot match.
The beauty of this recipe lies in its flexibility and simplicity. You can make a batch on Sunday and enjoy popsicles throughout the week, or whip them up whenever fresh strawberries are at their peak. Each frozen bite reminds you why homemade is always worth the minimal effort involved. Next time you’re at the market and see those beautiful strawberries calling your name, remember this recipe and treat yourself and everyone you love to something truly special.
Did you love this recipe? Save it, pin it, and share it with your friends and family! Your support means everything to us and helps us create more delicious recipes for you to enjoy. Leave a comment below telling us how your popsicles turned out—we’d absolutely love to hear from you!