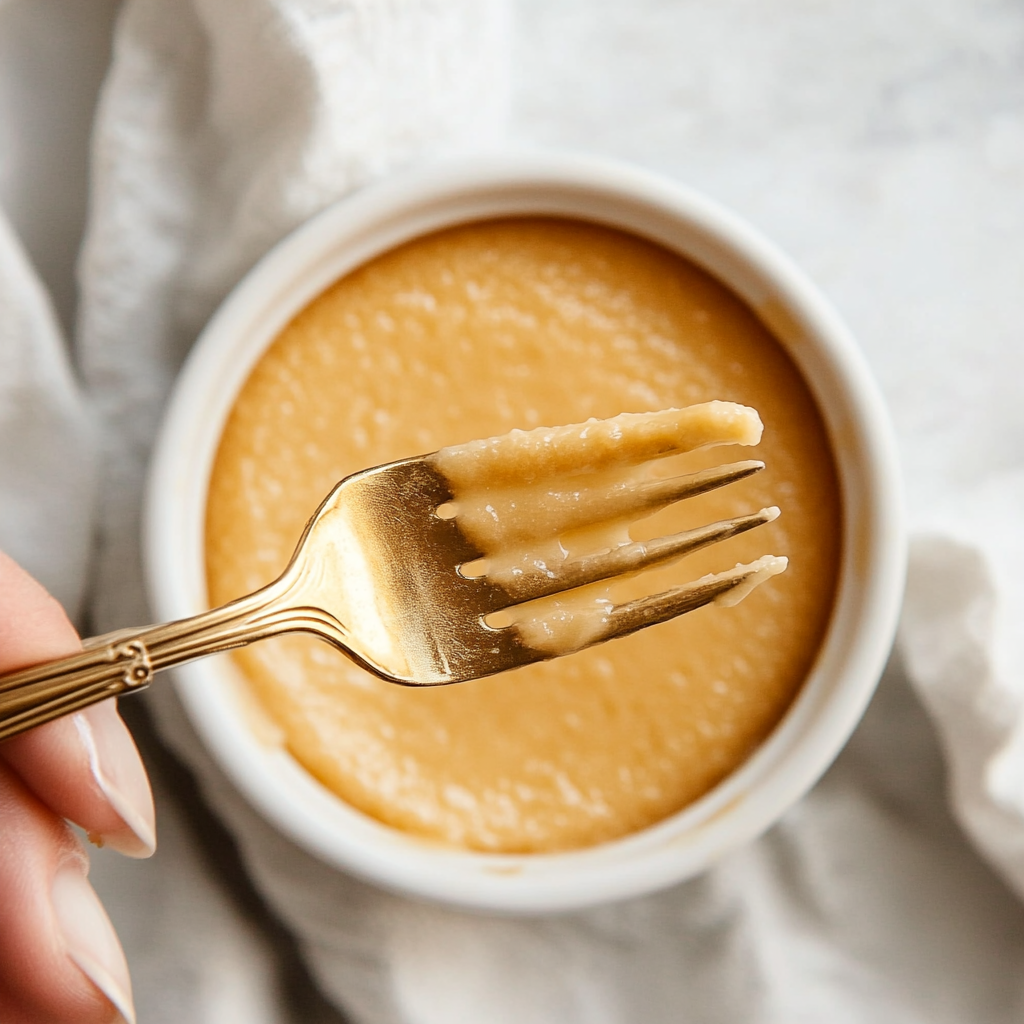
Make your own sugar wax at home! A natural, cost-effective alternative for smooth and hair-free skin.
Introduction
Sugar waxing is a natural and affordable method for hair removal that has been used for centuries. This guide covers everything you need to know about creating and using your very own sugar wax recipe at home. Say goodbye to expensive salon visits and harsh chemical treatments!
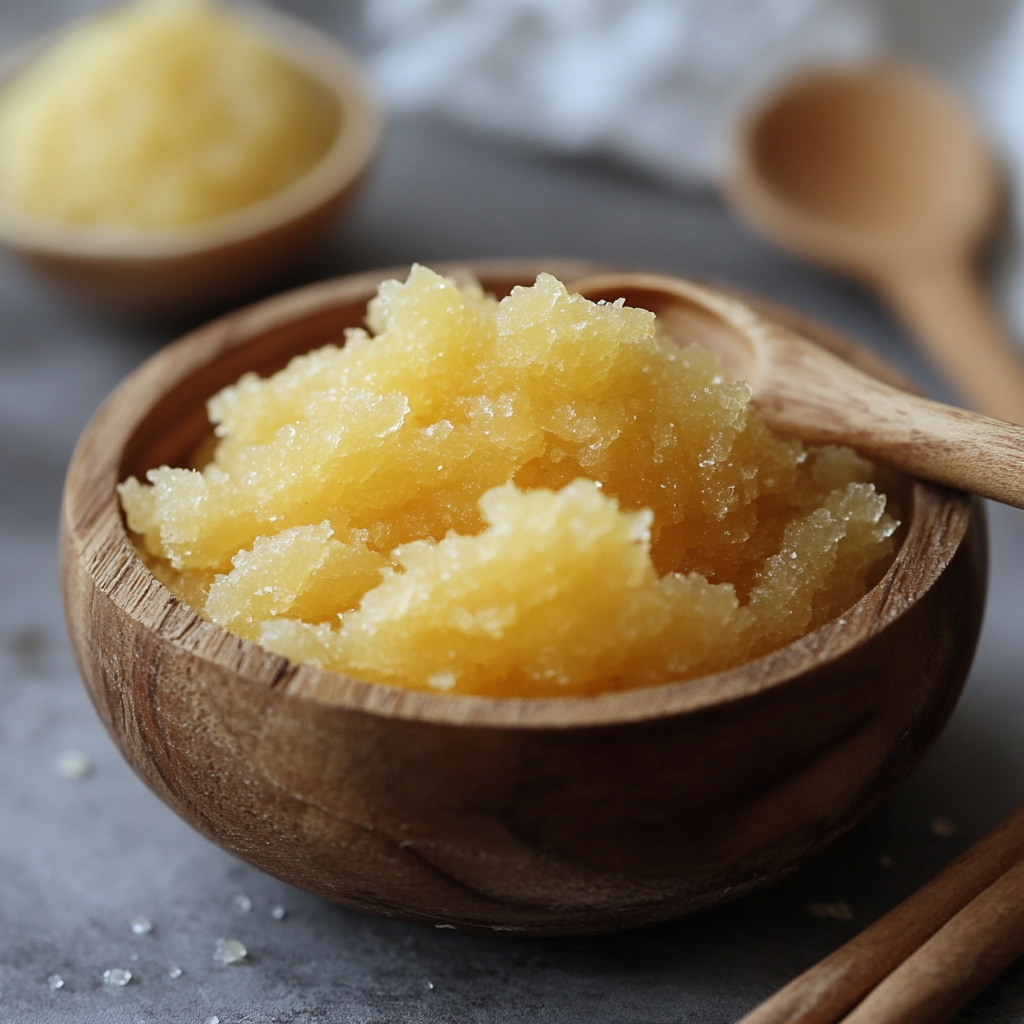
What is Sugar Wax?
Sugar wax is a sticky, natural mixture made from simple ingredients like sugar, water, and lemon juice. It works by gently removing hair from the root, leaving your skin silky smooth. Unlike traditional waxing, it adheres only to the hair, not the skin, making it a gentler option for hair removal.
The Origin and History of Sugar Waxing
Sugar waxing, also known as sugaring, dates back to ancient Egypt and Persia. Women used it as a beauty ritual to achieve flawless skin. This ancient technique has stood the test of time due to its simplicity, effectiveness, and natural approach.
Seasonal and Cultural Relevance
Best Season for Sugar Waxing
Sugar waxing is particularly popular during warmer months when smooth, hair-free skin is often desired for wearing shorts and swimsuits.
Cultural Significance
Sugaring is a staple in many Middle Eastern and South Asian cultures. It is often performed as part of beauty rituals before special occasions like weddings.
Key Ingredients for Sugar Wax
Ingredients
- Sugar: Provides the base for the wax.
- Lemon Juice: Acts as a natural preservative and helps achieve the desired consistency.
- Water: Balances the mixture and ensures proper texture.
Nutritional Breakdown
While sugar wax isn’t meant to be consumed, the ingredients are natural and safe for skin application. Lemon juice contains vitamin C, and sugar acts as a gentle exfoliant.
How to Prepare Sugar Wax
Step-by-Step Guide
- Gather Ingredients: You’ll need 1 cup of sugar, 2 tablespoons of water, and 2 tablespoons of lemon juice.
- Mix: Combine all ingredients in a saucepan.
- Cook: Heat on medium, stirring continuously until the mixture turns golden brown. This takes about 5-7 minutes.
- Cool: Allow the wax to cool until it’s warm to the touch but not hot.
- Store: Transfer to an airtight container for later use.
Tips for Best Results
- Use fresh lemon juice for optimal results.
- Ensure the wax has a caramel-like consistency.
Essential Tools for Sugar Waxing
- Saucepan: For cooking the mixture.
- Spatula: For stirring and applying the wax.
- Cotton Strips: For removing the wax.
Variations and Alternatives
- Honey Add-On: Add a tablespoon of honey for extra skin nourishment.
- Herbal Infusions: Include chamomile or lavender for a soothing experience.
- Vegan Option: Use agave syrup instead of honey.
How to Use Sugar Wax
- Prep Skin: Clean and exfoliate the area to remove dead skin cells.
- Apply Wax: Spread a thin layer of wax against hair growth.
- Remove: Place a cotton strip over the wax, press firmly, and pull in the direction of hair growth.
Common Pitfalls and How to Avoid Them
- Too Hot: Let the wax cool properly to avoid burns.
- Incorrect Consistency: If the wax is too thick, add a teaspoon of water and reheat.
Health Benefits of Sugar Waxing
- Gentle on Skin: Minimizes irritation and redness.
- Exfoliating Properties: Removes dead skin cells for a smoother texture.
- Eco-Friendly: Made with biodegradable ingredients.

FAQs
How can I make sugar wax more effective?
Ensure the area is clean and dry. Exfoliate beforehand for better adhesion.
How many times can you reuse sugar wax?
Sugar wax can be reused within the same session by reheating.
What is the purpose of sugar wax?
To remove unwanted hair gently and naturally while exfoliating the skin.
How long can you store homemade sugar wax?
Store in an airtight container for up to 6 months. Reheat before use.
Best Time to Enjoy Sugar Waxing
Sugar waxing is ideal for both pre-event preparations and regular grooming. It’s gentle enough to use every 4-6 weeks.
Suggested Recipes
For more savory recipes you can also check my friend Alicia’s blog here

