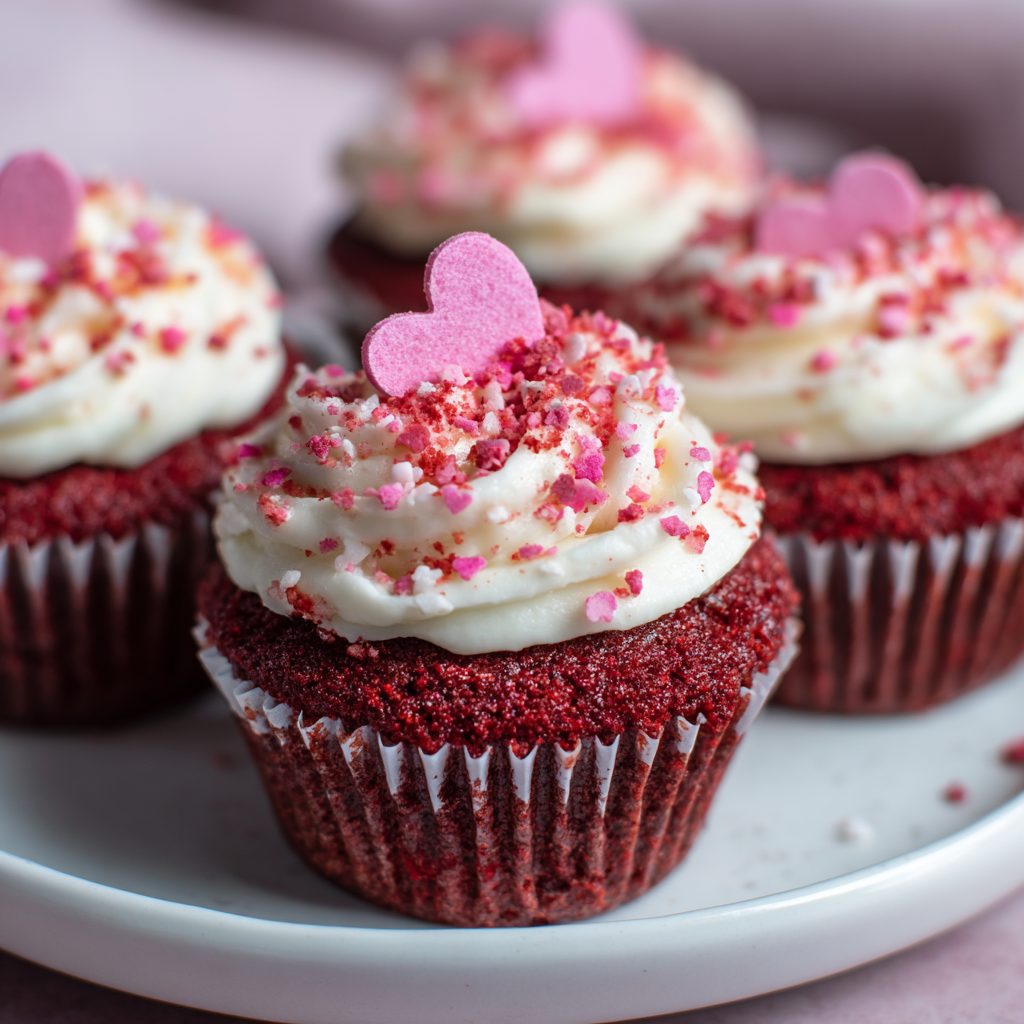
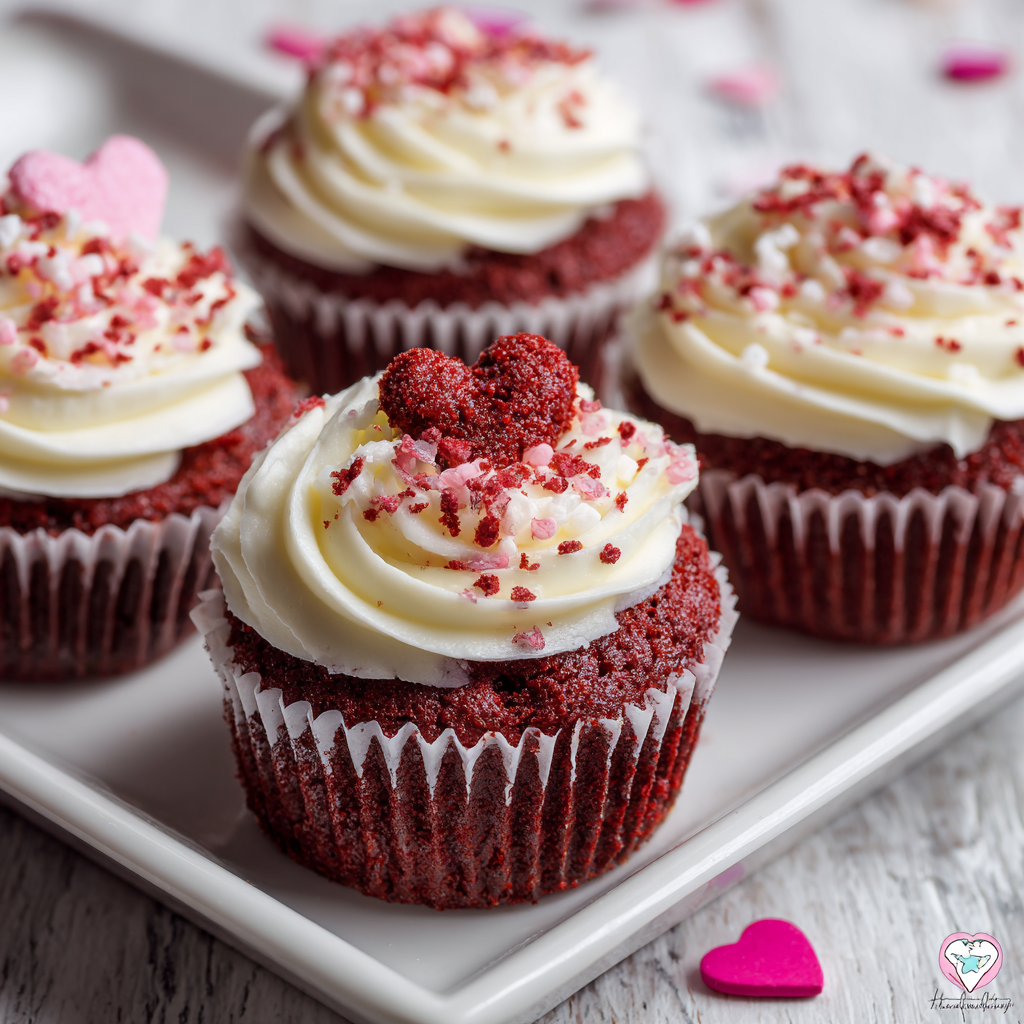
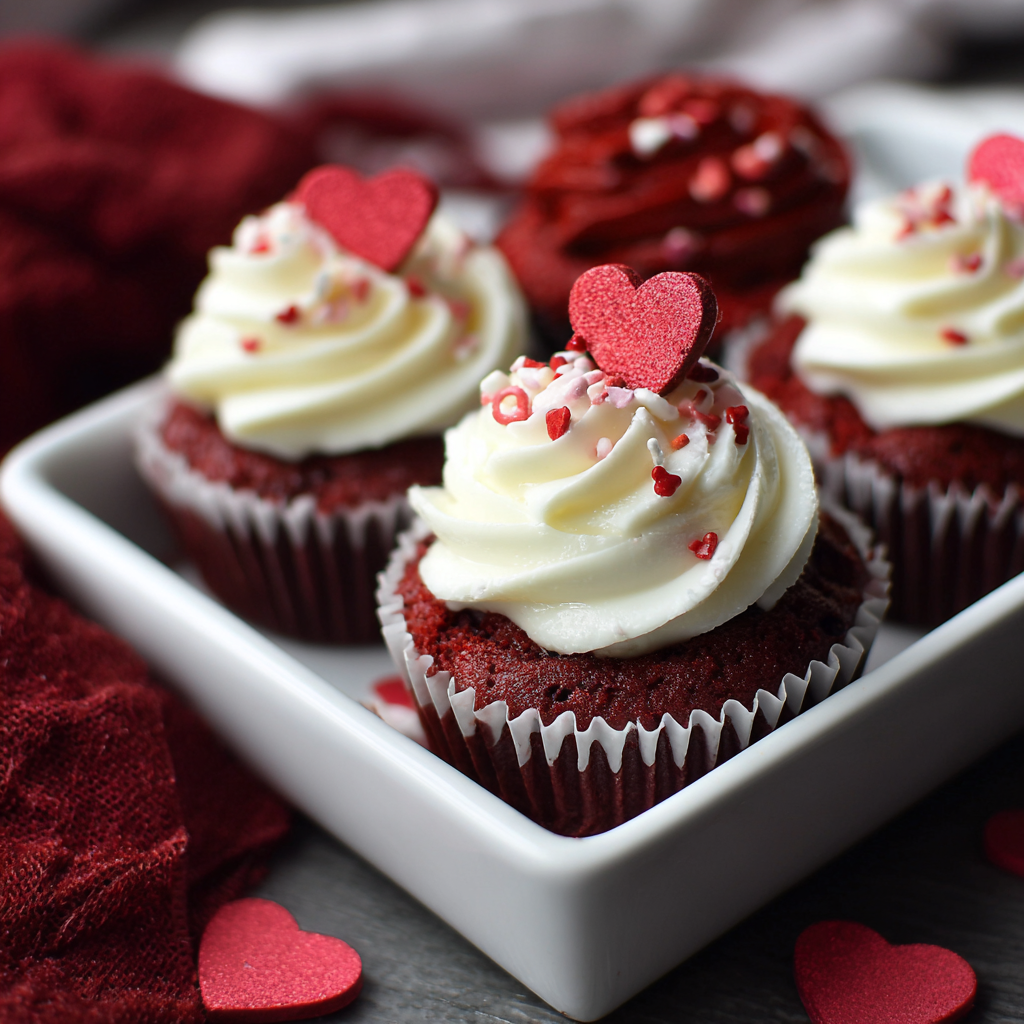
Red velvet has always been synonymous with love and romance, and there’s no better way to express your affection than with a homemade cupcake that captures all the elegance and charm of this beloved classic. These Valentine’s Red Velvet Cupcakes feature a tender, cocoa-kissed cake with a subtle tang that melts on your tongue, topped with the most luxurious cream cheese frosting that simply cannot be resisted. The stunning crimson color makes them naturally Instagram-worthy, yet their real magic happens when someone takes that first bite and experiences the perfect balance of flavors and textures. What truly sets this recipe apart is how achievable it is for bakers of all skill levels—you don’t need any fancy equipment or years of experience to create something that looks and tastes like it came from an upscale bakery. Whether you’re baking for your significant other, hosting a Valentine’s Day party, or treating your friends to something special, these cupcakes deliver impressive results with straightforward, foolproof instructions that guide you from start to finish.
Ingredients
This recipe makes 18 beautiful cupcakes.
- 1¾ cups all-purpose flour
- 1 tablespoon unsweetened cocoa powder
- ½ teaspoon baking soda
- ½ teaspoon salt
- 1¾ teaspoons white vinegar
- ½ cup buttermilk, room temperature
- 1 teaspoon vanilla extract
- 1 teaspoon red food coloring (gel or liquid)
- ½ cup softened butter
- 1 cup granulated sugar
- 1 large egg, room temperature
- For the cream cheese frosting:
- 8 oz cream cheese, softened to room temperature
- ½ cup softened butter
- 2 cups powdered sugar
- 1 teaspoon vanilla extract
- Pinch of salt
- Red velvet crumbs or sprinkles for garnish (optional)
- Fresh strawberries for decoration (optional)
Instructions
Prepare Your Baking Station
- Preheat your oven to 350°F and line an 18-cup muffin tin with cupcake liners, ensuring they sit securely in each cavity without sliding around.
- In a small bowl, whisk together the flour, cocoa powder, baking soda, and salt, setting this dry mixture aside for later use.
- Combine the vinegar and buttermilk in a separate container, allowing them to sit for about 1 minute until the mixture becomes slightly curdled and develops a tangy quality.
Mix the Wet Ingredients
- Add the vanilla extract and red food coloring to the buttermilk mixture, stirring well until the color is evenly distributed throughout the liquid with no streaks of white remaining.
- Next, beat the softened butter and granulated sugar together in a large mixing bowl using an electric mixer on medium speed for approximately 2 to 3 minutes until the mixture becomes light, fluffy, and pale.
- Crack in the room temperature egg and continue beating for about 1 minute more until the egg is fully incorporated and the batter appears slightly thicker and more luxurious.
Combine Wet and Dry Components
- Reduce the mixer speed to low and add half of the dry flour mixture to the butter mixture, blending for just 20 to 30 seconds until barely combined.
- Pour in half of the buttermilk mixture and mix on low speed for another 20 to 30 seconds, being careful not to overmix as this can result in dense, tough cupcakes.
- Add the remaining flour mixture and mix briefly on low speed for about 20 seconds until you can barely see flour streaks in the batter.
- Finally, pour in the remaining buttermilk mixture and fold gently with a spatula or mix on low speed for the final 20 seconds until the batter is smooth and thoroughly combined.
Fill the Liners
- Transfer the batter into a piping bag fitted with a large round tip, or simply use an ice cream scoop to divide the batter evenly among the cupcake liners.
- Fill each liner about two-thirds to three-quarters full, as the cupcakes will rise during baking and you want to prevent overflow that creates messy bases.
Bake to Perfection
- Place the filled muffin tin into the preheated oven and bake for 18 to 22 minutes, until a toothpick inserted into the center of a cupcake comes out with just a few moist crumbs clinging to it.
- Remove the muffin tin from the oven and allow the cupcakes to cool in the pan for 5 minutes, which helps them set without becoming overly firm.
- Carefully transfer the cupcakes to a wire cooling rack where they’ll continue cooling to room temperature for at least 30 minutes before frosting.
Prepare the Cream Cheese Frosting
- While the cupcakes cool, beat the softened cream cheese and butter together in a clean mixing bowl on medium speed for about 2 minutes until the mixture is smooth, creamy, and well combined.
- Gradually add the powdered sugar one-half cup at a time, beating on low speed after each addition to prevent the sugar from creating a sweet powder cloud in your kitchen.
- Once all the powdered sugar is incorporated, add the vanilla extract and salt, then increase the mixer speed to medium-high and beat for another 2 to 3 minutes until the frosting becomes fluffy and light.
Frost the Cooled Cupcakes
- Transfer the cream cheese frosting to a piping bag fitted with your favorite frosting tip—a large closed star tip creates an elegant twisted appearance that looks professional and beautiful.
- Hold each cupcake steady with one hand and pipe the frosting onto the cooled cupcake in a circular motion from the outside toward the center, creating a generous dome of frosting.
- For a simpler approach, simply spread the frosting onto each cupcake with an offset spatula, creating swoops and peaks that catch the light beautifully.
Add Decorative Touches
- Immediately after frosting each cupcake while the frosting is still soft, sprinkle with red velvet crumbs, valentine sprinkles, or a pinch of cocoa powder if desired.
- For an extra elegant presentation, top each cupcake with a fresh strawberry, a small heart-shaped decoration, or a light dusting of edible glitter.
Serving and Storing Tips
How to Serve These Romantic Cupcakes
Present these beautiful cupcakes at room temperature for the best flavor experience, as the tender cake and frosting are most flavorful when they’re no longer cold from the refrigerator. First, arrange them on a decorative platter or tiered cake stand for a restaurant-quality presentation that impresses guests immediately. These cupcakes pair wonderfully with champagne, sparkling cider, or a rich hot chocolate for a luxurious celebration. Additionally, they’re perfect for Valentine’s Day parties, romantic dinners for two, bridal showers, or any occasion that calls for something special. Meanwhile, you can also package individual cupcakes in clear boxes with tissue paper and ribbon for charming homemade gifts that show genuine love and care. For intimate gatherings, serve them with fresh whipped cream on the side and let guests customize their own dessert experience.
Storage Instructions for Lasting Freshness
Keep your frosted cupcakes in an airtight container at room temperature for up to 2 days, though they’re best enjoyed within the first 24 hours when the cake is most tender. If you need to store them longer, place the unfrosted cupcakes in an airtight container in the refrigerator for up to 5 days, then frost them shortly before serving. For freezing, remove the frosting from cooled unfrosted cupcakes and place them in a freezer-safe container with parchment between layers for up to 3 months. Afterward, thaw the cupcakes at room temperature for about 1 hour, then apply fresh frosting for the best texture and taste. Frosted cupcakes can also be frozen for up to 2 weeks if necessary—simply thaw them in the refrigerator overnight before enjoying them.
Helpful Notes and Pro Tips
Tips for Baking Success
Always use room temperature ingredients when making cupcakes, as cold ingredients don’t blend as smoothly and can result in a batter with lumps or an uneven crumb structure. Furthermore, the buttermilk and vinegar combination creates a slight acidity that reacts with the baking soda, giving these cupcakes their distinctive tender texture and subtle tang. Don’t skip this step or substitute regular milk, as it completely changes the final result. Additionally, invest in quality red food coloring—gel or gel-paste food coloring produces a more vibrant color without thinning your batter the way liquid coloring can.
When checking for doneness, remember that a few moist crumbs on the toothpick indicate perfectly baked cupcakes, whereas a completely clean toothpick means you may have slightly overbaked them.
Ingredient Substitutions and Variations
If you don’t have buttermilk on hand, you can easily create a substitute by mixing 1 tablespoon of lemon juice or white vinegar with regular milk and letting it sit for 5 minutes until it curdles slightly. For a less intense cocoa flavor, reduce the cocoa powder to 1 teaspoon and simply increase the flour by the same amount. In contrast, if you prefer a more chocolate-forward red velvet flavor, increase the cocoa powder to 1½ tablespoons. Natural food coloring made from beets or pomegranate juice can replace the red food coloring if you prefer to avoid artificial ingredients, though the color will be less vivid. Alternatively, you could create a pink velvet version using less red coloring mixed with a touch of pink food coloring for a Valentine’s Day twist.
Frosting and Decoration Tips
Ensure your cream cheese and butter are genuinely softened before mixing, as cold ingredients won’t combine into the smooth, fluffy frosting this recipe deserves. If your frosting seems too soft after mixing, refrigerate it for 15 to 20 minutes before piping to make it easier to work with. Meanwhile, if your frosting is too stiff, let it sit at room temperature for a few minutes and beat it briefly again. For a more dramatic presentation, consider creating a ombré effect by using different shades of red coloring in multiple batches of frosting and piping them onto each cupcake in stripes. You could also add 1 tablespoon of cream cheese powder or a touch of strawberry puree to the frosting for subtle flavor variations that complement the red velvet base beautifully.
Chef Tips
Professional bakers always rotate their muffin tin halfway through baking to ensure even browning and consistent rise across all cupcakes, resulting in beautiful, uniform results. Additionally, using parchment paper liners instead of plain liners prevents the cupcakes from sticking and creates a more elegant presentation when served, as the fine parchment peels away cleanly without any cake residue attached.
Frequently Asked Questions
Can I make these cupcakes a day ahead of time for a Valentine’s Day celebration? Yes, you can bake unfrosted cupcakes up to 2 days in advance and store them in an airtight container at room temperature, then frost them a few hours before serving for the best texture.
What’s the difference between red velvet and chocolate cake, and why is red velvet special? Red velvet is a subtle blend of cocoa and buttermilk that creates a tender, slightly tangy crumb with a distinctive velvety texture, whereas traditional chocolate cake emphasizes rich cocoa flavor and is heavier overall.
Can I use clear glass piping tips to see how much frosting I’m piping onto each cupcake? Absolutely—clear piping bags with decorative tips make the frosting process easier to control and allow you to create consistent, beautiful designs across all 18 cupcakes.
What should I do if my frosting is too thin and slides off the cupcakes? Refrigerate the frosting for 20 to 30 minutes until it firms up, as cold frosting holds its shape much better and pipes more cleanly onto the cupcakes.
Can I substitute regular cream cheese frosting with a different topping for dietary reasons? Whipped cream mixed with a little powdered sugar and vanilla works beautifully as an alternative, though the traditional cream cheese frosting is irreplaceable for authentic red velvet flavor.
Conclusion
Valentine’s Red Velvet Cupcakes represent the perfect marriage of elegance, flavor, and homemade warmth that expresses love in every bite. These beautifully colored treats require no special baking skills or difficult-to-find ingredients, yet they deliver results that look like they came straight from an upscale bakery or professional pastry shop. The combination of tender cake, tangy undertones, and luscious cream cheese frosting creates a complete sensory experience that your family and friends will absolutely adore. Whether you’re celebrating with your significant other, treating yourself to something special, or sharing these cupcakes with people who matter most, each bite reminds you why homemade desserts hold such special meaning. From the moment you see their stunning crimson color to that final luxurious taste of cream cheese frosting, these cupcakes deliver joy and satisfaction. Best of all, the straightforward instructions mean you can create something truly impressive without spending hours in the kitchen or stressing about complicated techniques. Baking these cupcakes is an act of love in itself, and everyone who receives one will feel genuinely cherished.
Did you love making these Valentine’s Red Velvet Cupcakes as much as we loved creating this recipe for you? We’d absolutely adore hearing about your baking experience! Please save this recipe to your favorites, pin it to your Pinterest board, and share it with friends and family who deserve these romantic treats. Your shares, comments, and feedback inspire us to keep developing delicious recipes that bring joy and celebration to your kitchen. Don’t forget to tag us on social media if you make them—we can’t wait to see your gorgeous creations and hear how much your loved ones enjoyed them!