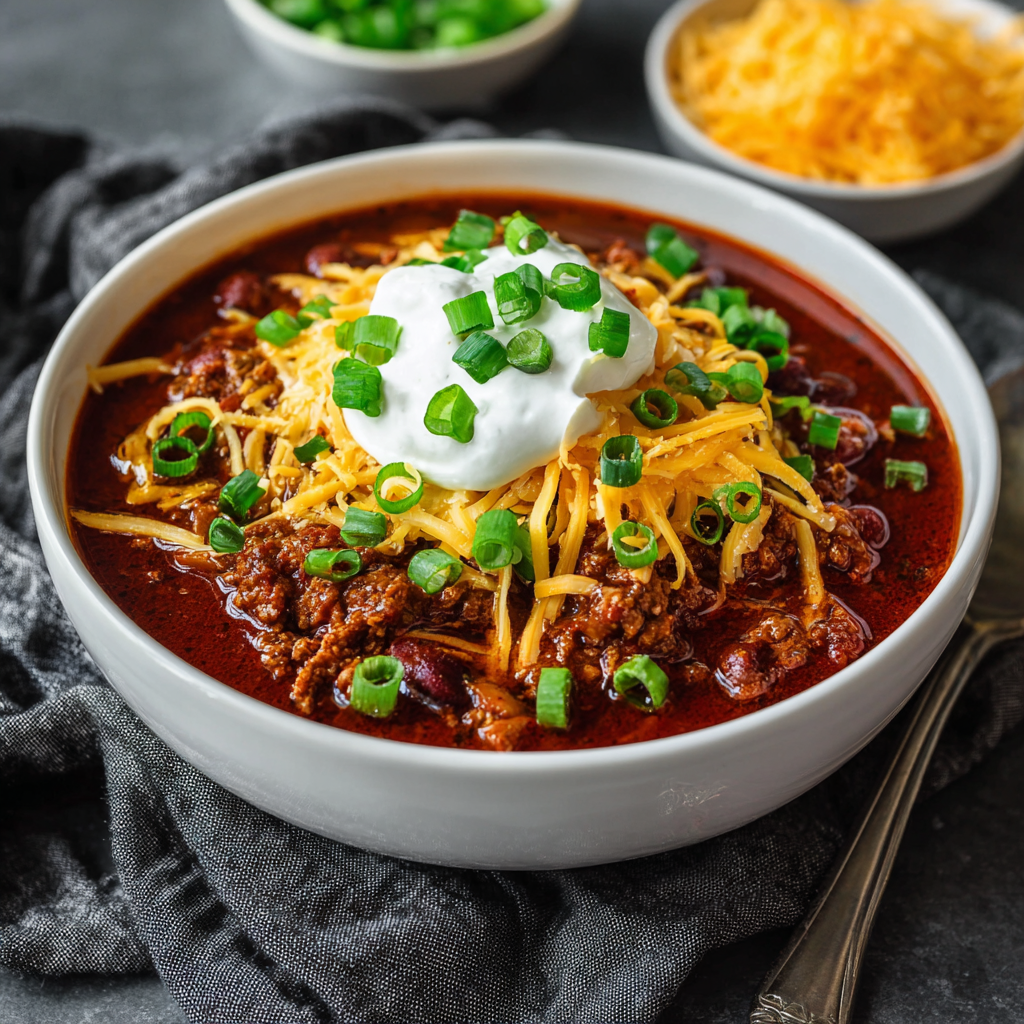
When winter winds howl outside, nothing satisfies quite like a big bowl of hearty, warming chili that fills your home with incredible aromas. This Instant Pot version delivers all the deep, complex flavors of slow-cooked chili in a fraction of the time, making it perfect for busy weeknights. What makes this recipe truly special is how the pressure cooking intensifies the spices and melds everything together into a rich, thick consistency that tastes like it’s been simmering for hours. The beauty of using an Instant Pot means you can brown the meat, sauté the vegetables, and cook everything in one pot with minimal cleanup afterward. Whether you’re feeding a crowd on game day, meal prepping for the week, or simply craving something substantial and delicious, this chili never disappoints. It’s incredibly versatile, allowing you to adjust the heat level and swap ingredients based on what you have available. Best of all, even complete beginners can master this recipe, creating a restaurant-quality chili that’ll have everyone asking for seconds.
Ingredients
This recipe makes 8 hearty servings.
- 2 tablespoons olive oil
- 2 pounds ground beef (80/20 blend)
- 1 large yellow onion, diced
- 1 red bell pepper, diced
- 1 green bell pepper, diced
- 4 cloves garlic, minced
- 3 tablespoons chili powder
- 2 tablespoons ground cumin
- 1 tablespoon smoked paprika
- 1 teaspoon dried oregano
- 1/2 teaspoon cayenne pepper (adjust to taste)
- 2 teaspoons salt
- 1 teaspoon black pepper
- 1 can (28 ounces) crushed tomatoes
- 1 can (15 ounces) tomato sauce
- 1 can (6 ounces) tomato paste
- 2 cans (15 ounces each) kidney beans, drained and rinsed
- 1 can (15 ounces) black beans, drained and rinsed
- 1 cup beef broth
- 2 tablespoons Worcestershire sauce
- 1 tablespoon brown sugar
- 1 tablespoon apple cider vinegar
For Serving:
- Shredded cheddar cheese
- Sour cream
- Sliced green onions
- Fresh cilantro
- Diced avocado
- Tortilla chips or cornbread
Step-by-Step Instructions
- Turn on your Instant Pot and select the “Sauté” function, adjusting it to the “More” or high heat setting.
- Add the olive oil to the pot and let it heat for about 30 seconds until it shimmers.
- Add the ground beef to the hot oil, breaking it apart with a wooden spoon into small crumbles.
- Cook the beef for 5 to 7 minutes, stirring occasionally, until it’s browned and no longer pink in the center.
- Add the diced onion and both bell peppers to the pot, stirring them into the browned meat.
- Sauté the vegetables for 4 to 5 minutes until they begin to soften and the onion becomes translucent.
- Stir in the minced garlic and cook for 30 seconds until fragrant, making sure to stir constantly to prevent burning.
- Add the chili powder, cumin, smoked paprika, oregano, cayenne pepper, salt, and black pepper to the pot.
- Stir the spices into the meat mixture and cook for about 1 minute to toast them and release their essential oils.
- Pour in the crushed tomatoes, tomato sauce, and tomato paste, stirring everything together thoroughly.
- Add the drained kidney beans and black beans, mixing them evenly throughout the chili base.
- Pour in the beef broth, Worcestershire sauce, brown sugar, and apple cider vinegar, stirring to combine all ingredients.
- Press “Cancel” to turn off the sauté function and scrape the bottom of the pot with a wooden spoon to release any browned bits.
- Secure the Instant Pot lid, making sure the valve is set to the “Sealing” position.
- Select the “Manual” or “Pressure Cook” function and set the timer for 15 minutes at high pressure.
- Allow the Instant Pot to come to pressure naturally, which typically takes about 10 minutes before the cooking timer begins.
- Once the cooking cycle completes, let the pressure release naturally for 10 minutes without touching the valve.
- After 10 minutes, carefully turn the valve to “Venting” to release any remaining pressure completely.
- Open the lid carefully, tilting it away from you to avoid the steam, and stir the chili thoroughly.
- Taste and adjust the seasonings, adding more salt, pepper, or cayenne according to your preference.
- Let the chili rest for 5 minutes with the lid off to thicken slightly before serving.
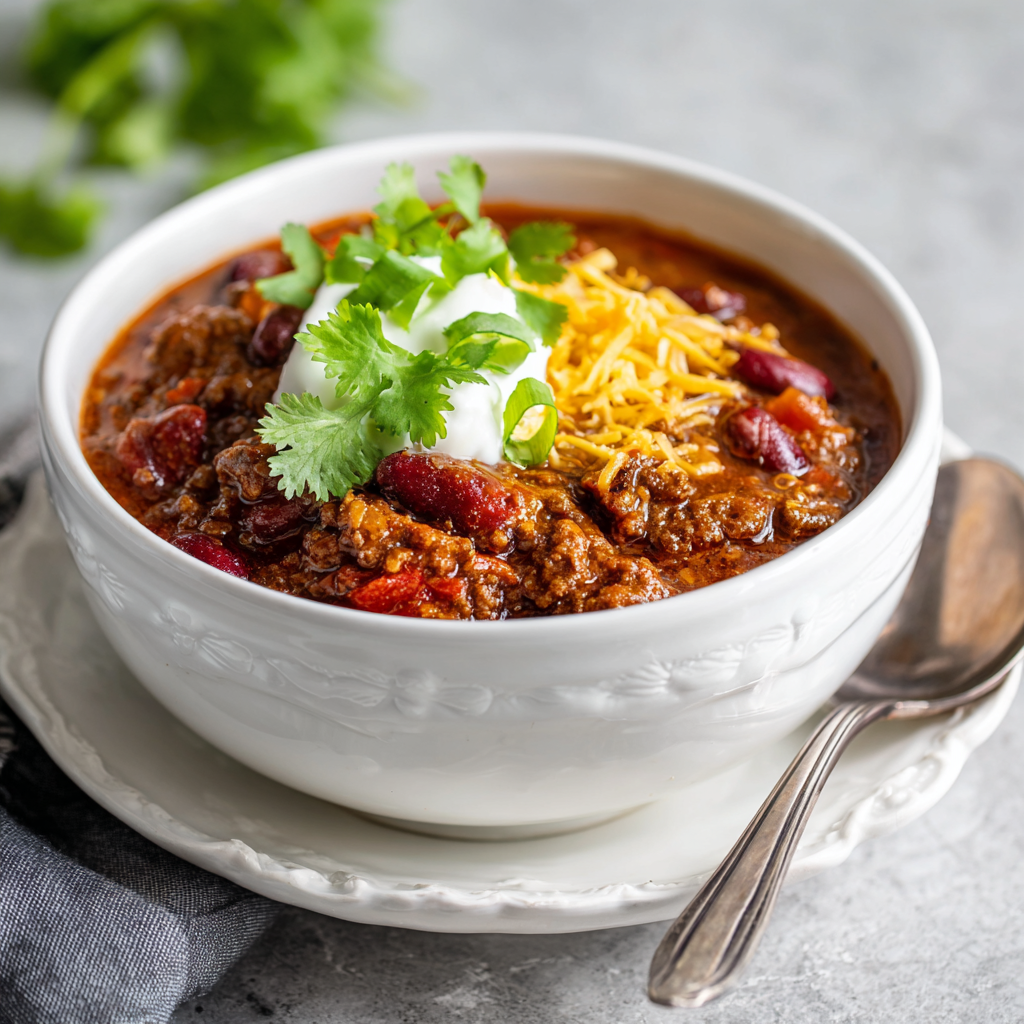
- Ladle into bowls and top with your favorite toppings for the ultimate chili experience.
Serving Tips
Serve this robust chili in deep bowls to accommodate all your favorite toppings and garnishes. For the ultimate experience, set up a topping bar with shredded cheese, sour cream, diced onions, jalapeños, and fresh cilantro so everyone can customize their bowl. This chili pairs beautifully with warm cornbread, crusty bread rolls, or crispy tortilla chips for scooping.
Additionally, it makes an excellent topping for baked potatoes, hot dogs, or nachos for creative meal variations. For game day gatherings, keep the chili warm in the Instant Pot on the “Keep Warm” setting and let guests serve themselves throughout the event. The chili also works wonderfully as a filling for tacos, burritos, or quesadillas when you’re looking for something different. Consider serving with a simple side salad dressed with lime vinaigrette to balance the richness and add freshness to your meal.
Storage Tips
Allow the chili to cool completely before transferring it to airtight containers for storage. In the refrigerator, properly stored chili stays fresh for up to 5 days and actually tastes even better the next day as the flavors continue to develop. When reheating, warm portions on the stovetop over medium-low heat, stirring occasionally and adding a splash of broth if needed to restore consistency. Alternatively, microwave individual portions in 1-minute intervals, stirring between each session for even heating.
This chili freezes exceptionally well for up to 3 months in freezer-safe containers or heavy-duty freezer bags. For best results, freeze in portion-sized containers for easy thawing and reheating of exactly what you need. Thaw frozen chili overnight in the refrigerator, then reheat thoroughly on the stovetop or in the microwave. Interestingly, the texture of beans improves slightly after freezing, making this an ideal make-ahead meal option.
Helpful Notes
Meat Options: Ground turkey, chicken, or pork can easily replace beef for a lighter version, though you may want to add extra spices for flavor. For a richer chili, use ground chuck with higher fat content or add cubed beef chuck roast.
Bean Varieties: Feel free to mix and match beans according to your preference; pinto beans, navy beans, or chickpeas all work wonderfully in this recipe. For a true Texas-style chili, omit the beans entirely and add extra meat.
Spice Level Control: Start with less cayenne pepper if you’re sensitive to heat, as you can always add hot sauce at the table. Conversely, add diced jalapeños or chipotle peppers for a smokier, spicier kick.
Thickness Adjustment: If your chili seems too thin, select the “Sauté” function after cooking and simmer uncovered for 5 to 10 minutes to reduce and thicken. If it’s too thick, simply stir in additional broth until you reach the perfect consistency.
Flavor Boosters: A square of dark chocolate, a splash of coffee, or a dash of cinnamon adds unexpected depth and complexity to the flavor profile without being identifiable.
Vegetarian Version: Replace the ground beef with extra beans, diced sweet potatoes, or plant-based crumbles, and use vegetable broth instead of beef broth for a satisfying meatless option.
Natural Release Importance: Don’t skip the natural pressure release; it prevents the chili from bubbling over and helps the beans maintain their shape rather than turning mushy.
Chef Tips
For even deeper flavor, toast your dried spices in a dry skillet for 30 seconds before adding them to the chili, which awakens their aromatic compounds and intensifies their taste. Moreover, adding the tomato paste directly to the sautéed meat and vegetables before the liquid allows it to caramelize slightly, creating a richer, more complex base for your chili.
Frequently Asked Questions
Can I use dried beans instead of canned? Yes, but add 1 cup of dried beans (soaked overnight) and increase the cooking time to 25 minutes at high pressure for proper tenderness.
Why does my Instant Pot show a “Burn” warning? This happens when food sticks to the bottom; always deglaze thoroughly after sautéing and ensure there’s enough liquid before pressure cooking.
Can I double this recipe? You can, but don’t exceed two-thirds of your Instant Pot’s capacity to allow proper pressure building and safe operation.
How do I make this chili less acidic? The brown sugar helps balance acidity, but you can add an extra tablespoon or a pinch of baking soda to neutralize it further.
Can I cook this chili on the stovetop instead? Absolutely; follow the same steps but simmer covered on low heat for 45 to 60 minutes until the flavors meld and the chili thickens beautifully.
Did this Winter Instant Pot Chili become your new cold-weather favorite? If you loved how easy, flavorful, and satisfying this recipe turned out, please save it for your next cozy night in, pin it to your Instant Pot recipe collection, and share it with friends who need a reliable weeknight dinner solution. Your support means the world to us and motivates us to keep creating foolproof recipes that make home cooking enjoyable and stress-free. Leave a comment below telling us what toppings you used or how you customized this chili to make it your own, and don’t forget to rate this recipe to help fellow home cooks discover their next favorite meal!